
Amish Style Double Pie Crust

There is nothing better than a buttery, flaky pie crust. This is the perfect crust for any pie, tart, or rustic galette recipe.
Pie crust can make or break a dessert, so it’s important to select the right crust recipe that provides a flaky and buttery blanket to envelop your dessert filling. Visit our blog to read more about this fabulous pie crust.
Sign up for a free subscription to our monthly newsletter and access to exclusive content.
To browse some of our favorite kitchen essentials, gadgets, and pantry items, visit our Recommended Products page.

AMISH STYLE DOUBLE PIE CRUST
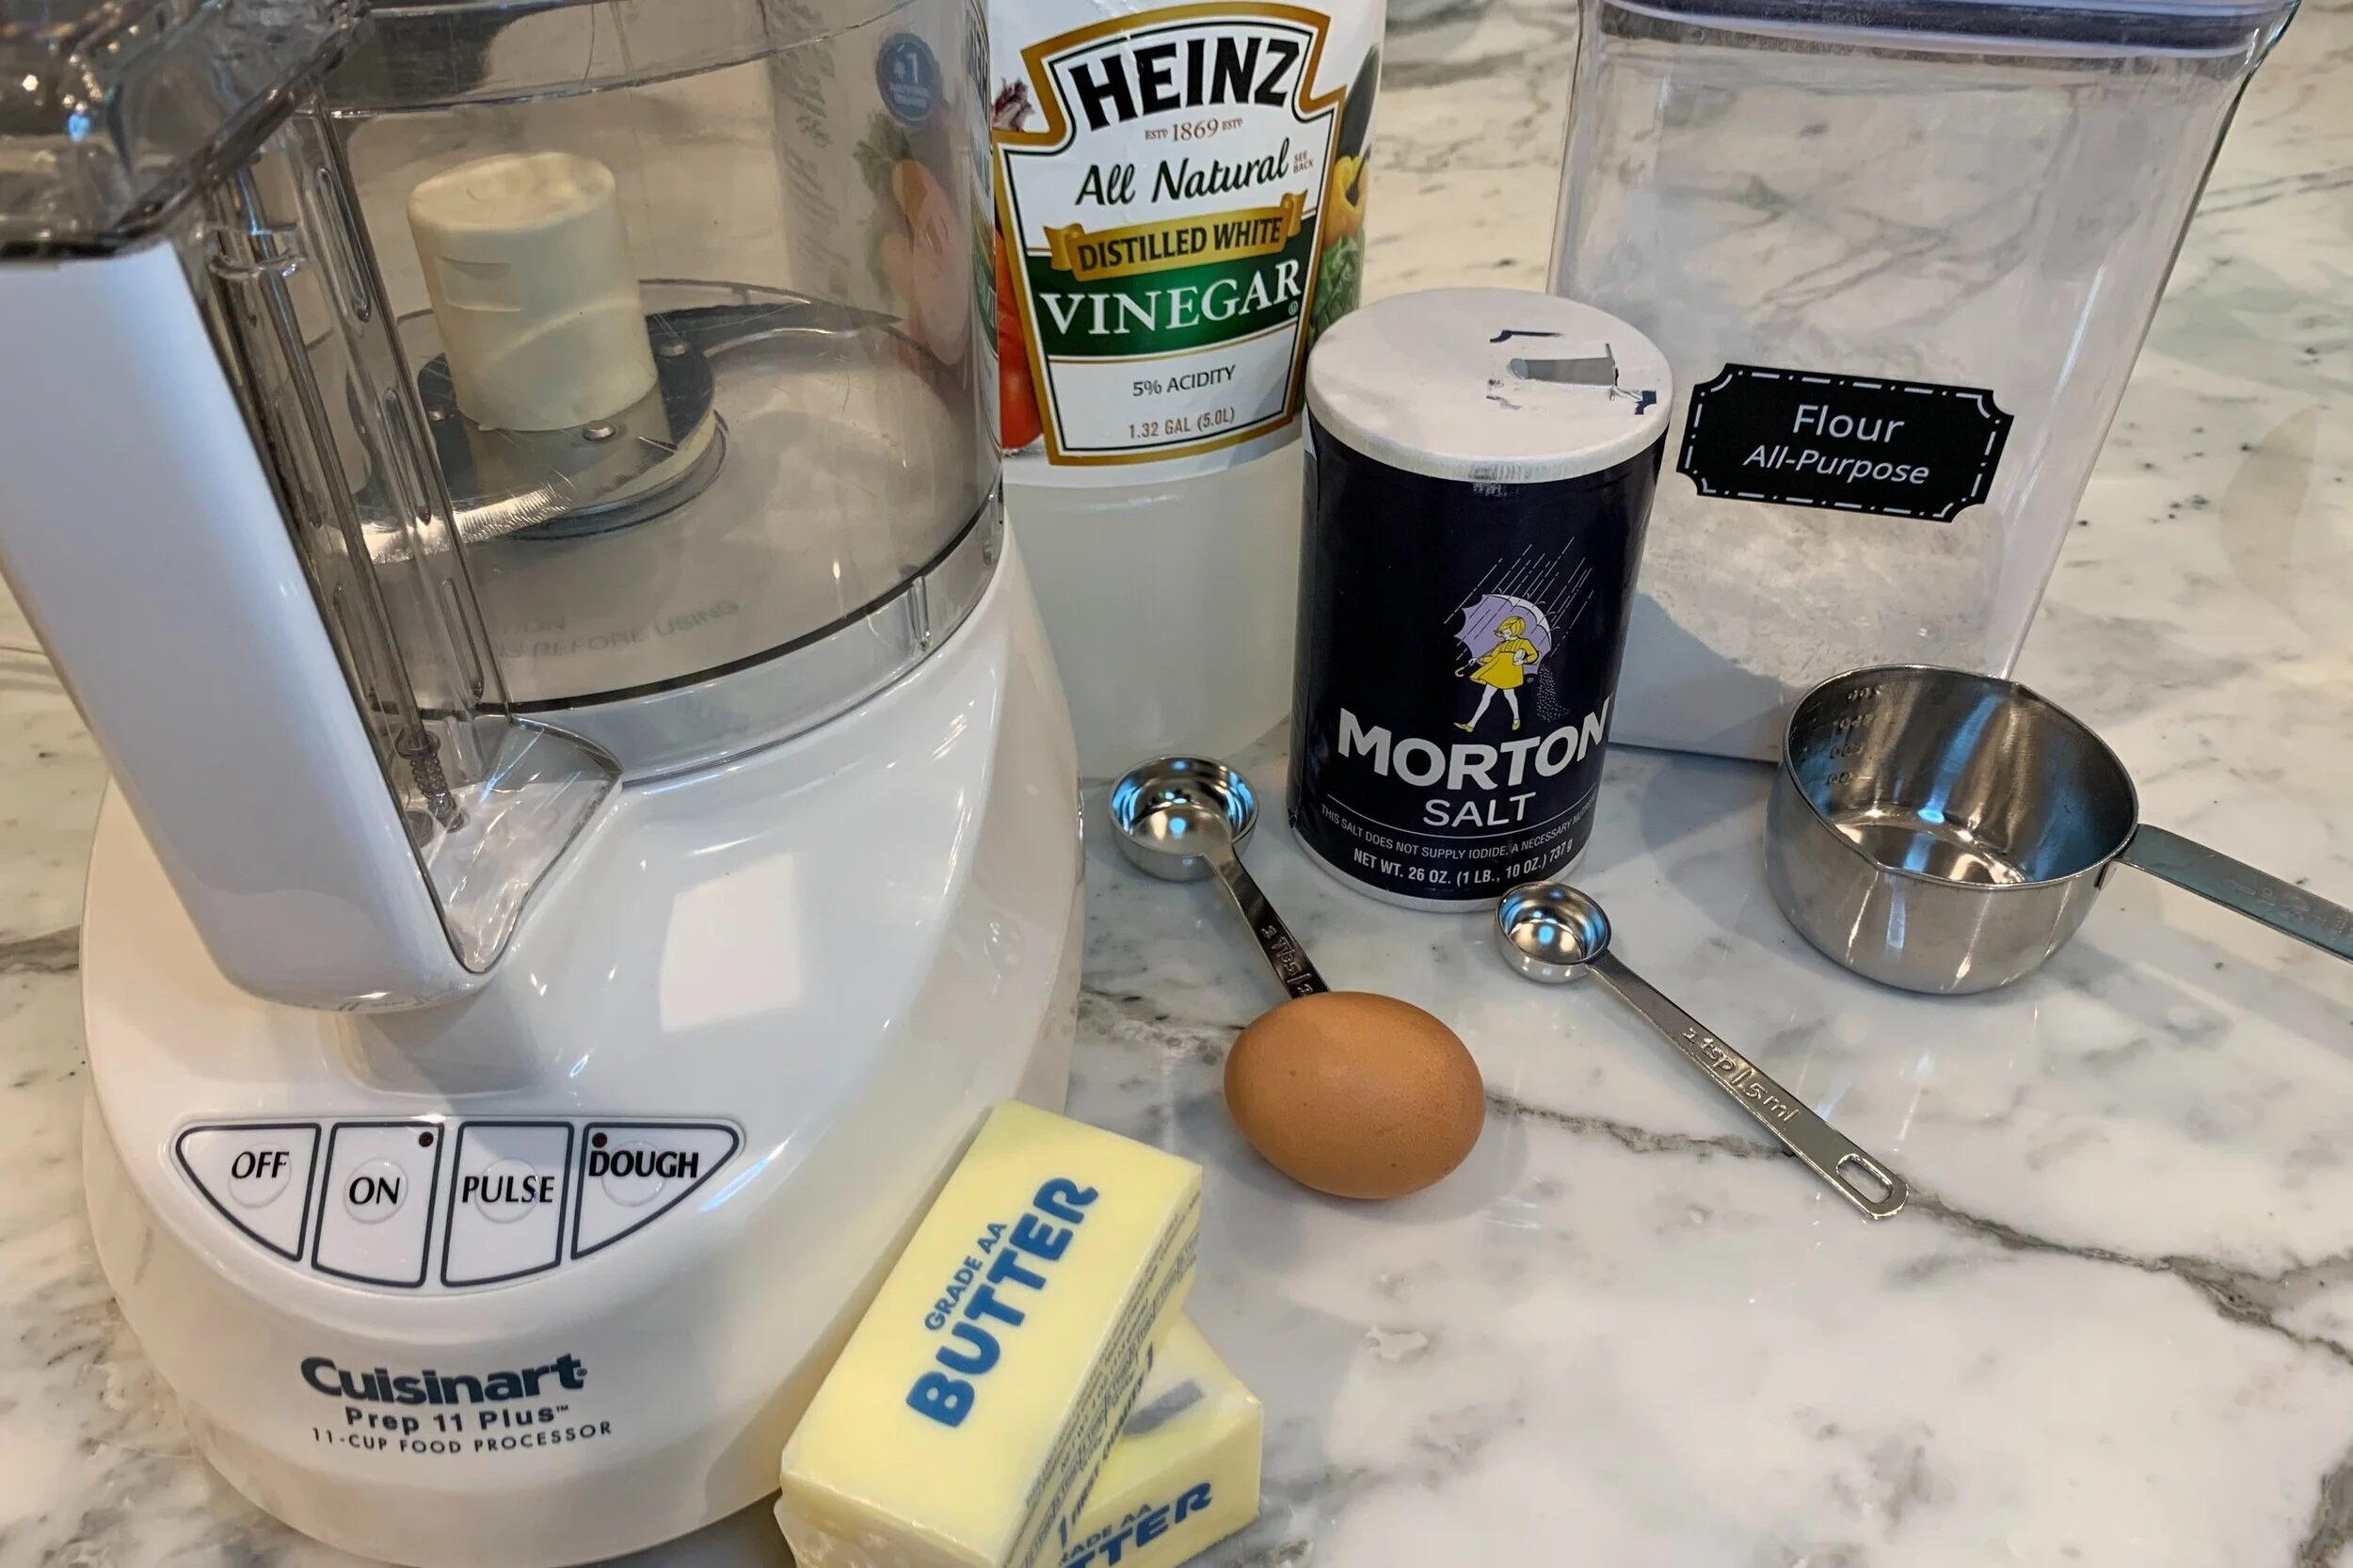
Ingredients
Instructions
- Measure ⅓ cup of cold filtered water and place in the refrigerator to chill.
- Cut each stick of chilled butter into eight pieces, then each piece into four. Refrigerate cubes until you are ready to add them to the other crust ingredients.
- Before measuring make sure to aerate your flour, then spoon the flour into your measuring cup and level off with the back of a knife.
- Place flour and salt in a large food processor (minimum 11 - cup processor), cover tightly, and pulse a few times to combine.
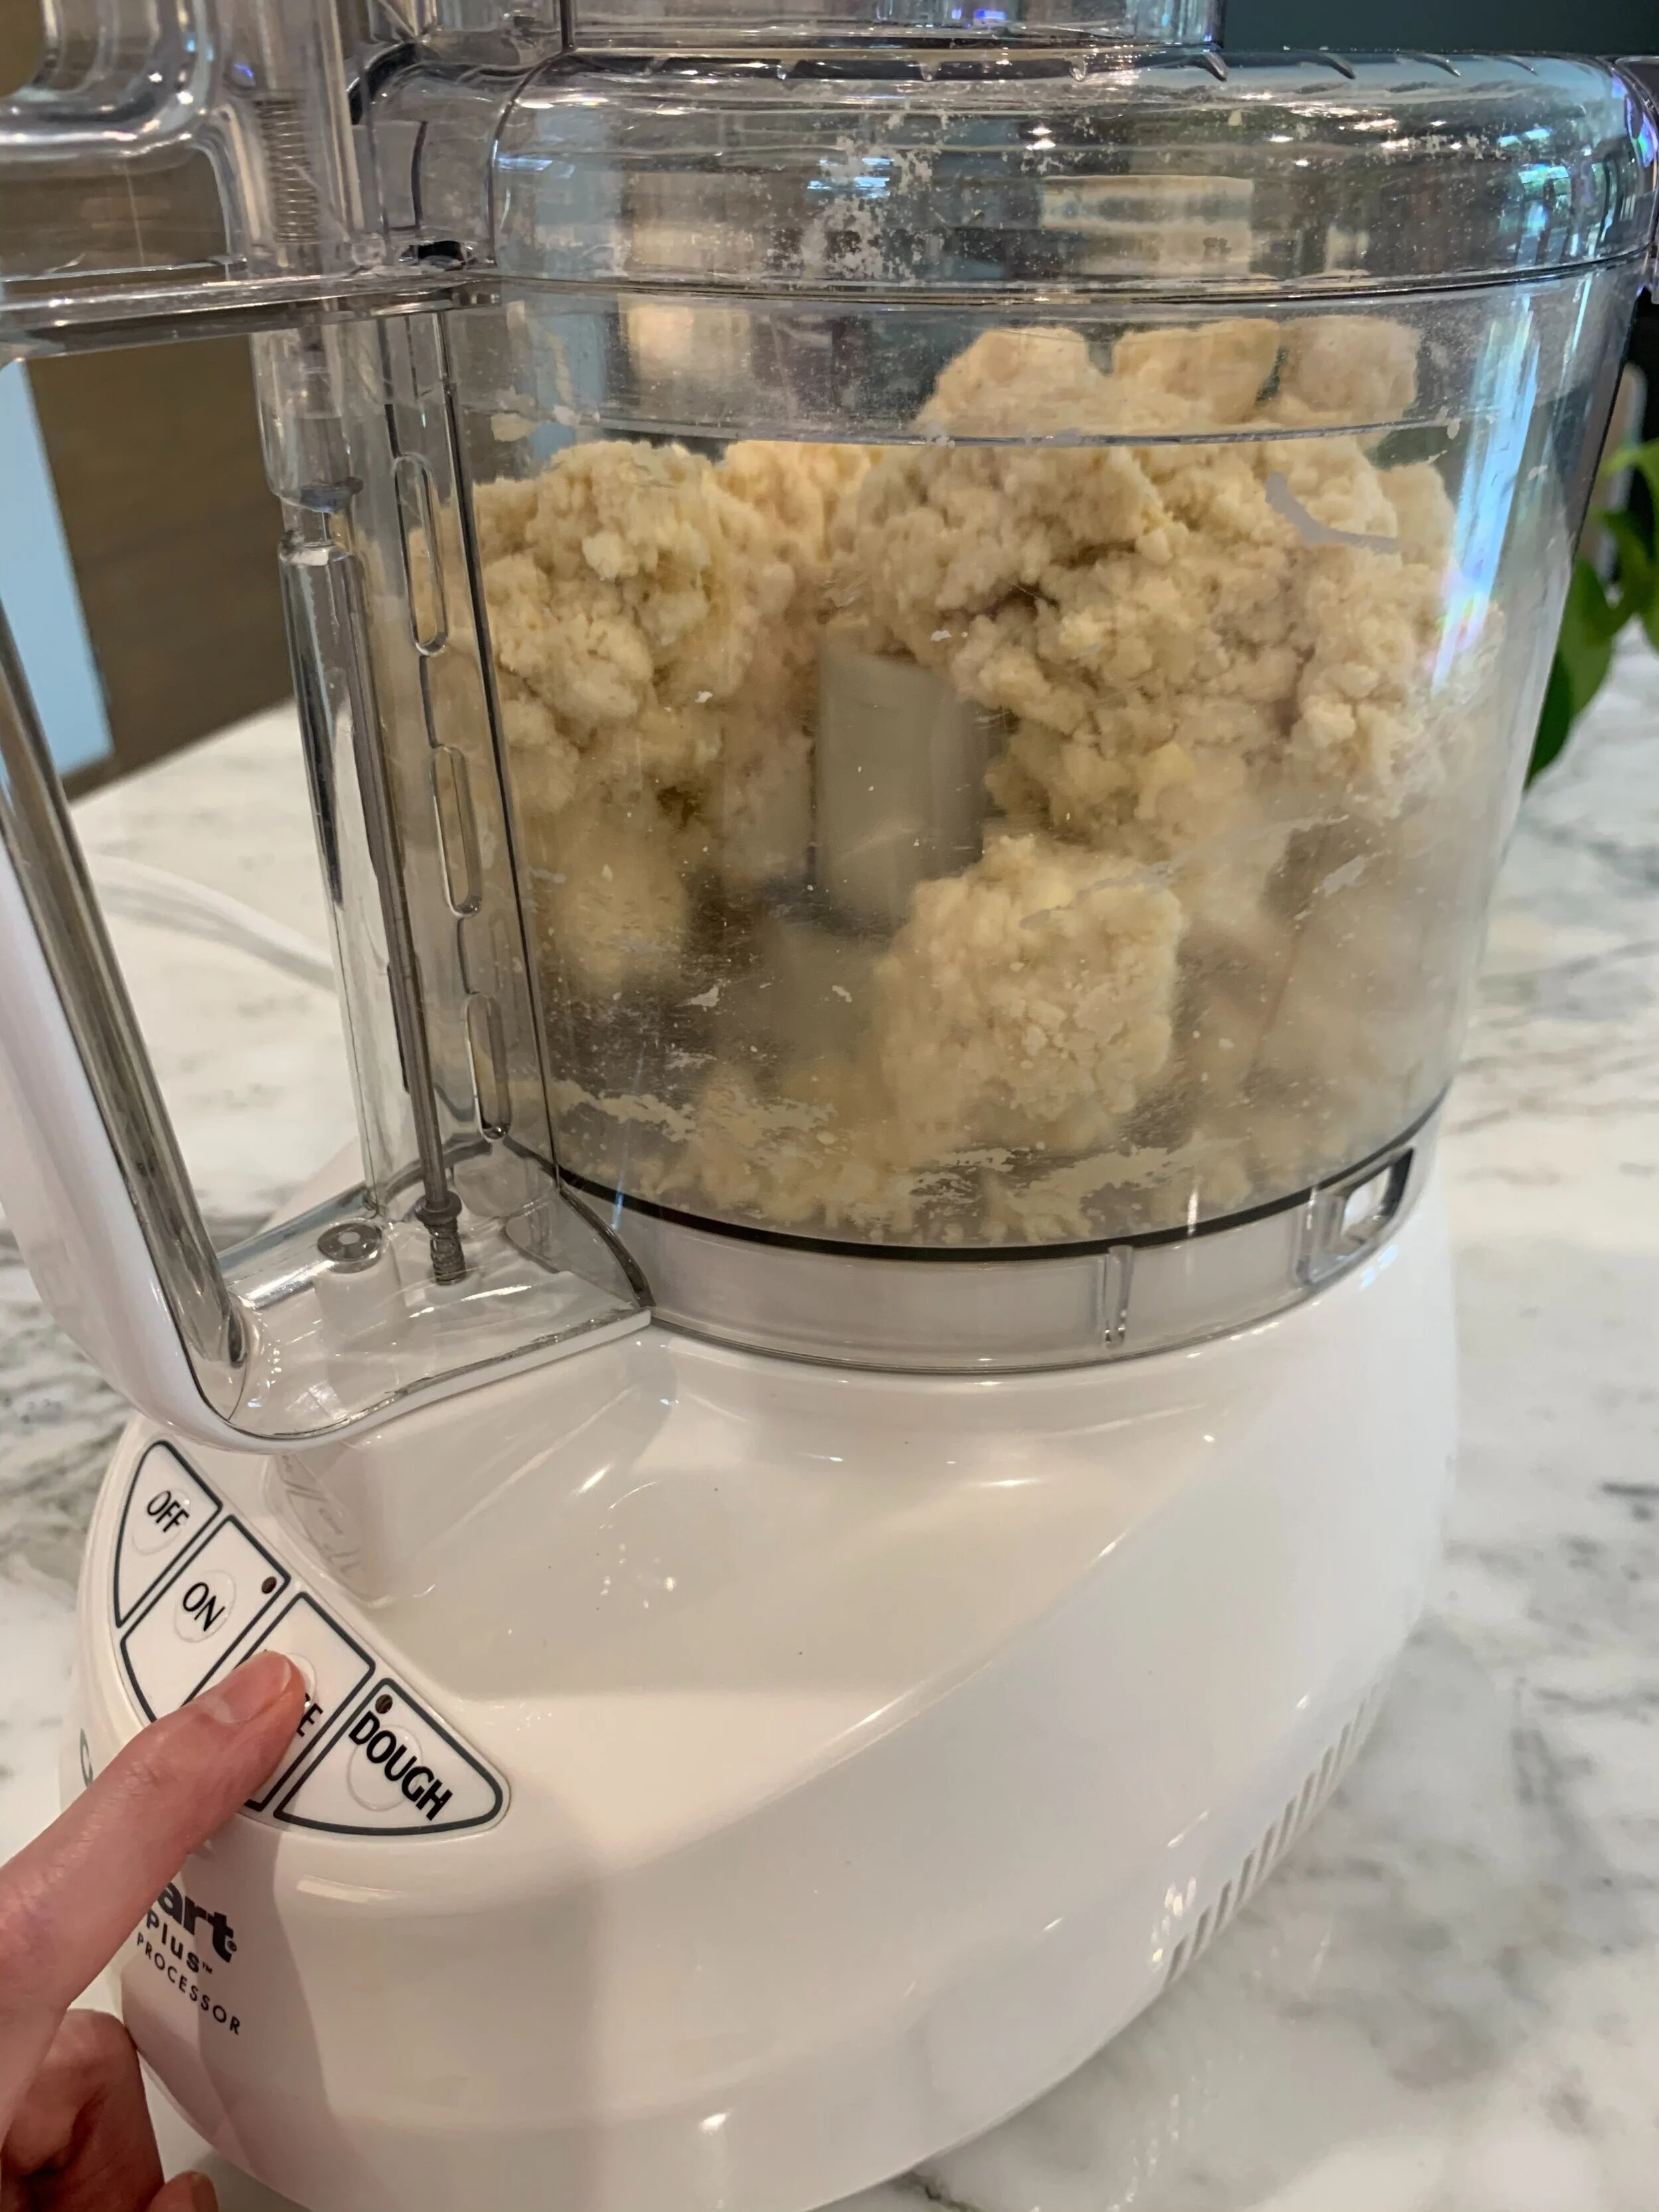
- Lightly beat one egg and set aside. Add chilled butter cubes to the flour mixture and quickly pulse 3 to 5 times, until you end up with large crumbs (do not continue to pulse even if you have larger pieces of butter, as they will break down during the next few steps).
- Add lightly beaten egg to the processor. With the cover on and while pulsing, add white vinegar and slowly add chilled water a little at a time through the top opening of the processor cover. (We live in a drier climate, so we always use the entire ⅓ cup of water; however, you may need less based on your location and the humidity levels.) Continue with longer pulses until dough comes together and forms dough balls. Do NOT over mix, as it will result in a tougher crust.
- Lightly dust a clean, smooth surface with flour and dump dough onto floured surface. If you have a silicone pastry mat, no need to sprinkle flour on the mat.
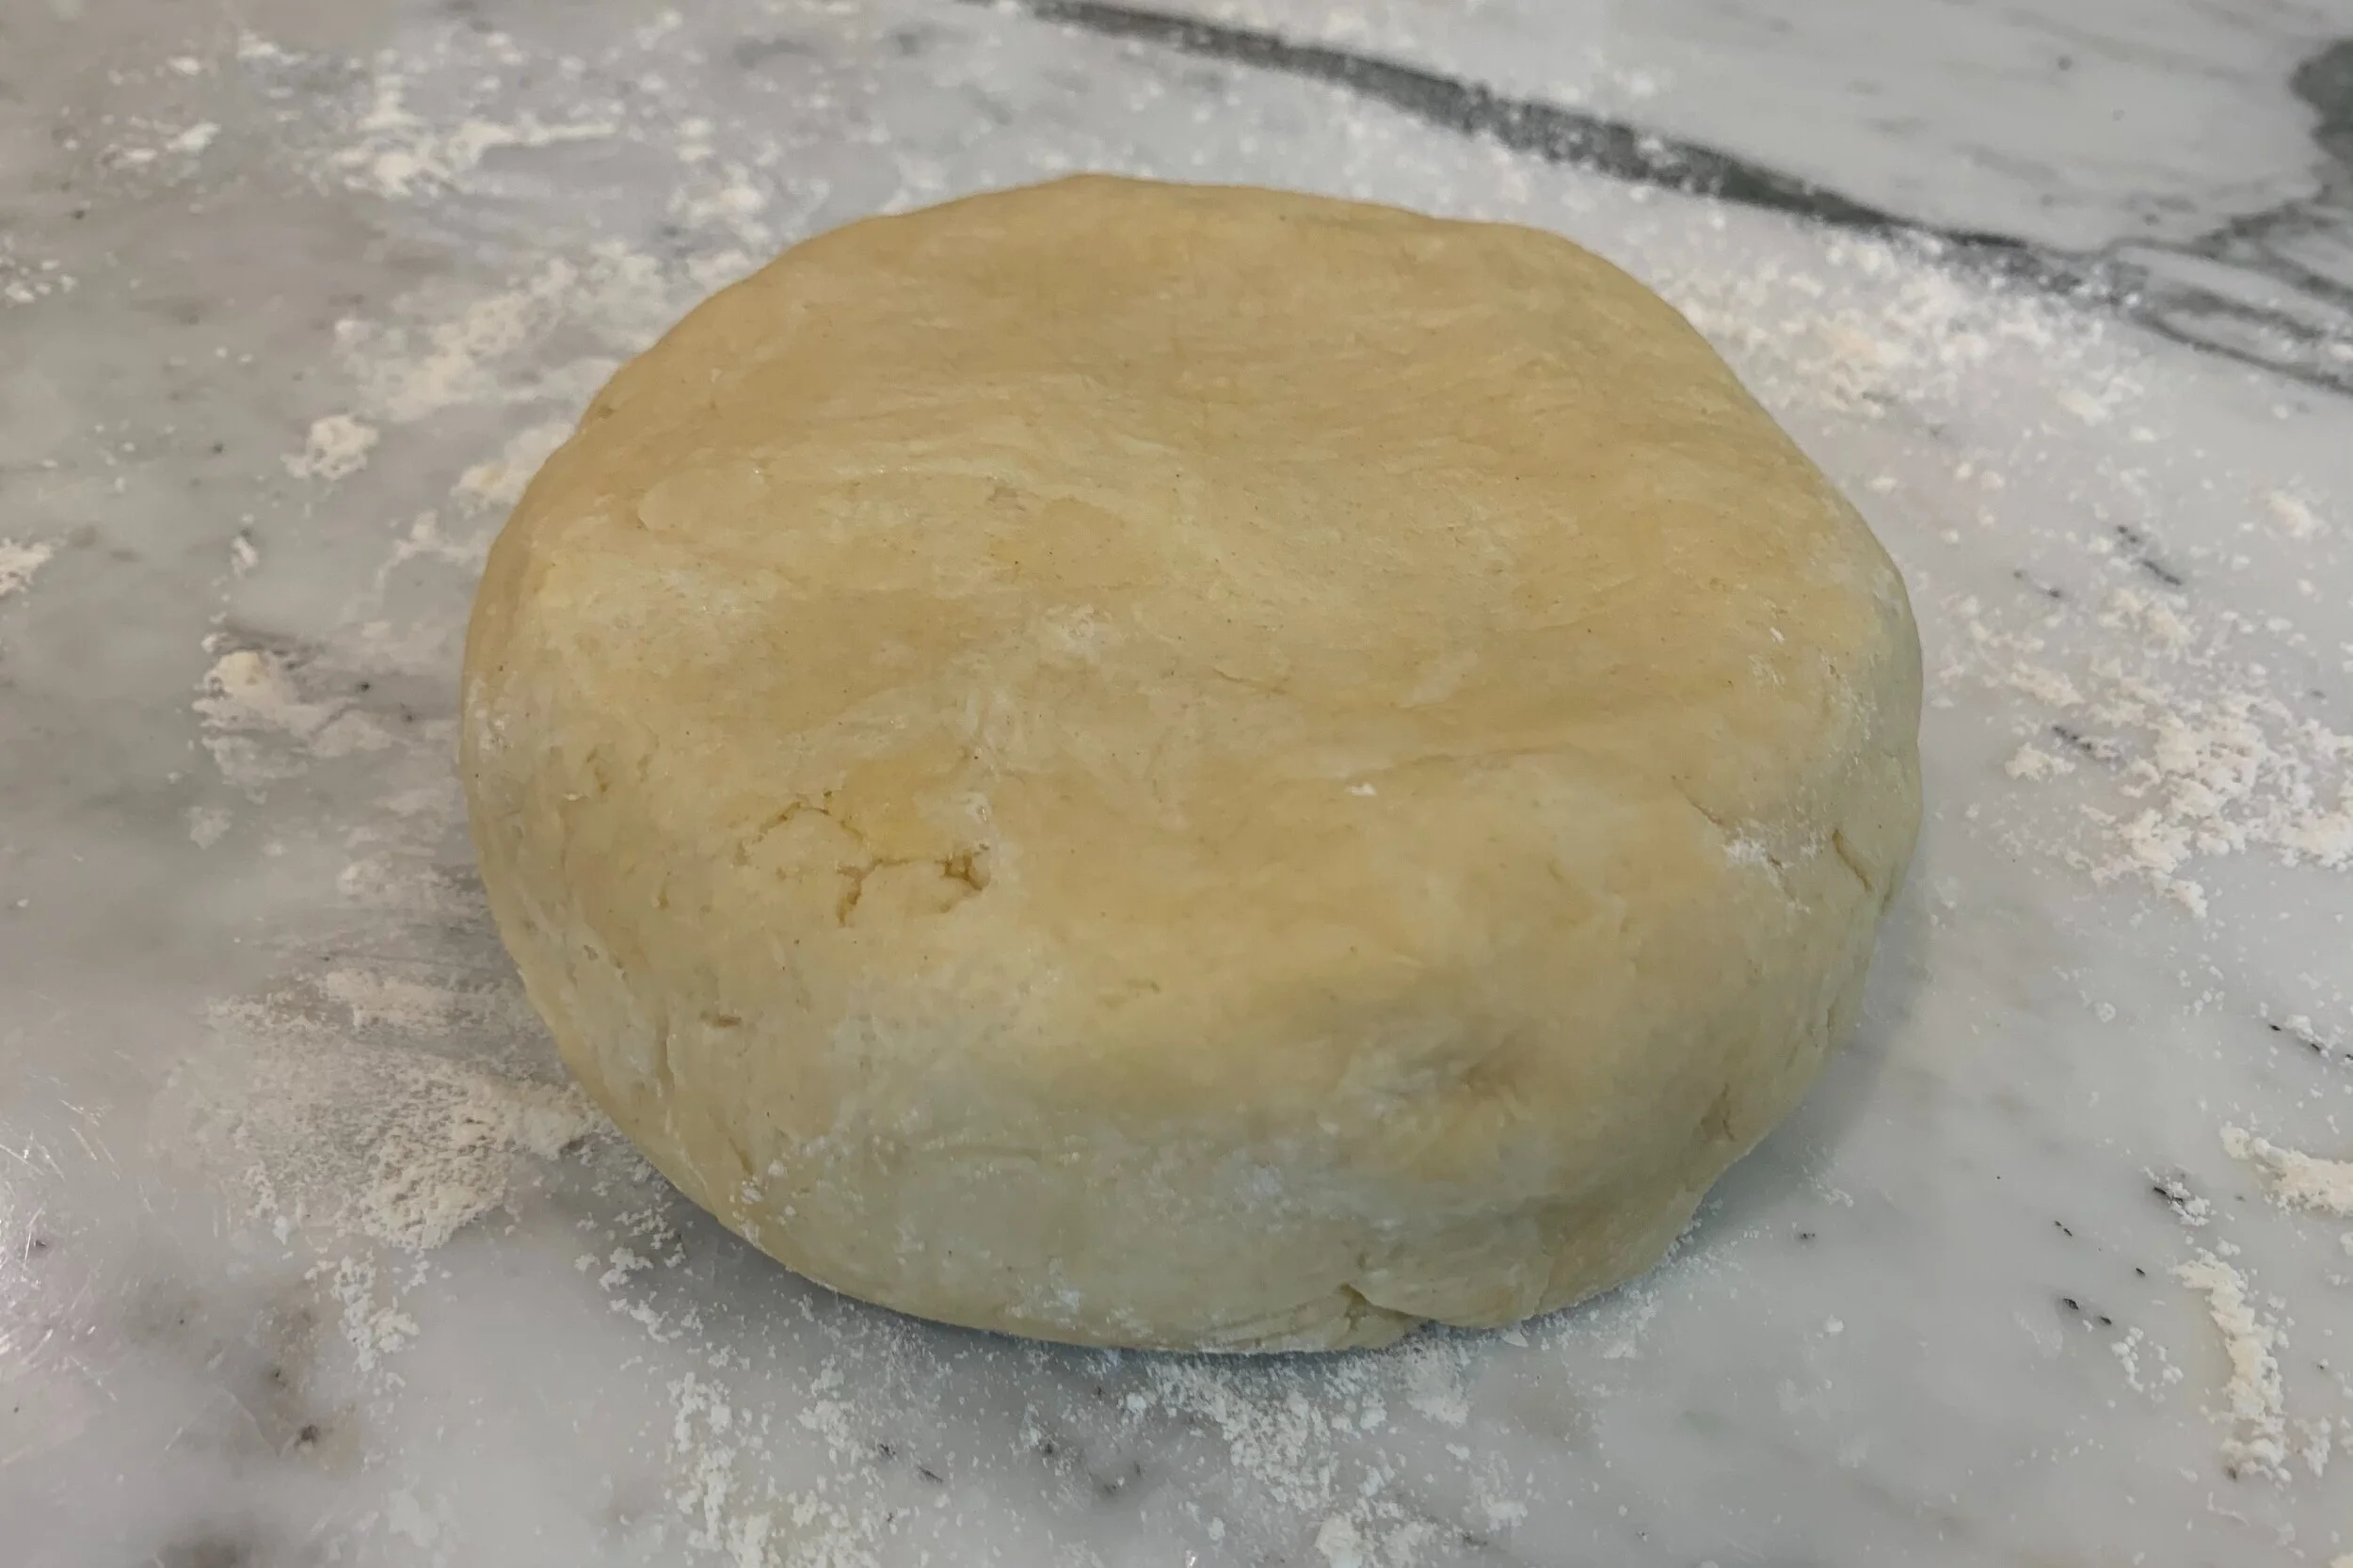
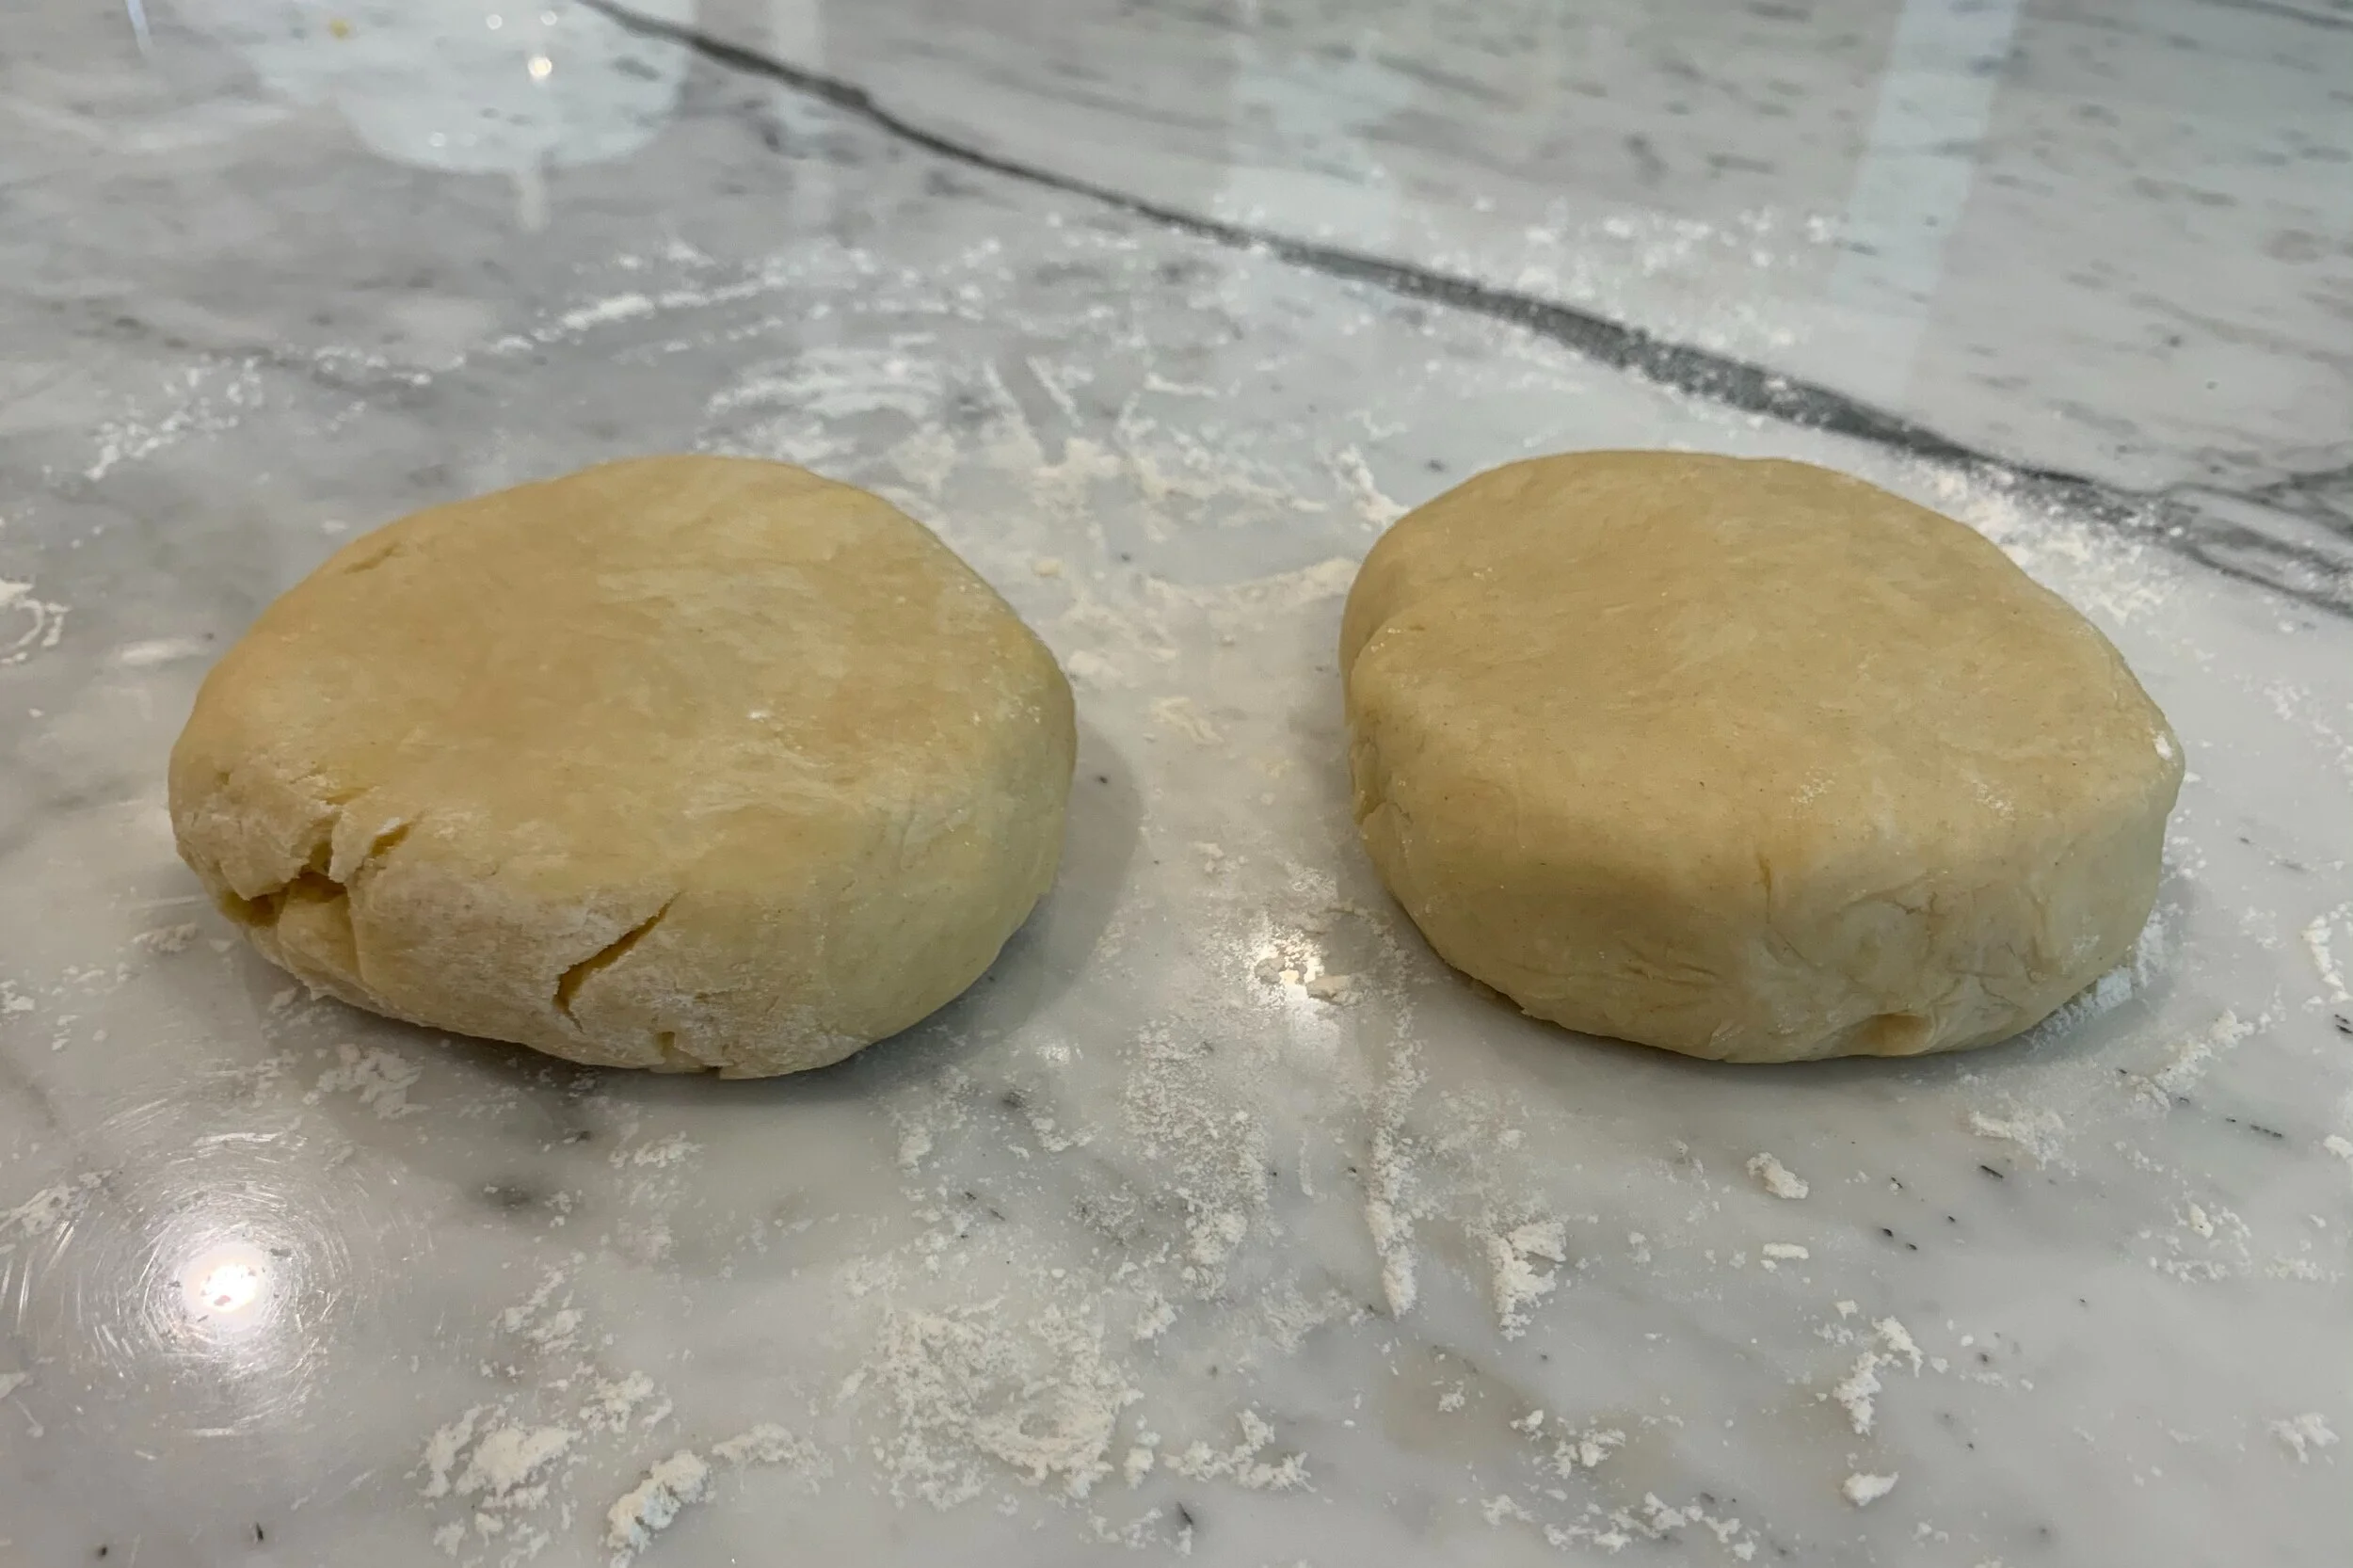
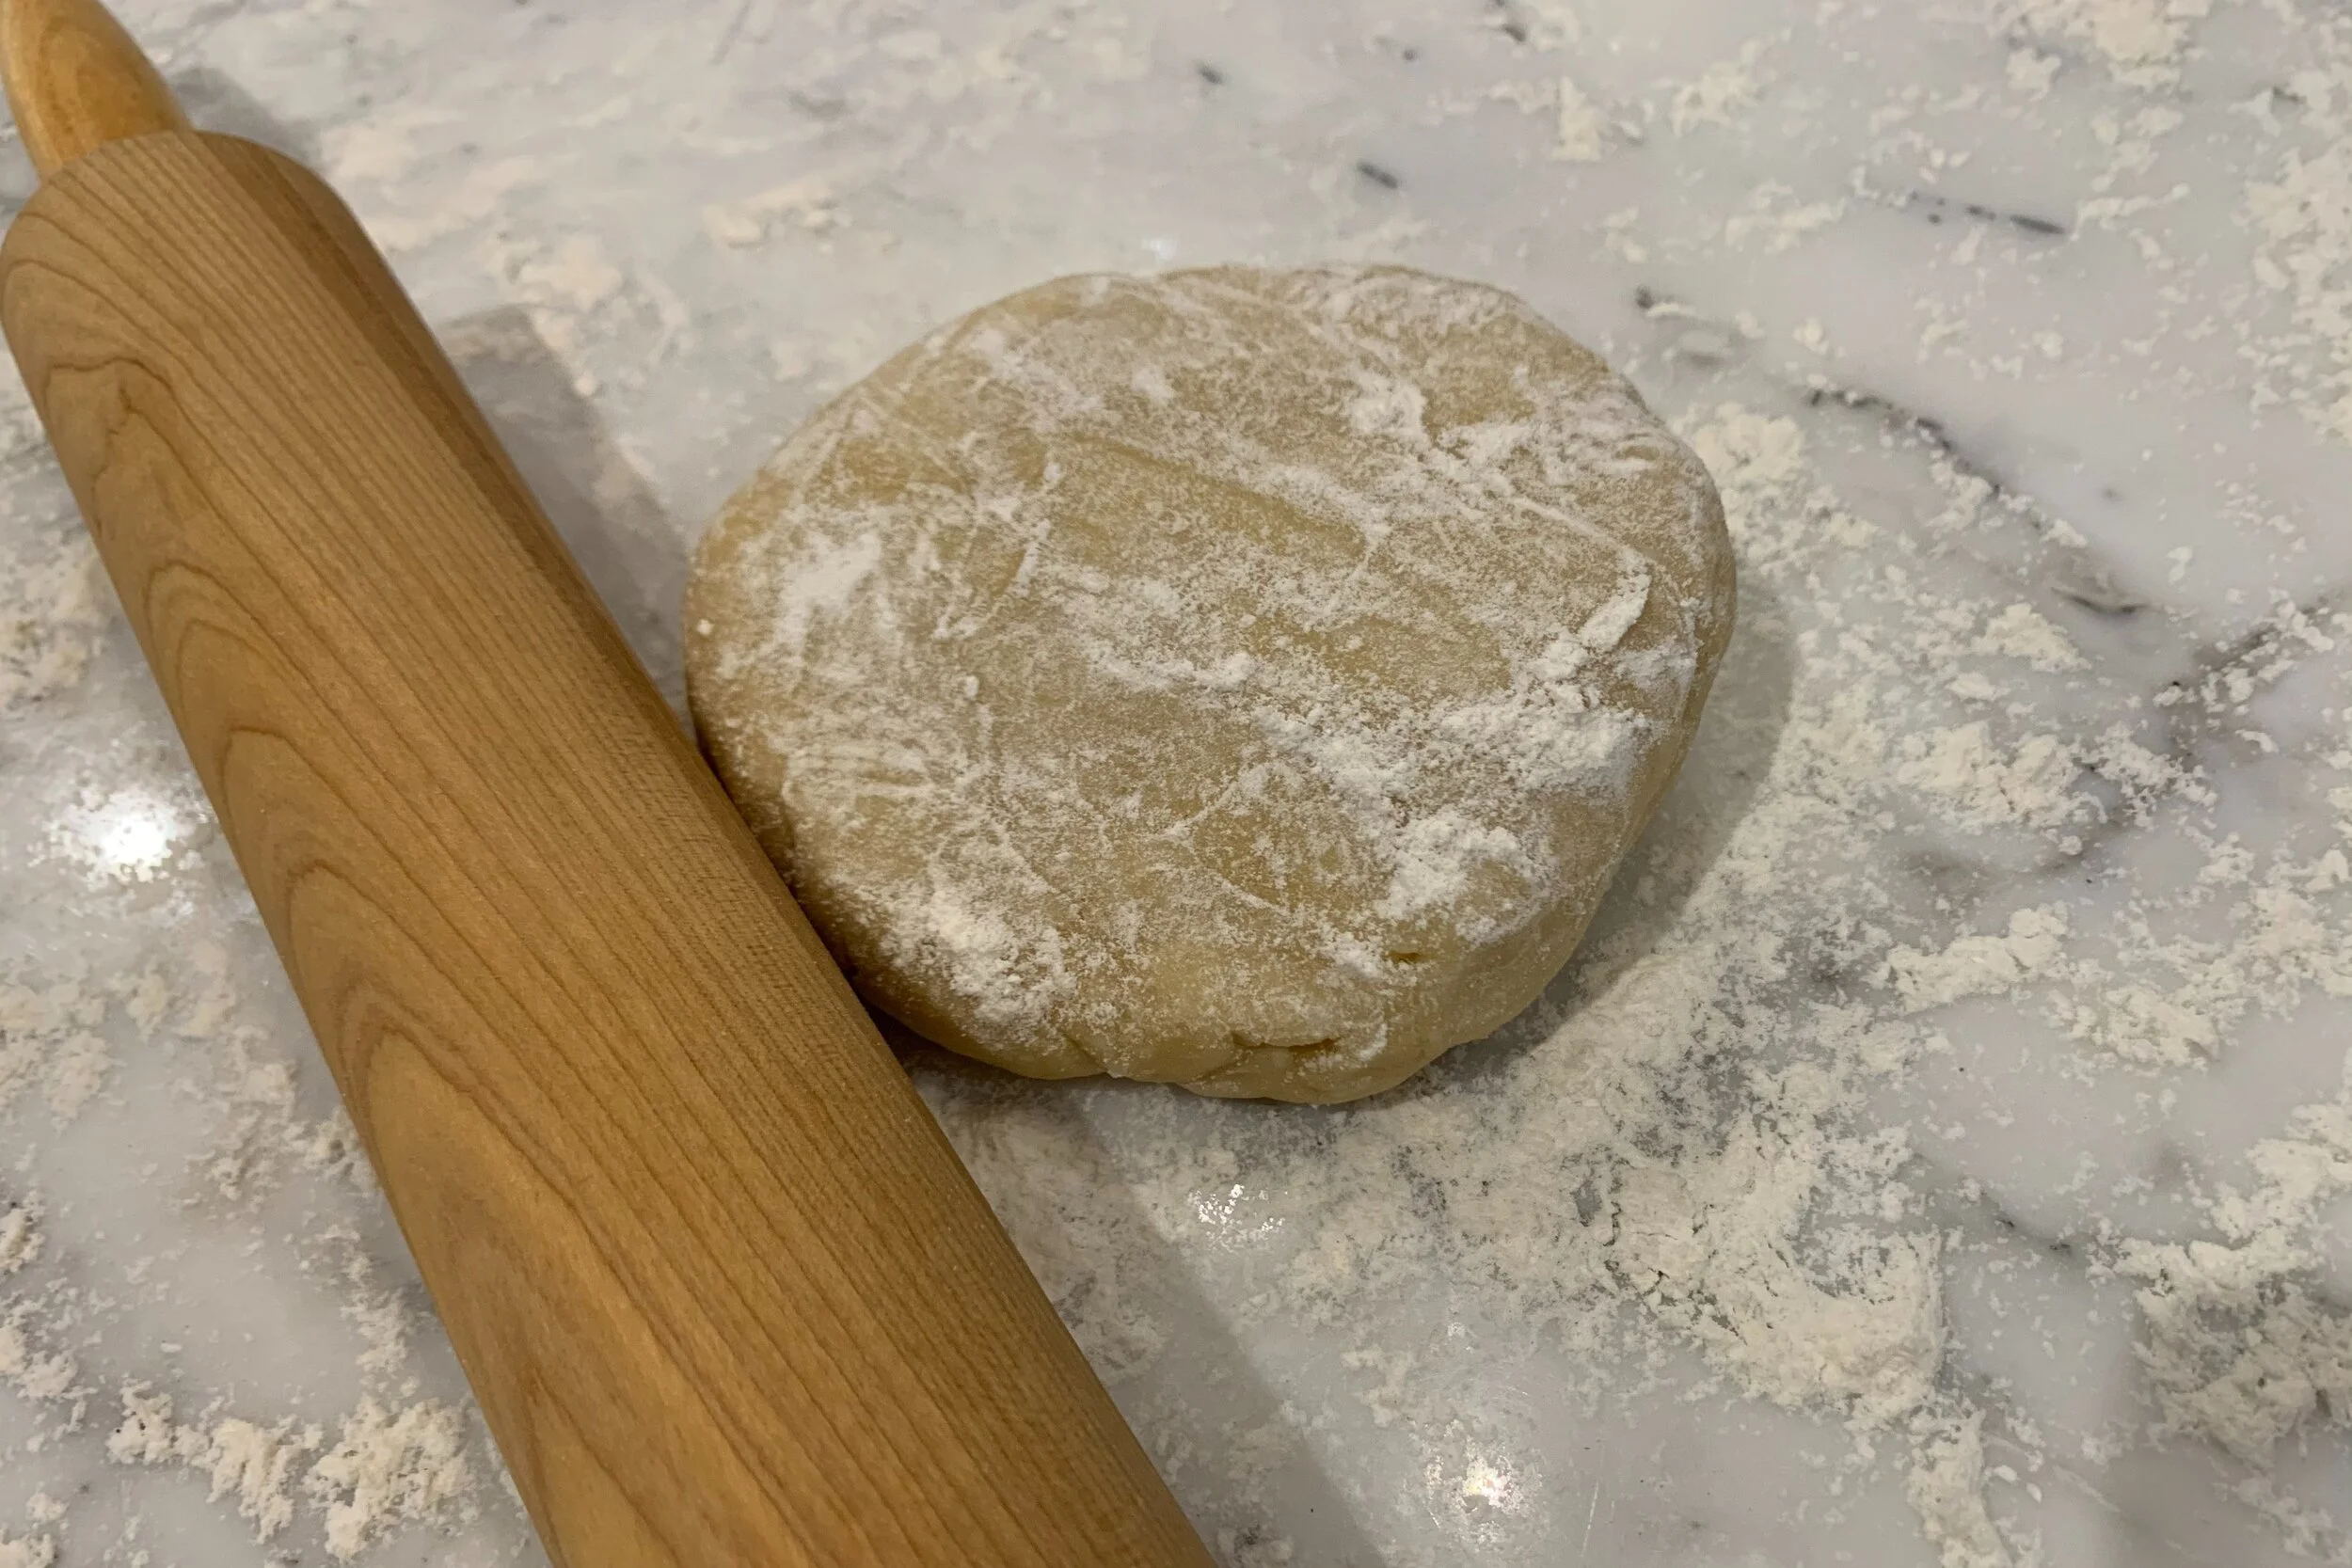
- With clean, dry hands, form dough blob into a ball and then flatten into one thick disk (if needed, sprinkle a little flour on your hands to prevent sticking). Do NOT overwork your dough, as it will get tough. Cut right down the middle of the disk with a sharp knife so you end up with two equal halves, and form into two thick disks. Tightly wrap each disk with plastic wrap and place disks inside a plastic freezer bag. Expel the air from bag and tightly seal. Refrigerator for two hours.
- See “Notes” below for instructions on how to store the dough, whether you are making the crust now, later in the week, or in a few weeks.
- Generously sprinkle flour onto a clean, dry surface. If you have a silicone pastry mat, no flour is needed on the surface. Unwrap one disk (keep the other refrigerated until ready use) and sprinkle top of disk with flour. Rub rolling pin with flour and lightly flour top of disk.
- Place rolling pin in center of disk and roll away from you once. Repeat the process from center and rolling towards you once. Repeat and then carefully lift the disk to move it one quarter turn. (Dust your surface in between turns to make sure your dough does not stick to your surface.) Repeat rolling process from center to outer edges, then lift and move one quarter turn. Continue rolling and turning process until you have rolled out the dough into a roundish shape that is about ¼ inch thick.
- Rub rolling pin with flour. Place rolling pin at the bottom edge of dough, closest to you. Without pressing down, gently lift the bottom edge with your fingers and hold the dough in place on the rolling pin. Without pressing down or pulling the dough, carefully roll up dough around the rolling pin. Then lift and unroll onto to your pie pan, tart pan, or lined baking sheet pan.
- Crimp to finish the edges and add your favorite filling and bake according to your own pie filling recipe. If you are going to use a double crust pie, just use the same roll up method and gently place on top of your filled bottom pie crust and crimp edges together to seal.
Notes
- Try using a silicone pastry mat as your rolling surface.
- Making a pie or tart? Gently press dough into the corners of your pie pan or tart pan and finish edges, as desired. Pour your filling into the crust and bake, per your own filling recipe instructions.
- Making a galette? Place a sheet of parchment paper directly onto a baking sheet and unroll dough directly onto the middle of the parchment paper. Add your favorite filling and bake according to your own filling recipe.
- If you only need one crust, make the entire recipe and store the other dough disk in freezer according to Note 5c.
- Storing and using pie dough, now or later: A) Same day use: If dough is too stiff after removing from fridge, let it sit on the counter for 5 to 10 minutes. Unwrap, roll out dough, lift onto pie or baking pan and it’s ready to fill. B) Use later in the week: Keep in refrigerator for up to 3 to 4 days. Before using, remove from fridge and leave wrapped on the counter for 20 to 30 minutes before rolling out. It should still be cold, but not so stiff that you cannot roll it out. C) Make ahead to use in a few weeks: Refrigerate for two hours and then transfer to freezer with extra wrapping. Double wrap each disk individually in plastic wrap and seal in a plastic freezer bag. To avoid freezer burn, expel all the air from the bag and place it in another freezer safe bag. Expel the air from double bag. Freeze up to 3 months and defrost in the refrigerator overnight. When ready to use, leave the package out on the counter for 20 to 30 minutes prior to rolling out.
- For more detailed instructions on how to blind bake a crust, see notes at the bottom of the step by step instructions on website.
- Recipe can be made ahead and stored, as noted above.


Nutrition Facts
Calories
383.35Fat (grams)
24.07Sat. Fat (grams)
14.59Carbs (grams)
35.83Fiber (grams)
1.27Net carbs
34.57Sugar (grams)
0.17Protein (grams)
5.87Sodium (milligrams)
277.72Cholesterol (grams)
84.26Nutritional information provided is strictly an estimate for this Double Pie Crust and will vary based on ingredient brands and cooking methods. If using only a single Crust for your pie, then reduce calories and nutritional info to one half.
Step by Step Instructions
PREPARATION
Organize all your tools and ingredients before you begin. Getting all your ingredients in one place at the beginning will shorten your prep time.
Crust

STEP 1
Measure ⅓ cup of cold filtered water and place in the refrigerator to chill.
Cut chilled butter into cubes. Cut each stick of butter into eight pieces, then each piece into four pieces. Place butter cubes back into the fridge until you are ready to add them to the other crust ingredients.

STEP 2a
Before measuring, always aerate your flour. Aerating is simply stirring your flour to get air into it. Stir it around well to ensure the flour is not compacted. You want your flour to be light and airy, so your pie crust does not turn out too dry or dense.

STEP 2b
Using a spoon, sprinkle the flour into a measuring cup until it is piled high. Do NOT use your measuring cup to scoop the flour from your container, or tap your cup to tamp down the flour, as this will re-compact your flour.

STEP 2c
Level off the flour with the back of a knife. Using the proper aeration, filling, and level off techniques will result in a more accurate measurement of flour (other than weighing it).

STEP 3
Place flour and salt in a Large Food Processor (should be a minimum of an 11 - cup processor), cover tightly, and pulse a few times to combine.

STEP 4a
Lightly beat one egg.

STEP 4b
Remove the chilled butter and water from the refrigerator. You will need them handy, as the next two steps will happen quickly. Add the butter cubes to the flour mixture.

STEP 4c
Secure cover on the processor and quickly pulse 3 to 5 times. Your butter and flour mixture should be in large crumbs at this point. Do not continue to pulse even if a few pieces of butter are larger. They will break down during the next few steps.

STEP 5a
Add the lightly beaten egg and cover.
While pulsing, slowly add the chilled water a little at a time, through the opening at the top of the processor. Depending on your location, the humidity levels, and how the dough comes together, you may not need all the water. We always use the entire ⅓ cup of water, because we live in a drier climate.
STEP 5b
Continue with longer pulses as the dough begins to come together. Stop processing as soon as it forms a bunch of dough balls. Do NOT over mix, as it will result in a tougher crust.

STEP 6a
Lightly dust a clean, smooth surface with flour and dump the dough onto the floured surface. If you have a Silicone Pastry Mat, no need to sprinkle flour on the mat.
STEP 6b
With clean, dry hands, form dough into a ball and then flatten into a thick disk. If needed, sprinkle a little flour on your hands to prevent sticking.

STEP 6c
Take a sharp knife and cut right down the middle of the disk, so you end up with equal size dough halves.
STEP 6d
Form wedges into two thick disks. Do NOT overwork your dough, as it will get tough.

STEP 6d
Individually wrap each disk with plastic wrap and place disks inside a plastic freezer bag. Expel all the air and tightly seal. Place in the refrigerator for two hours. This will chill the butter in the dough, which will make it more flaky when it bakes.
See “Notes” below for instructions on how to store the dough, whether you are making the crust now, later in the week, or in a few weeks.
Rolling Out Dough
STEP 1
Roll out the dough when you are ready to use it to make a crust for a pie, tart, or galette.
Generously sprinkle flour on a clean, dry surface. If you have a Silicone Pastry Mat, no flour is needed on the surface. Unwrap one disk (to keep it chilled, keep the other in the fridge until you are ready to roll out) and sprinkle the top with flour. Rub flour all over Rolling Pin, to keep your dough from sticking.
Note: For perfectly even crust, try this Rolling Pin with Removable Rings.

STEP 2
Place the rolling pin in the center of the disk and roll away from you from center to top, once. Then lift the pin, place it in the center of the disk and roll towards you, once. Repeat once towards the top and then the bottom. Then lift the disk and move one quarter turn. Dust your surface in between turns to make sure your dough does not stick to your surface. Repeat the rolling process again from the center towards the top and then the bottom. Carefully lift the disk again and move one quarter turn. Continue to do this until you have rolled out the dough into a roundish shape that is ¼ inch thick.

STEP 3
Rub flour all over your rolling pin and place at the bottom edge, closest to you. Without pressing down, gently lift up the bottom edge with your fingers and hold the dough in place on the pin. Carefully begin rolling away from you (without pressing down or pulling the dough), until it’s completely rolled. Then lift and unroll onto to your Pie Pan, Tart Pan, or baking sheet pan.
Add your favorite filling and bake according to your own pie filling recipe. If you are going to use a double crust pie, just use the same roll up method with the rolling pin and gently place on top of your filled bottom pie crust and crimp the edges to seal.
See “Notes” below for instructions on how to bake your pie crust for a full blind bake, quick blind bake, and partial blind bake.
Various Ways to Use Your Pie Crust

Fresh Blueberry Pie
Immediately after rolling it out, we filled it with our blueberry filling.

Fresh Cherry Pie
A lattice pattern made the top crust of this amazing cherry pie look extra special.

Double Crust Blueberry Pie
After pouring in the filling, we unrolled the top crust, crimped the edges, scored the top, and lightly brushed the top with egg wash (beaten egg with a little water) to make it glisten.

Blind Baked Pie Crust
Blind baking crust using crumpled parchment paper and beans as weights.
Notes:
Try using a Silicone Pastry Mat as your surface. Measuring is easy and you won’t have to dust your surface with flour (only on your rolling pin).
Making a pie or tart? Lift the edges of the dough and gently press into the corners of your pie or tart pan and finish edges, as desired. Pour your filling into the crust and bake, per your own filling recipe instructions.
Making a galette? Place a sheet of parchment paper directly onto a baking sheet. Then unroll the dough directly onto the middle of the parchment paper. Now it’s time to add your favorite filling. Bake according to your own filling recipe.
If you only need one crust, make the entire recipe and store the other dough disk in freezer for later, according to Note 5c.
Storing and using pie dough, now or later:
Same day use: Remove one disk from fridge. If dough is too stiff, let it sit on the counter for 5 to 10 minutes. Unwrap, roll out dough, lift onto pie or baking pan and it’s ready to fill. Repeat with other disk when ready.
Use later in the week: Keep in the refrigerator for up to 3 to 4 days. Before using, remove from fridge and leave wrapped on the counter for 20 to 30 minutes before rolling out. It should still be cold, but not so stiff that you cannot roll it out.
Make ahead to use in a few weeks: Double wrap each disk individually in plastic wrap and seal in a plastic freezer bag. To avoid freezer burn, expel all the air from the bag and place it in another freezer safe bag. Expel the air from double bag. Refrigerate for two hours and then transfer to freezer. Freeze up to 3 months and defrost in the refrigerator overnight. When ready to use, leave the package out on the counter for 20 to 30 minutes prior to rolling out.
Need a blind baked crust?
STEP 1: After rolling out your dough, preheat your oven to 400°F. Place your pie or tart pan in the fridge for 20 to 30 minutes, to chill it again. Once chilled, crumple a sheet of parchment paper and place it over the crust. Make sure there is at least 2 inches of overhang. Pour pie weights, or dry beans, evenly onto the parchment paper to weigh down the crust. Place the pie pan or tart pan in the oven and immediately turn it down to 375°F. Bake for 15 minutes. Remove from oven and carefully lift parchment paper with pie weights out of the pie.
For a full blind bake (for a no-bake pie): As noted above in Step 1 for blind crust, bake for 15 minutes and then remove pie weights. Prick holes all over the bottom and side of the pie and return to oven for another 13 to 15 minutes. Bake until golden brown and fully cooked. Cool completely and then use the filling recipe of your choice.
Quick method for full blind baking (for no-bake pie): As noted above in Step 1 for blind crust, fill with pie weights and make sure edges of crust are loosely covered by parchment paper. Bake for 25 to 30 minutes and remove from oven once golden brown. Keep a close eye while it’s in the oven, as you don’t want it to over brown or burn. Carefully lift parchment paper and pie weights and allow crust to completely cool.
For a partial blind bake (for a lemon meringue pie or a quiche): As noted above in Step 1 for blind crust, bake for 15 minutes and then remove pie weights. If crust edges are too brown, cover the edges with crumpled parchment paper, foil, or a pie crust shield AFTER you prick the holes. Prick holes in the bottom and sides of the pie and return to oven for another 5 to 7 minutes. Remove from oven and complete baking process following your own filling recipe instructions.
Recipe can be made ahead and stored, as noted above.
Blog Comments & Tips
This is my go to recipe for any and every pie we make!
Many years ago, we were on a trip to Wisconsin and we stopped by the local specialty market that carried seasonal foods and local baked goods. My husband spotted the Amish Blueberry Pie and said, it was calling his name. It was freshly baked and still warm. We couldn’t wait to get back to the cabin to try it. I will never forget the flavor and texture of that simple, but incredible dessert that forever changed my viewpoint about pies. All these years later, I can still taste those plump, sweet blueberries, enveloped by that tender, flaky crust. This recipe was born from that experience.
The Amish typically use lard or Crisco in their crusts, but I’m not a fan of using shortening. In the Pimp My Recipe Test Kitchens, we prefer using butter whenever possible. So, in developing this recipe, we used some of the traditional elements of the Amish pie crust recipe, but adapted it by adding butter to give the crust that extra layer of flavor. The best part is we made it really easy. Instead of hand cutting the butter into the flour, we used a food processor. You can actually make this crust in one third the time it takes to do it by hand. Of course, if you are a traditionalist, we encourage you to try the recipe, but feel free to cut the butter by hand instead. Whichever method you choose to use, we think you will be pleased with the results.
We are so happy to share this wonderful Amish style crust recipe with all of you and hope you like it as much as we do. We haven’t used another crust recipe since!
Enjoy and let us know what you think!
Mich
Footnote: Make sure to read the Notes section above for details on storing and baking this crust for immediate use, partial blind bake, or full blind bake crust. We even include a quick method for blind baking.

Every editorial product is independently selected. We may be compensated or receive an affiliate commission if you purchase products via our links. As Amazon Associates, we earn from qualifying purchases.