
Classic Tiramisu

Made with traditional ingredients, our Classic Tiramisu recipe is extra flavorful, and is light and fluffy as a cloud! Finished with a generous dusting of unsweetened cocoa powder, this appropriately named coffee infused “pick me up” dessert has the perfect balance of sweetness, flavor, and texture to make it worthy for any special occasion. Our Classic Tiramisu makes a festive dessert for your holiday celebration. Don’t be surprised if your guests ask for the recipe!
This is a delicious make ahead dessert recipe, which makes it perfect for entertaining. The flavors in this Classic Tiramisu develop overtime, so it’s best to make this dessert 1 day in advance of serving. Interested in reading about the tale of Tiramisu and how to Pimp Our Recipe? Visit our Blog Comments & Tips.
Sign up for a free subscription to our monthly newsletter and access to exclusive content.
To browse some of our favorite kitchen essentials, gadgets, and pantry items, visit our Recommended Products page.
RECIPE
(Check out our Step by Step Instructions below the recipe card.)
Recipe updated as of 3/28/22
Step by Step Instructions

PREPARATION
Organize all your tools and ingredients before you begin. Getting all your ingredients in one place at the beginning will shorten your prep time.
STEP 1
Place the bowl and whisk attachment of a stand mixer in the refrigerator to chill, while you make the first components of the tiramisu.
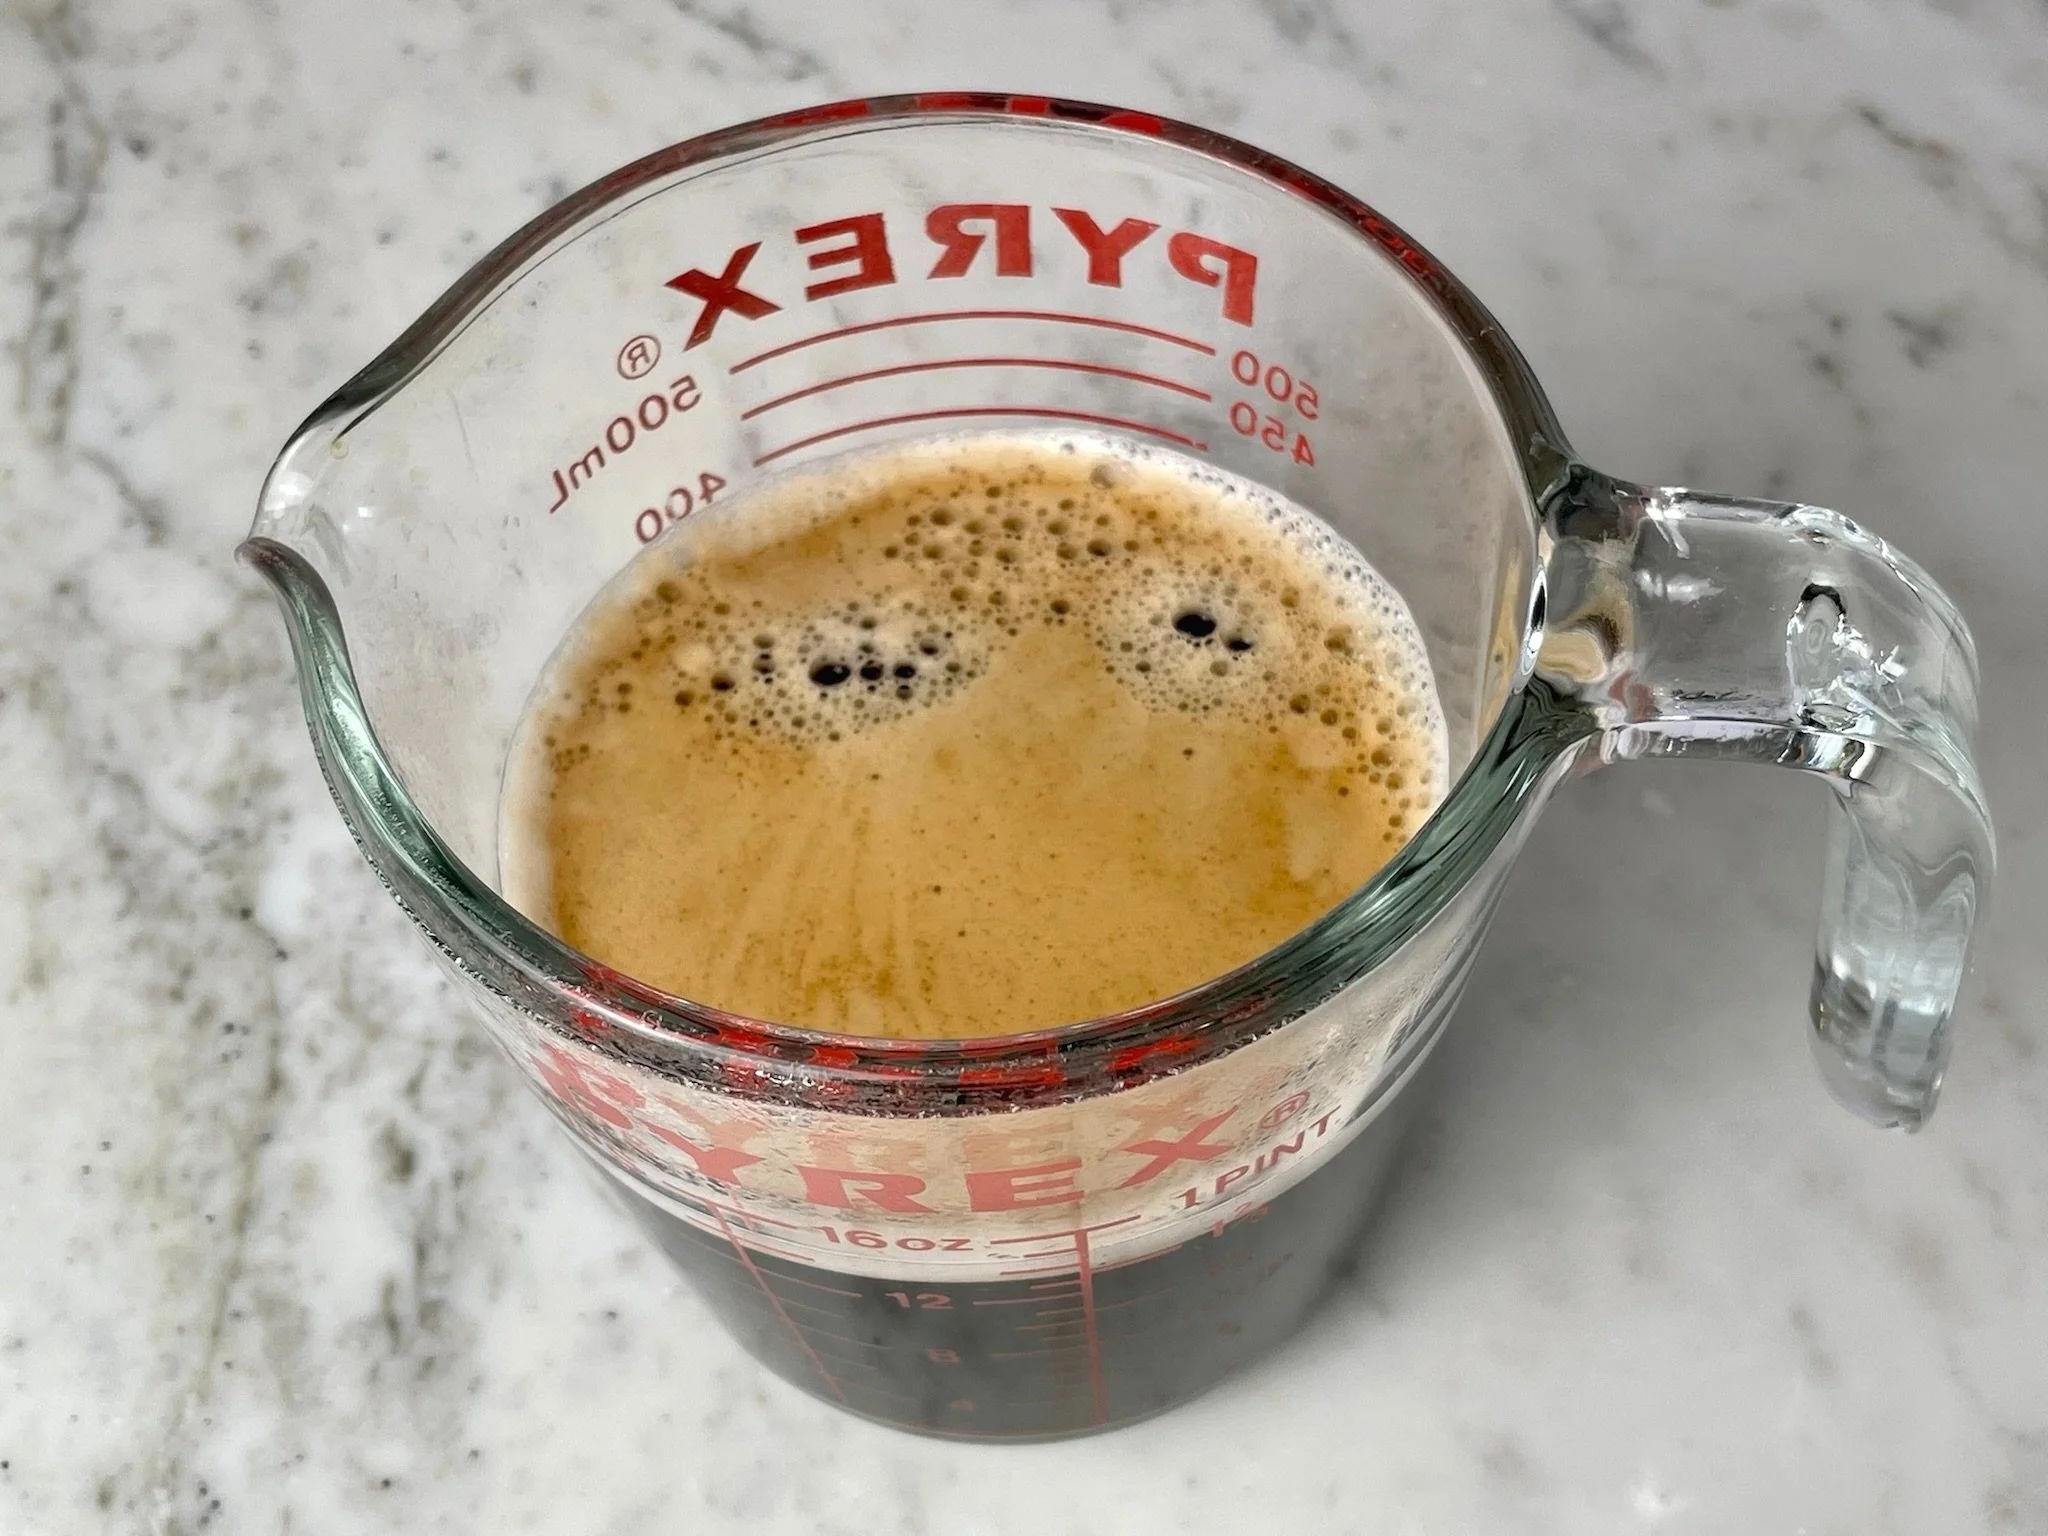
Make 1 ½ cups very strong coffee (or espresso - see Note below), and refrigerate until ready to use.
Note: For a strong coffee flavor, make 10 ounces of extra strong coffee (we love Kicking Horse Coffee, Dark Roast), and add 2 ounces of espresso (to make 1 ½ cups of strong coffee). You can use decaffeinated coffee, if you prefer. We love this decaffeinated brand (Kicking Horse Coffee, Decaf Dark Roast) because it is delicious and is a great substitute for regular espresso or strong caffeinated coffee. It has all the flavor without the caffeine.
STEP 2a
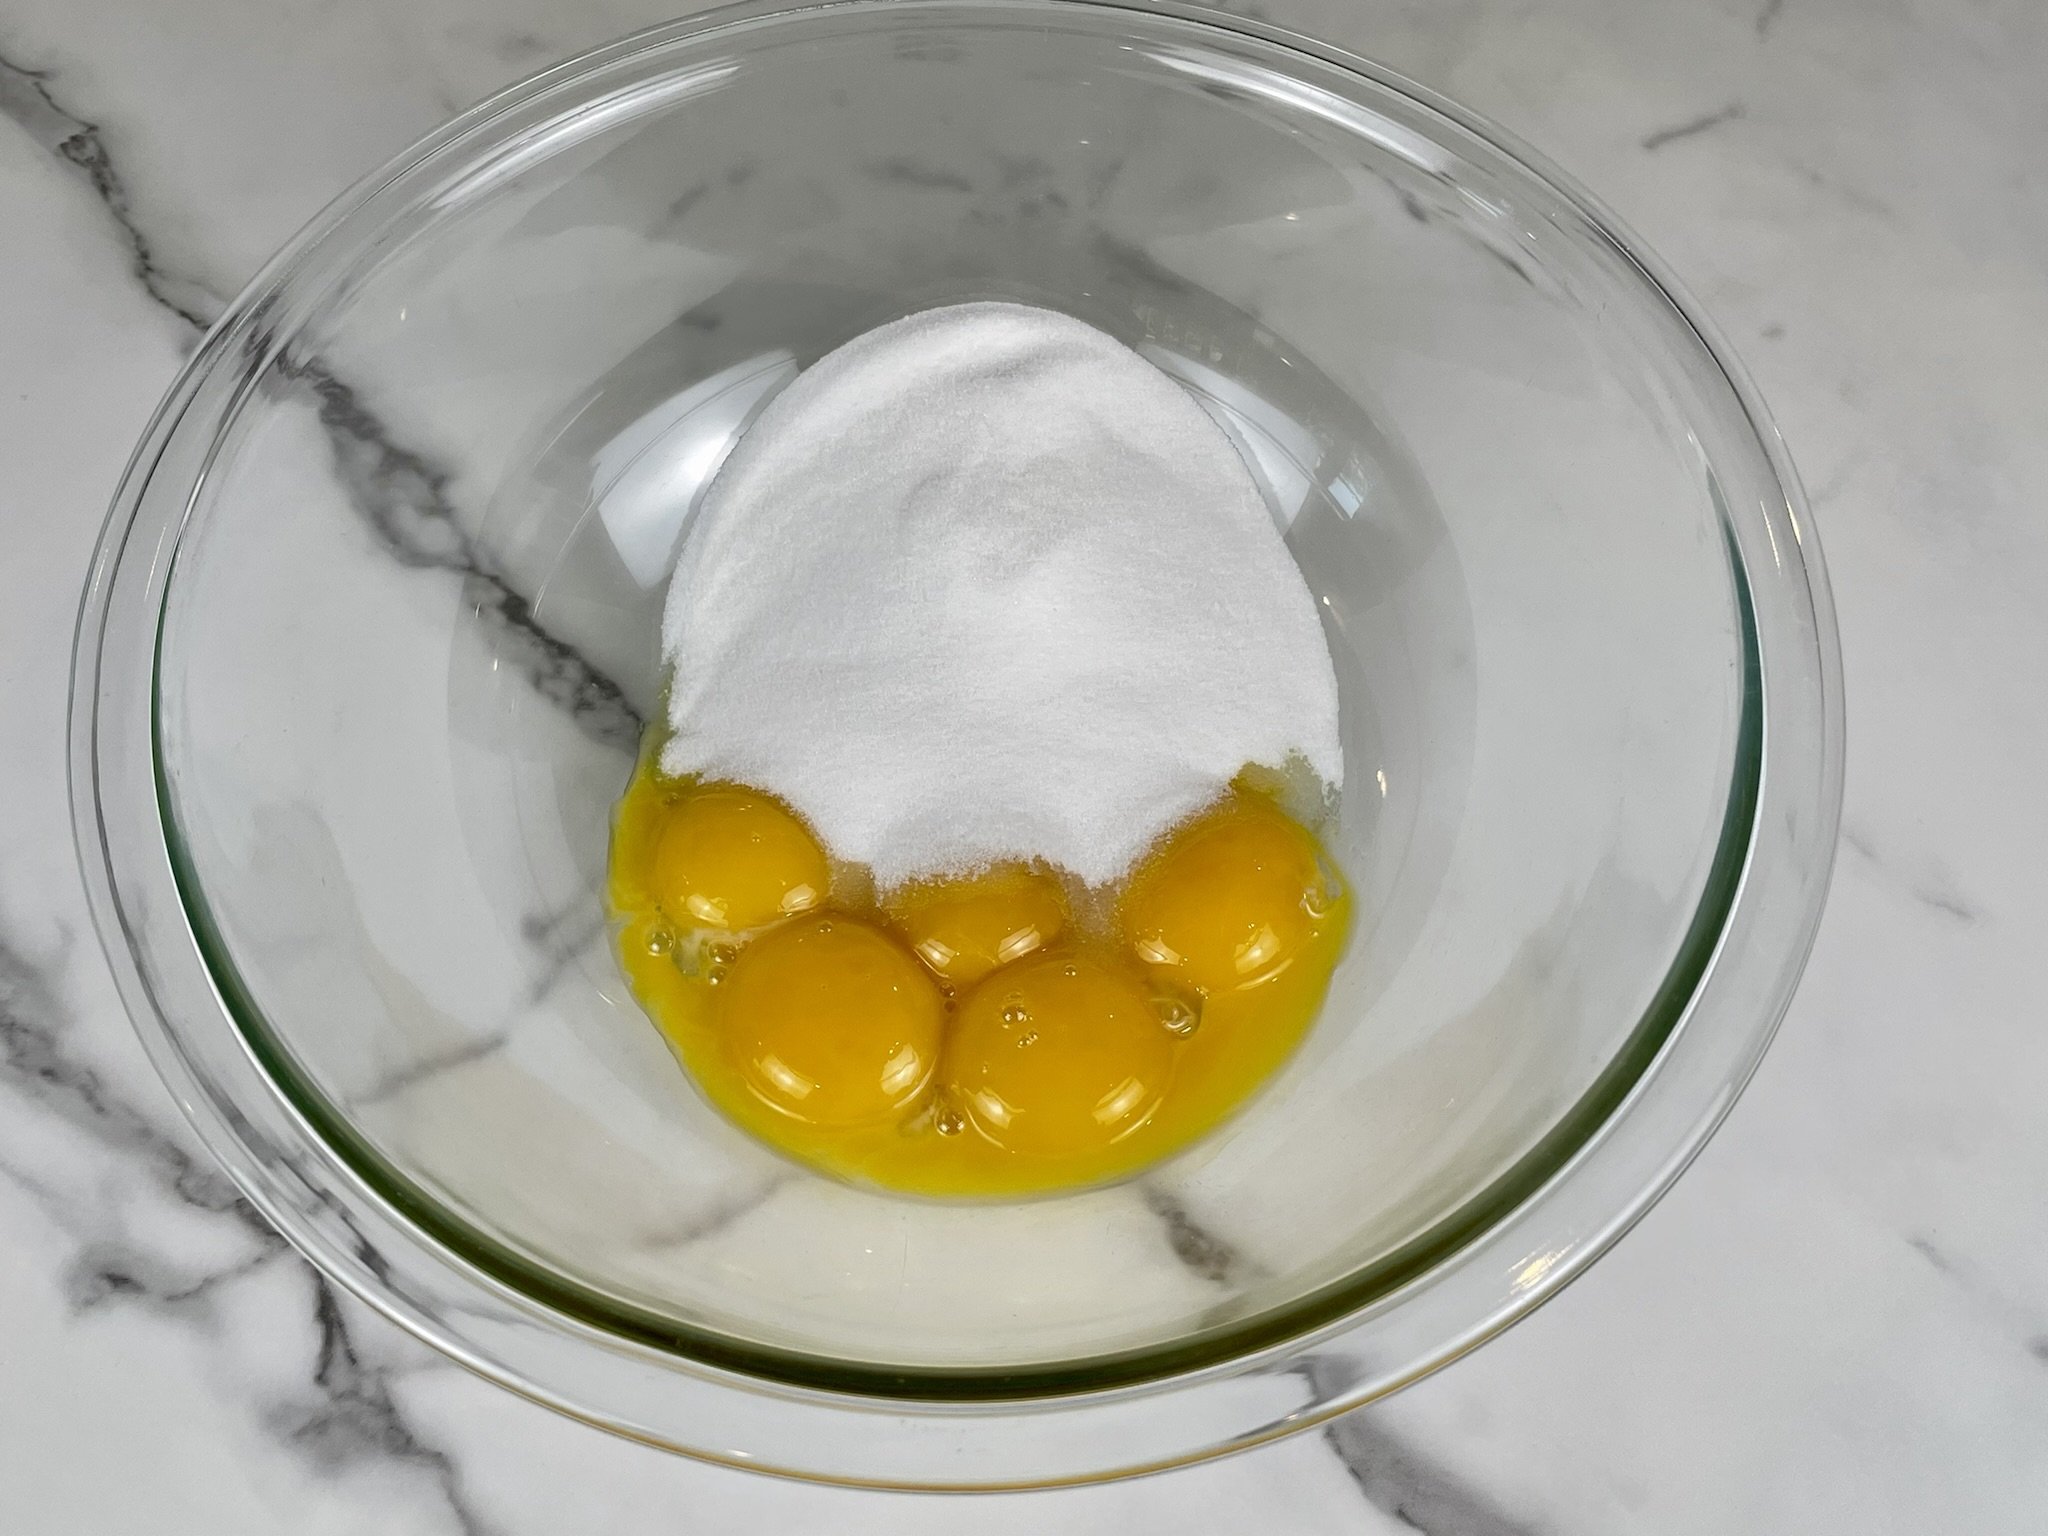
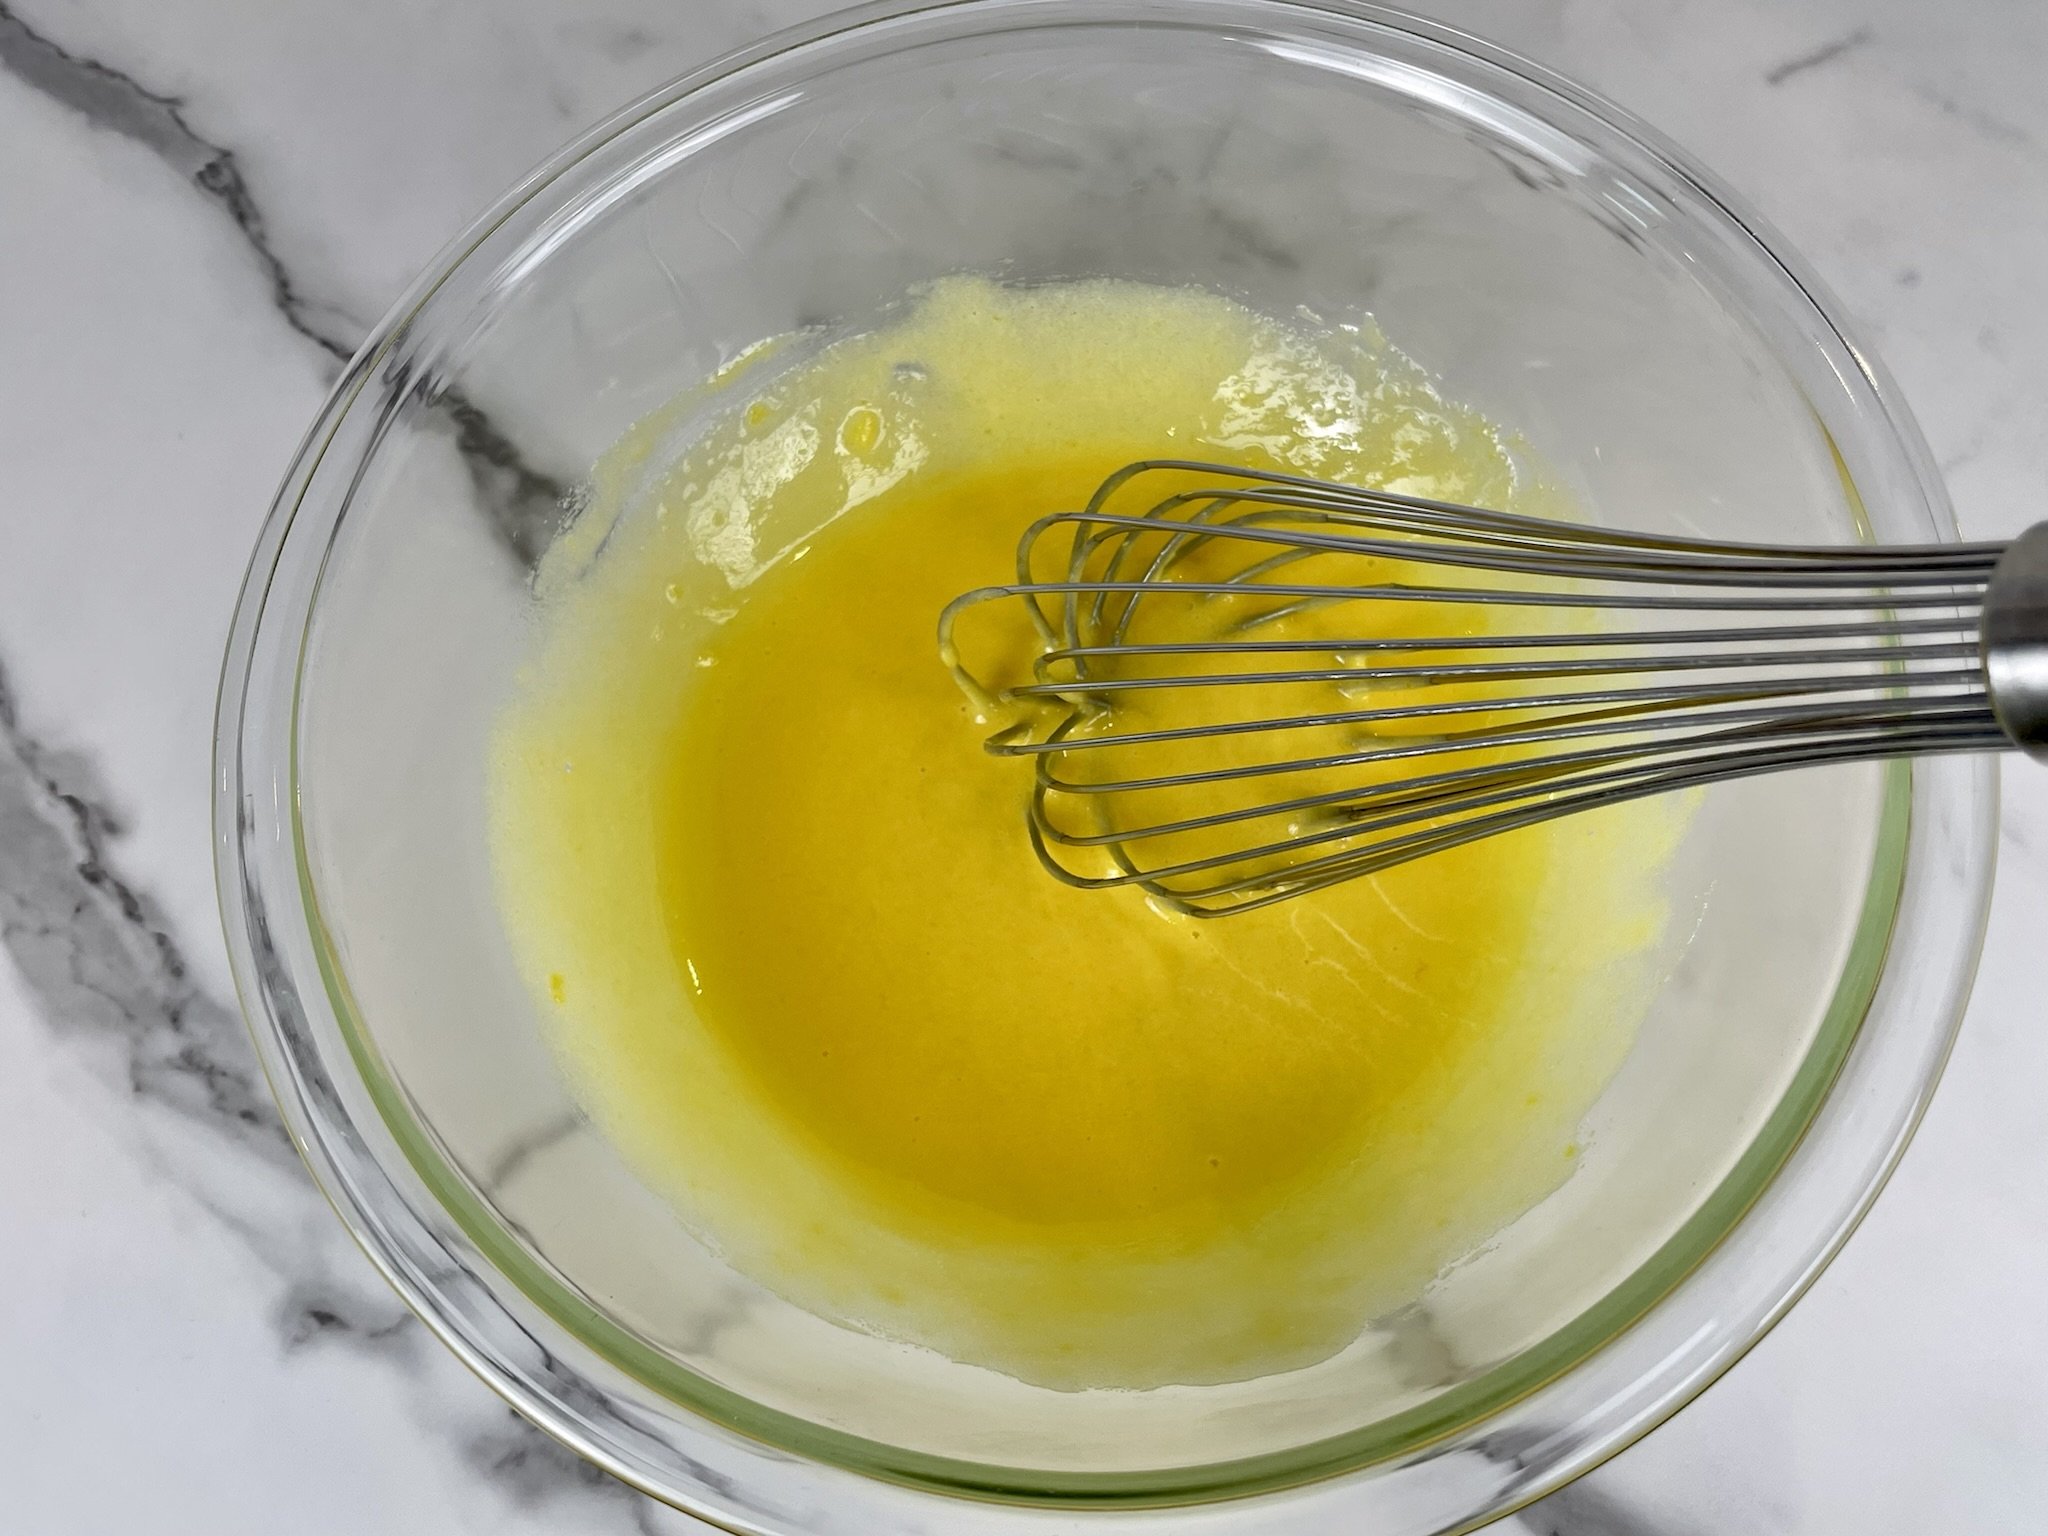
To make the sabayon (aka: zabaglione), fill a saucepan with no more than 1 to 2 inches of water (test to make sure the bottom of your mixing bowl does not touch the water in the pan - see Note below), and bring water to a simmer. To a medium heat proof mixing bowl, add 6 room temperature large egg yolks, ¾ cup superfine sugar (caster sugar), and whisk to combine.
Note: It’s very important that the bottom of your mixing bowl does NOT touch the water in the pan, as it will scramble your eggs. Test it before turning on the heat to your saucepan.
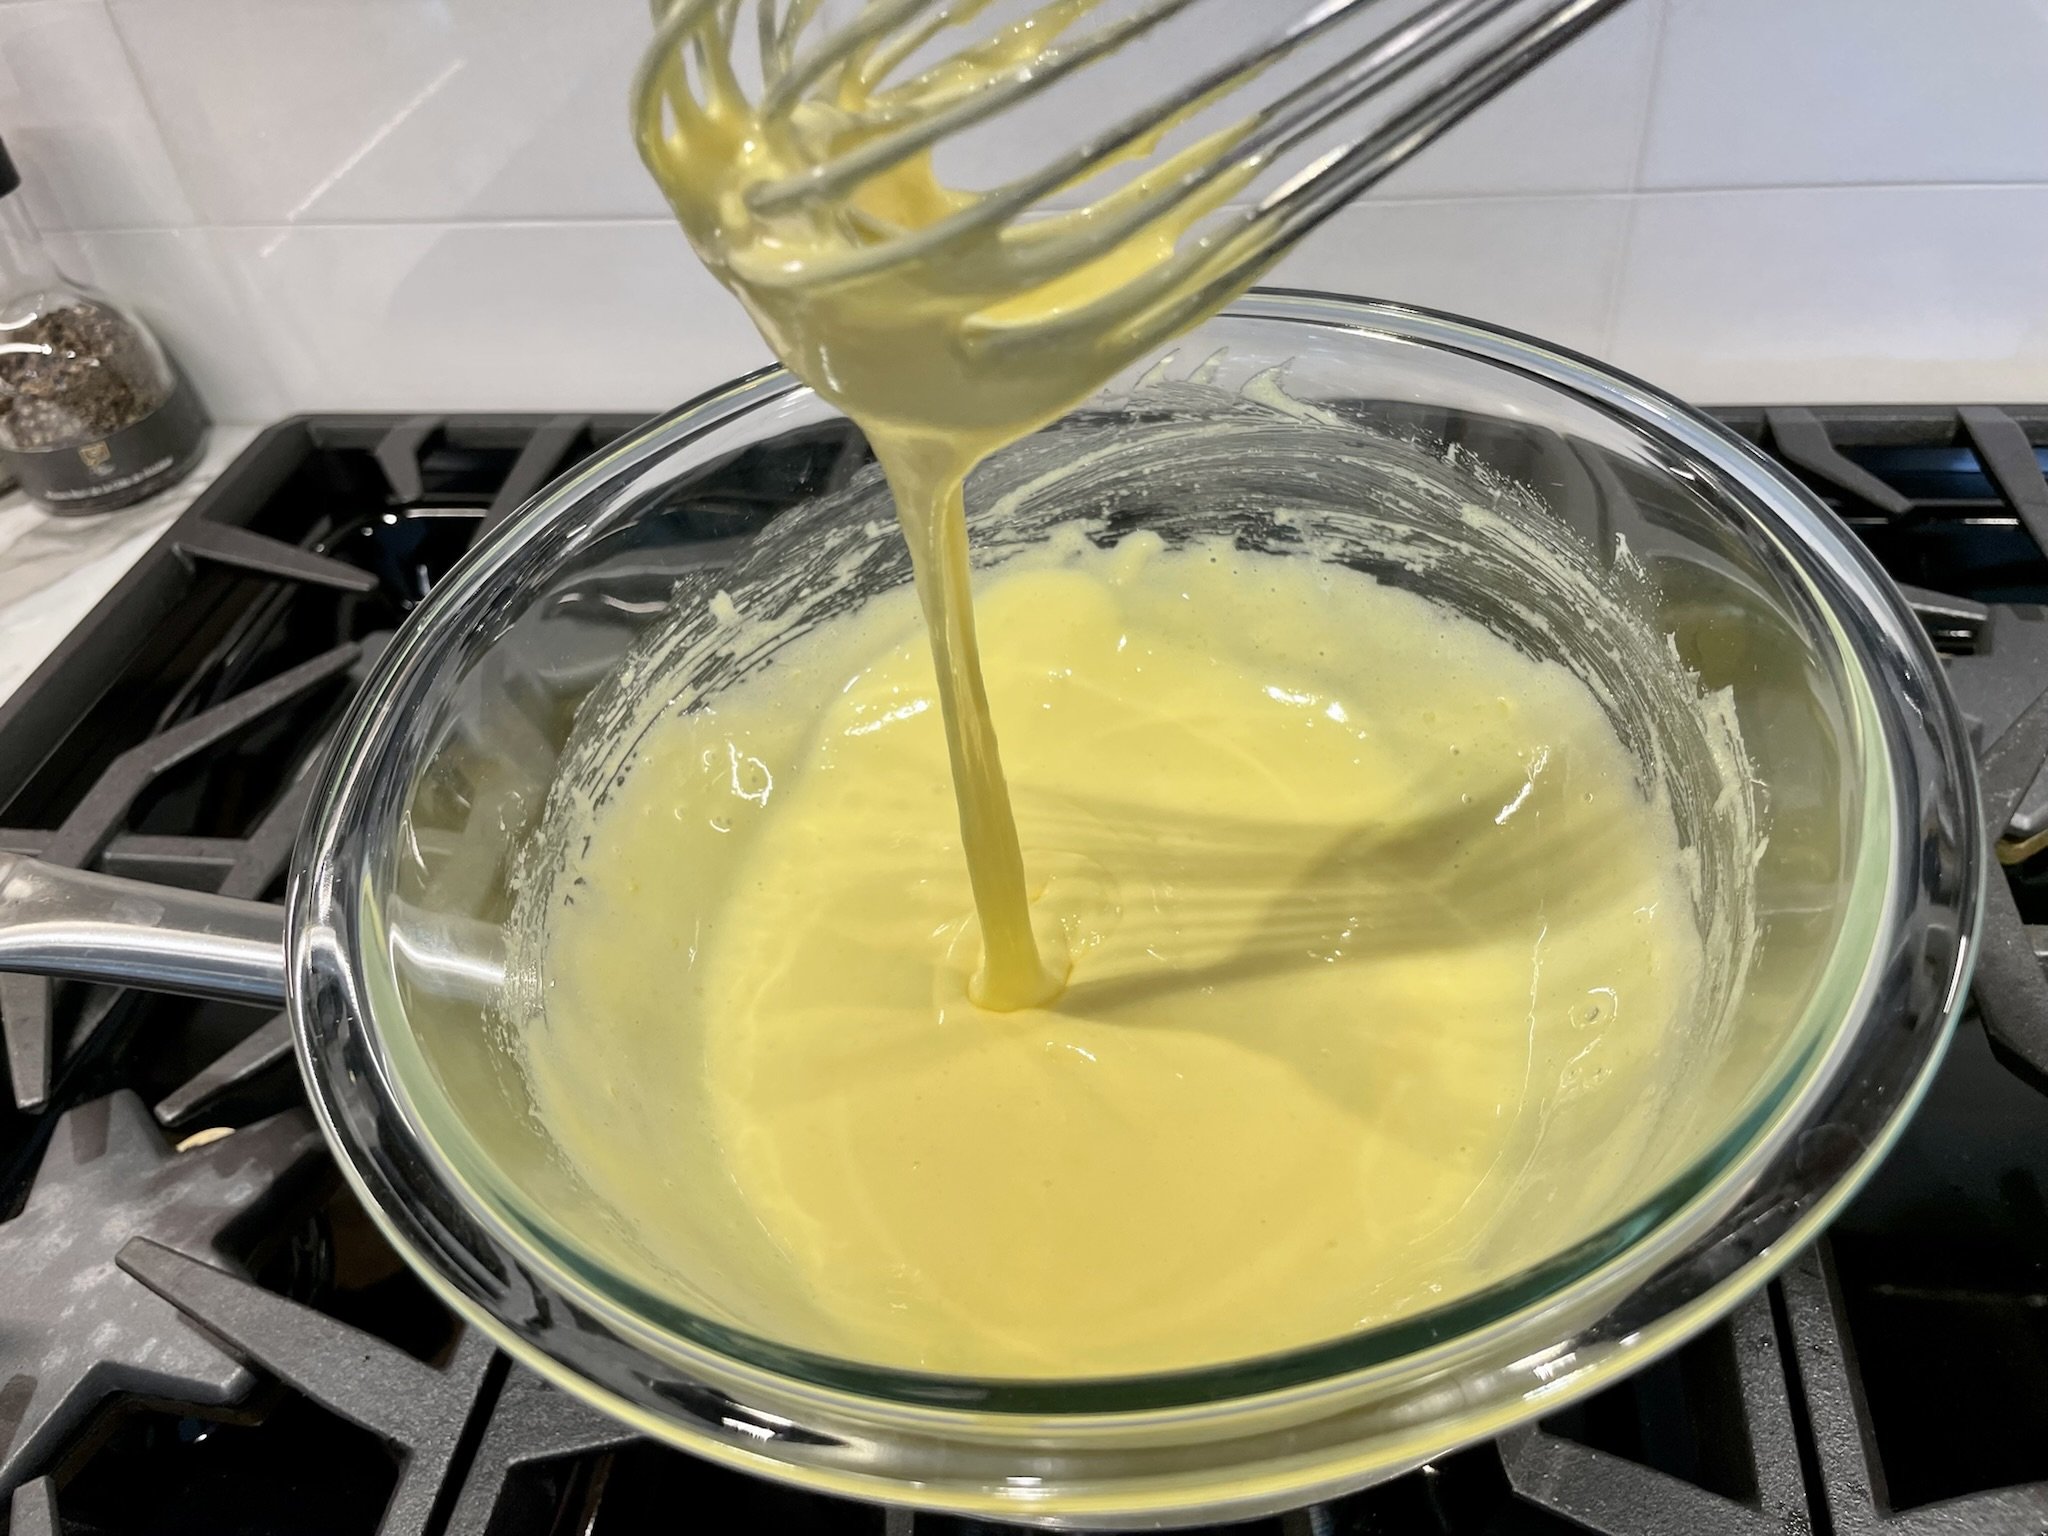
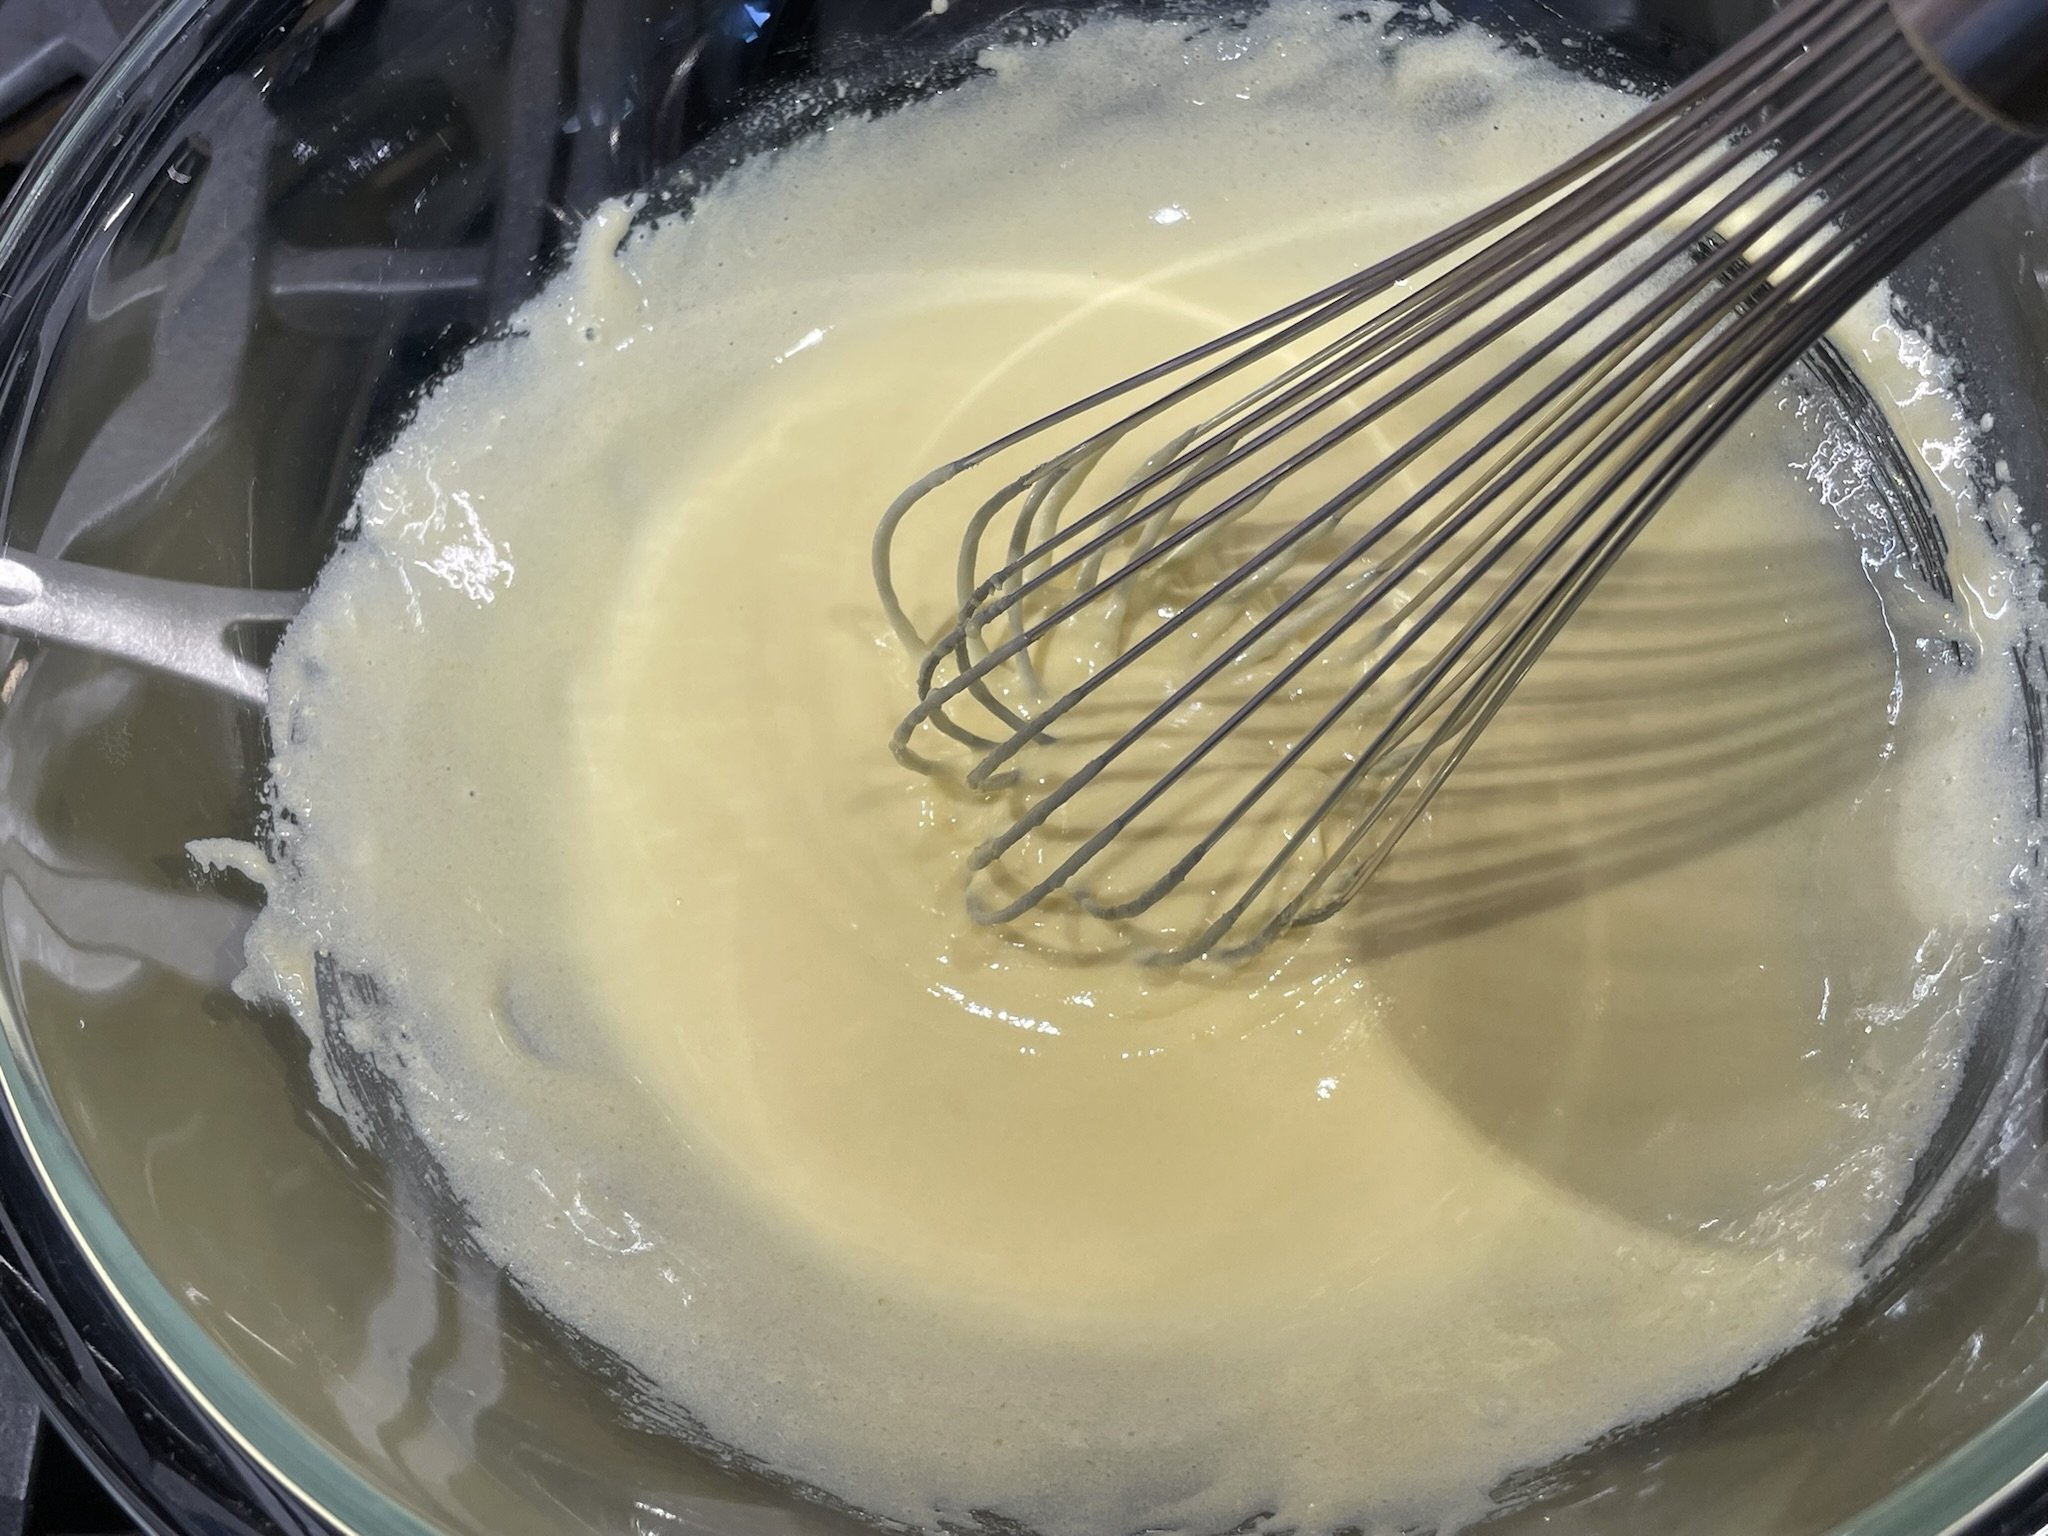
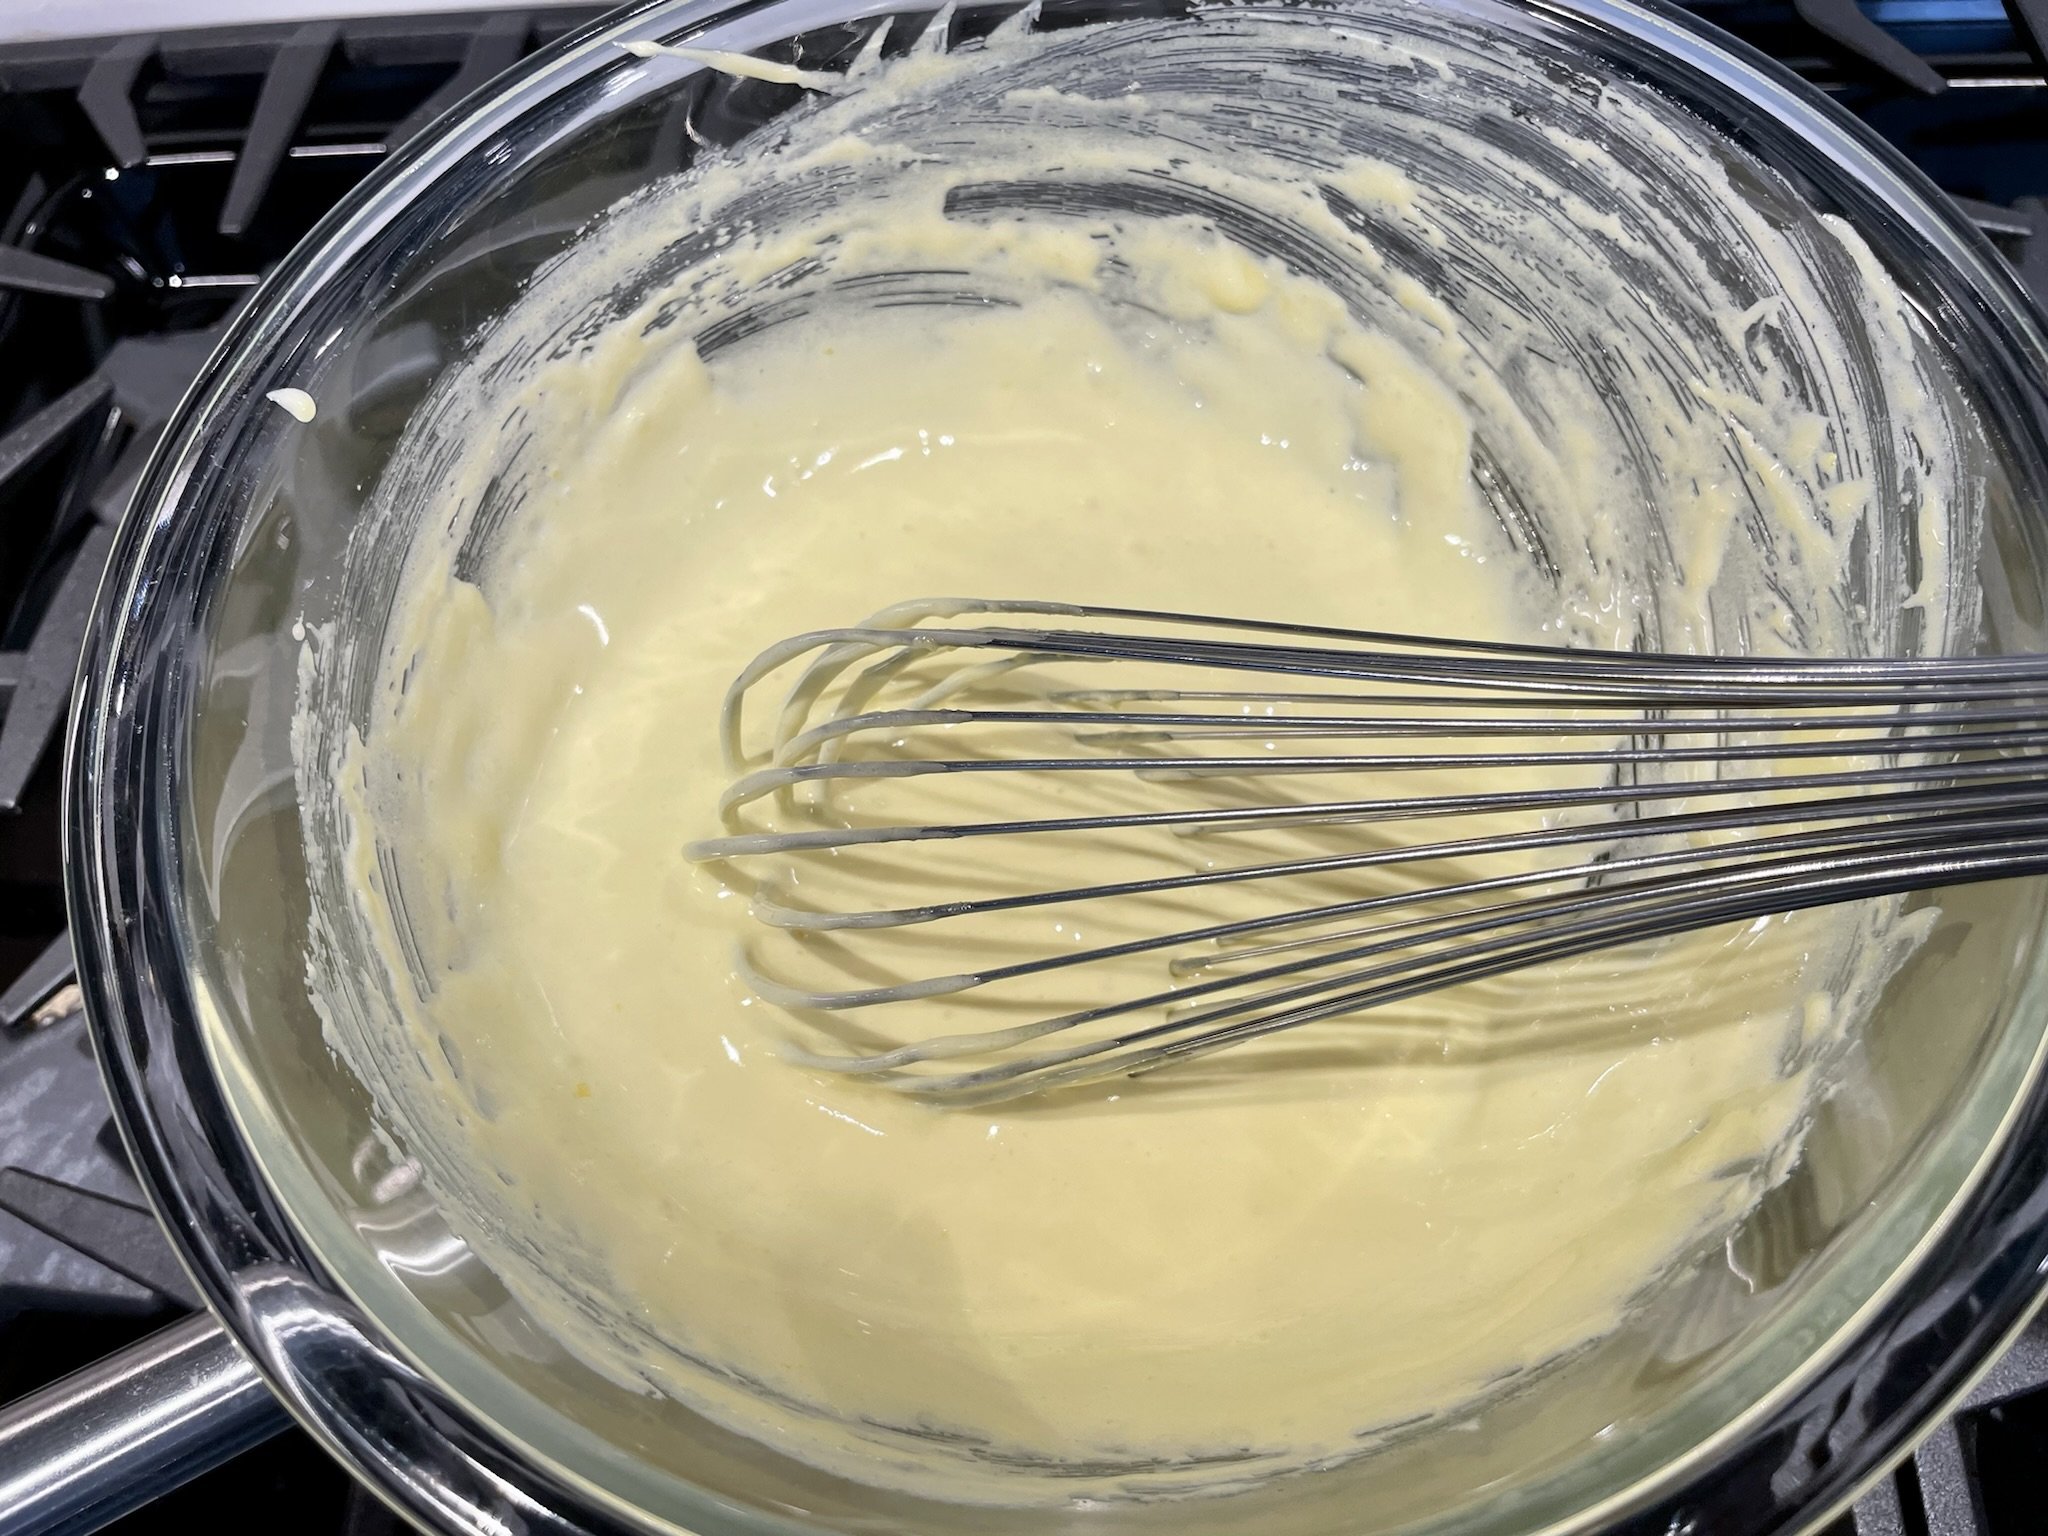
STEP 2b
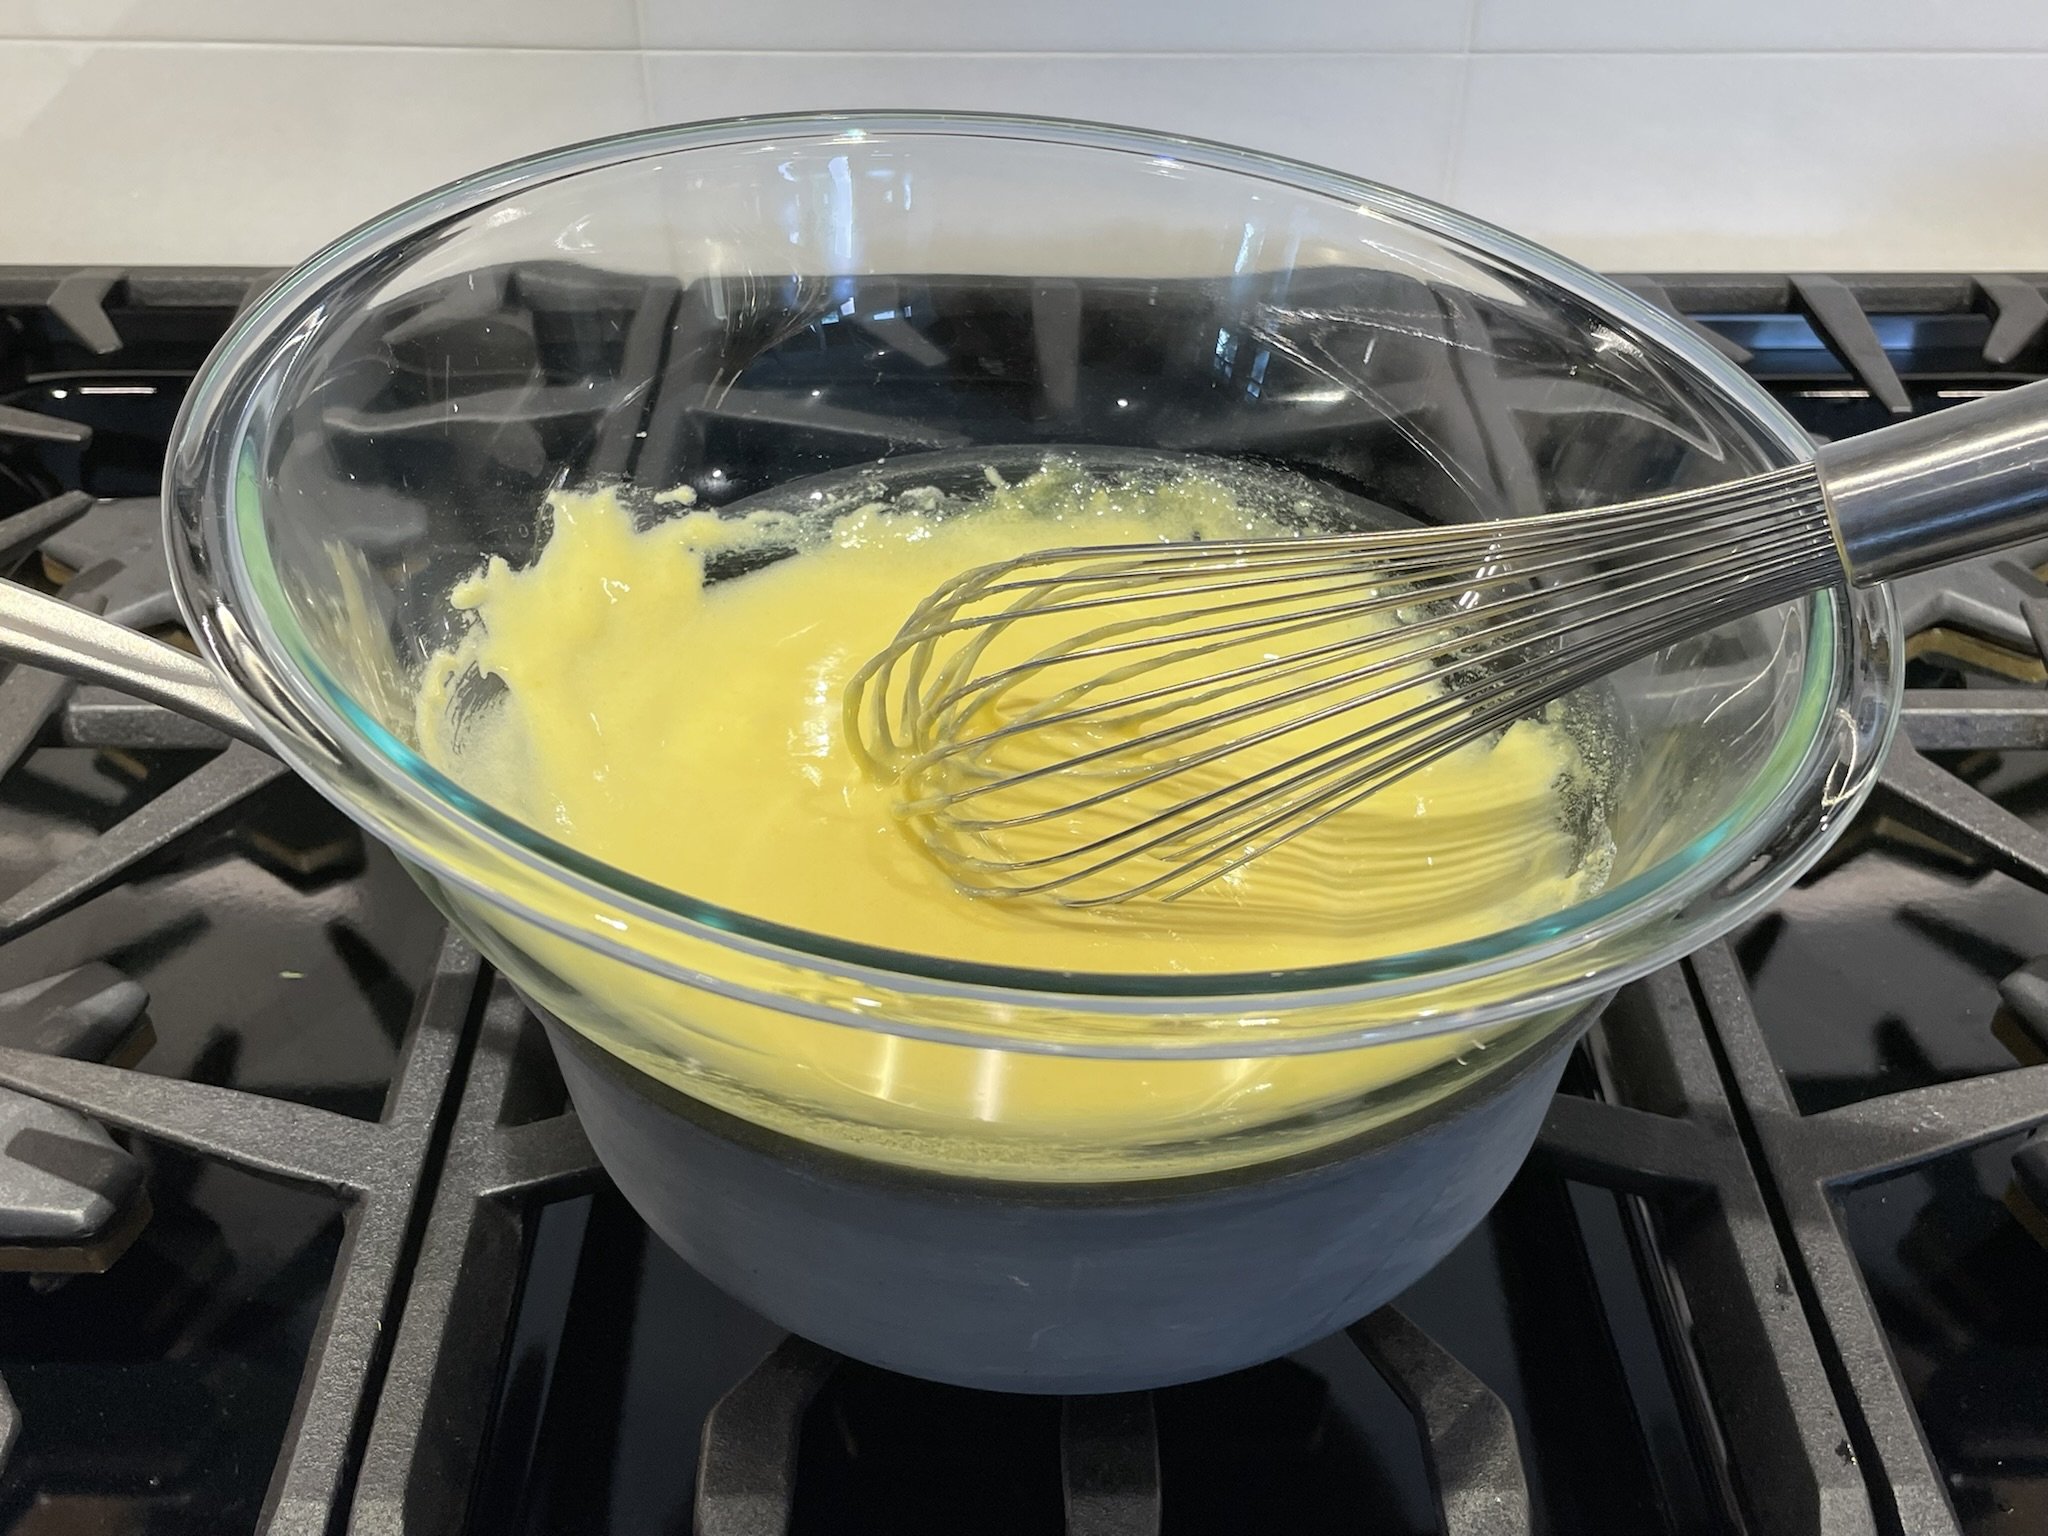
Turn the heat to low to keep the water at a very low simmer, then place the mixing bowl securely on top of the pan, and whisk continuously (lifting whisk occasionally to cool down mixture) for about 8 minutes (10 minutes maximum) or until sugar has dissolved (try a rub test between your fingers). Mixture should be thicker, smooth, and pale yellow. Remove sabayon from heat, and continue to whisk for about 1 minute or so to cool down the mixture slightly.
STEP 3a
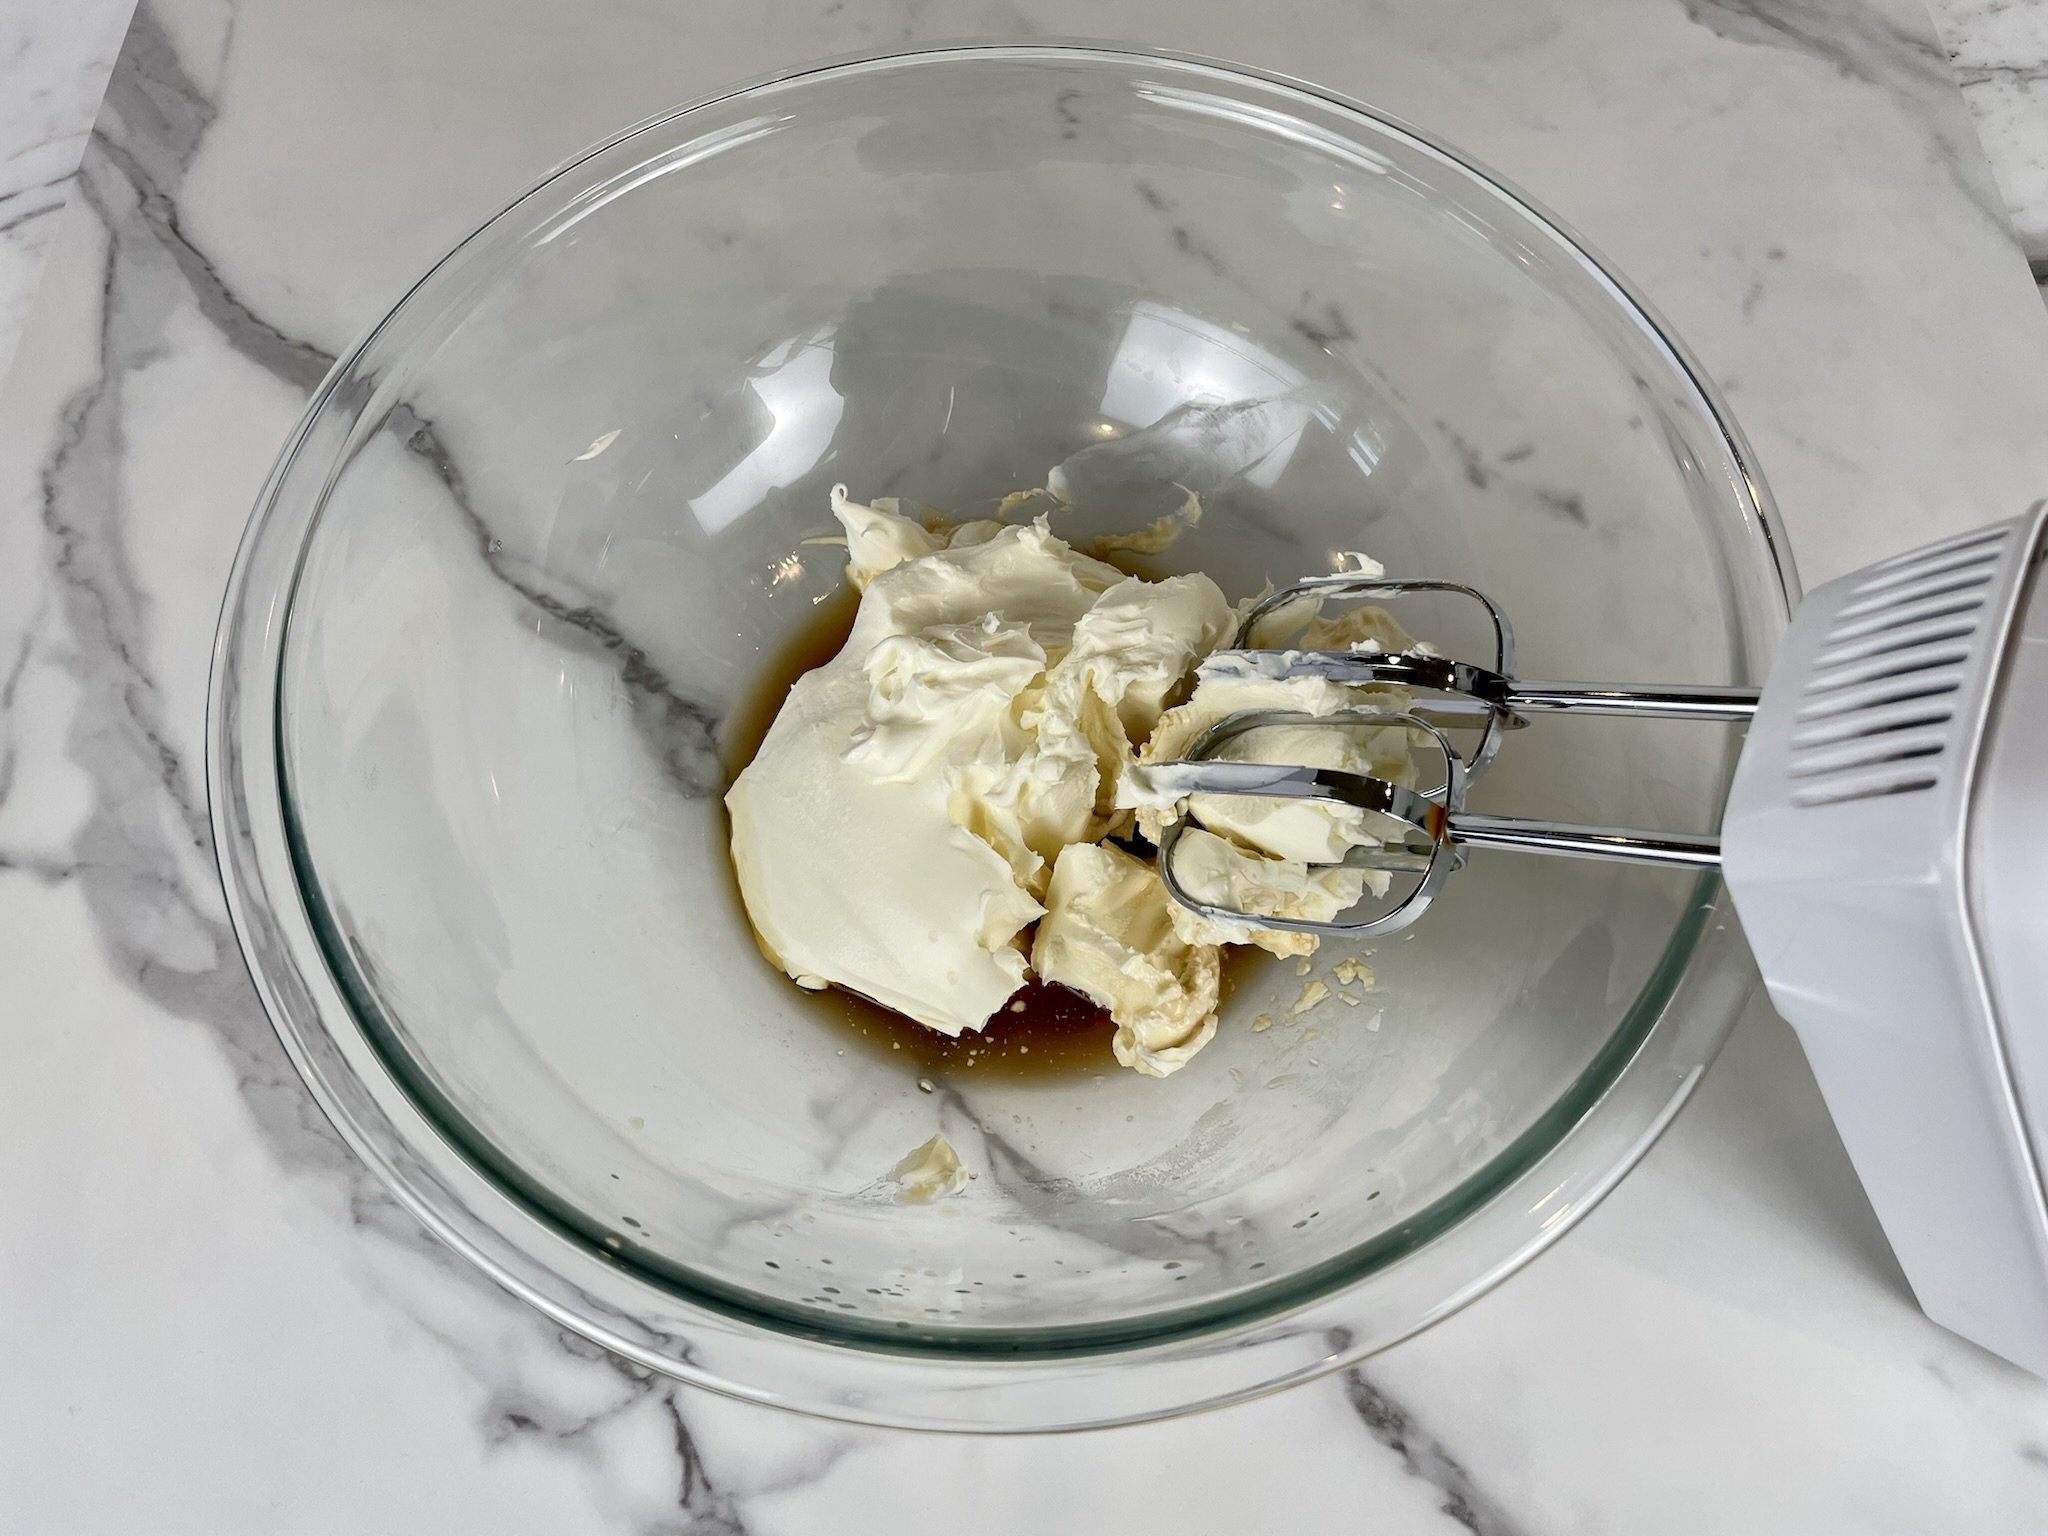
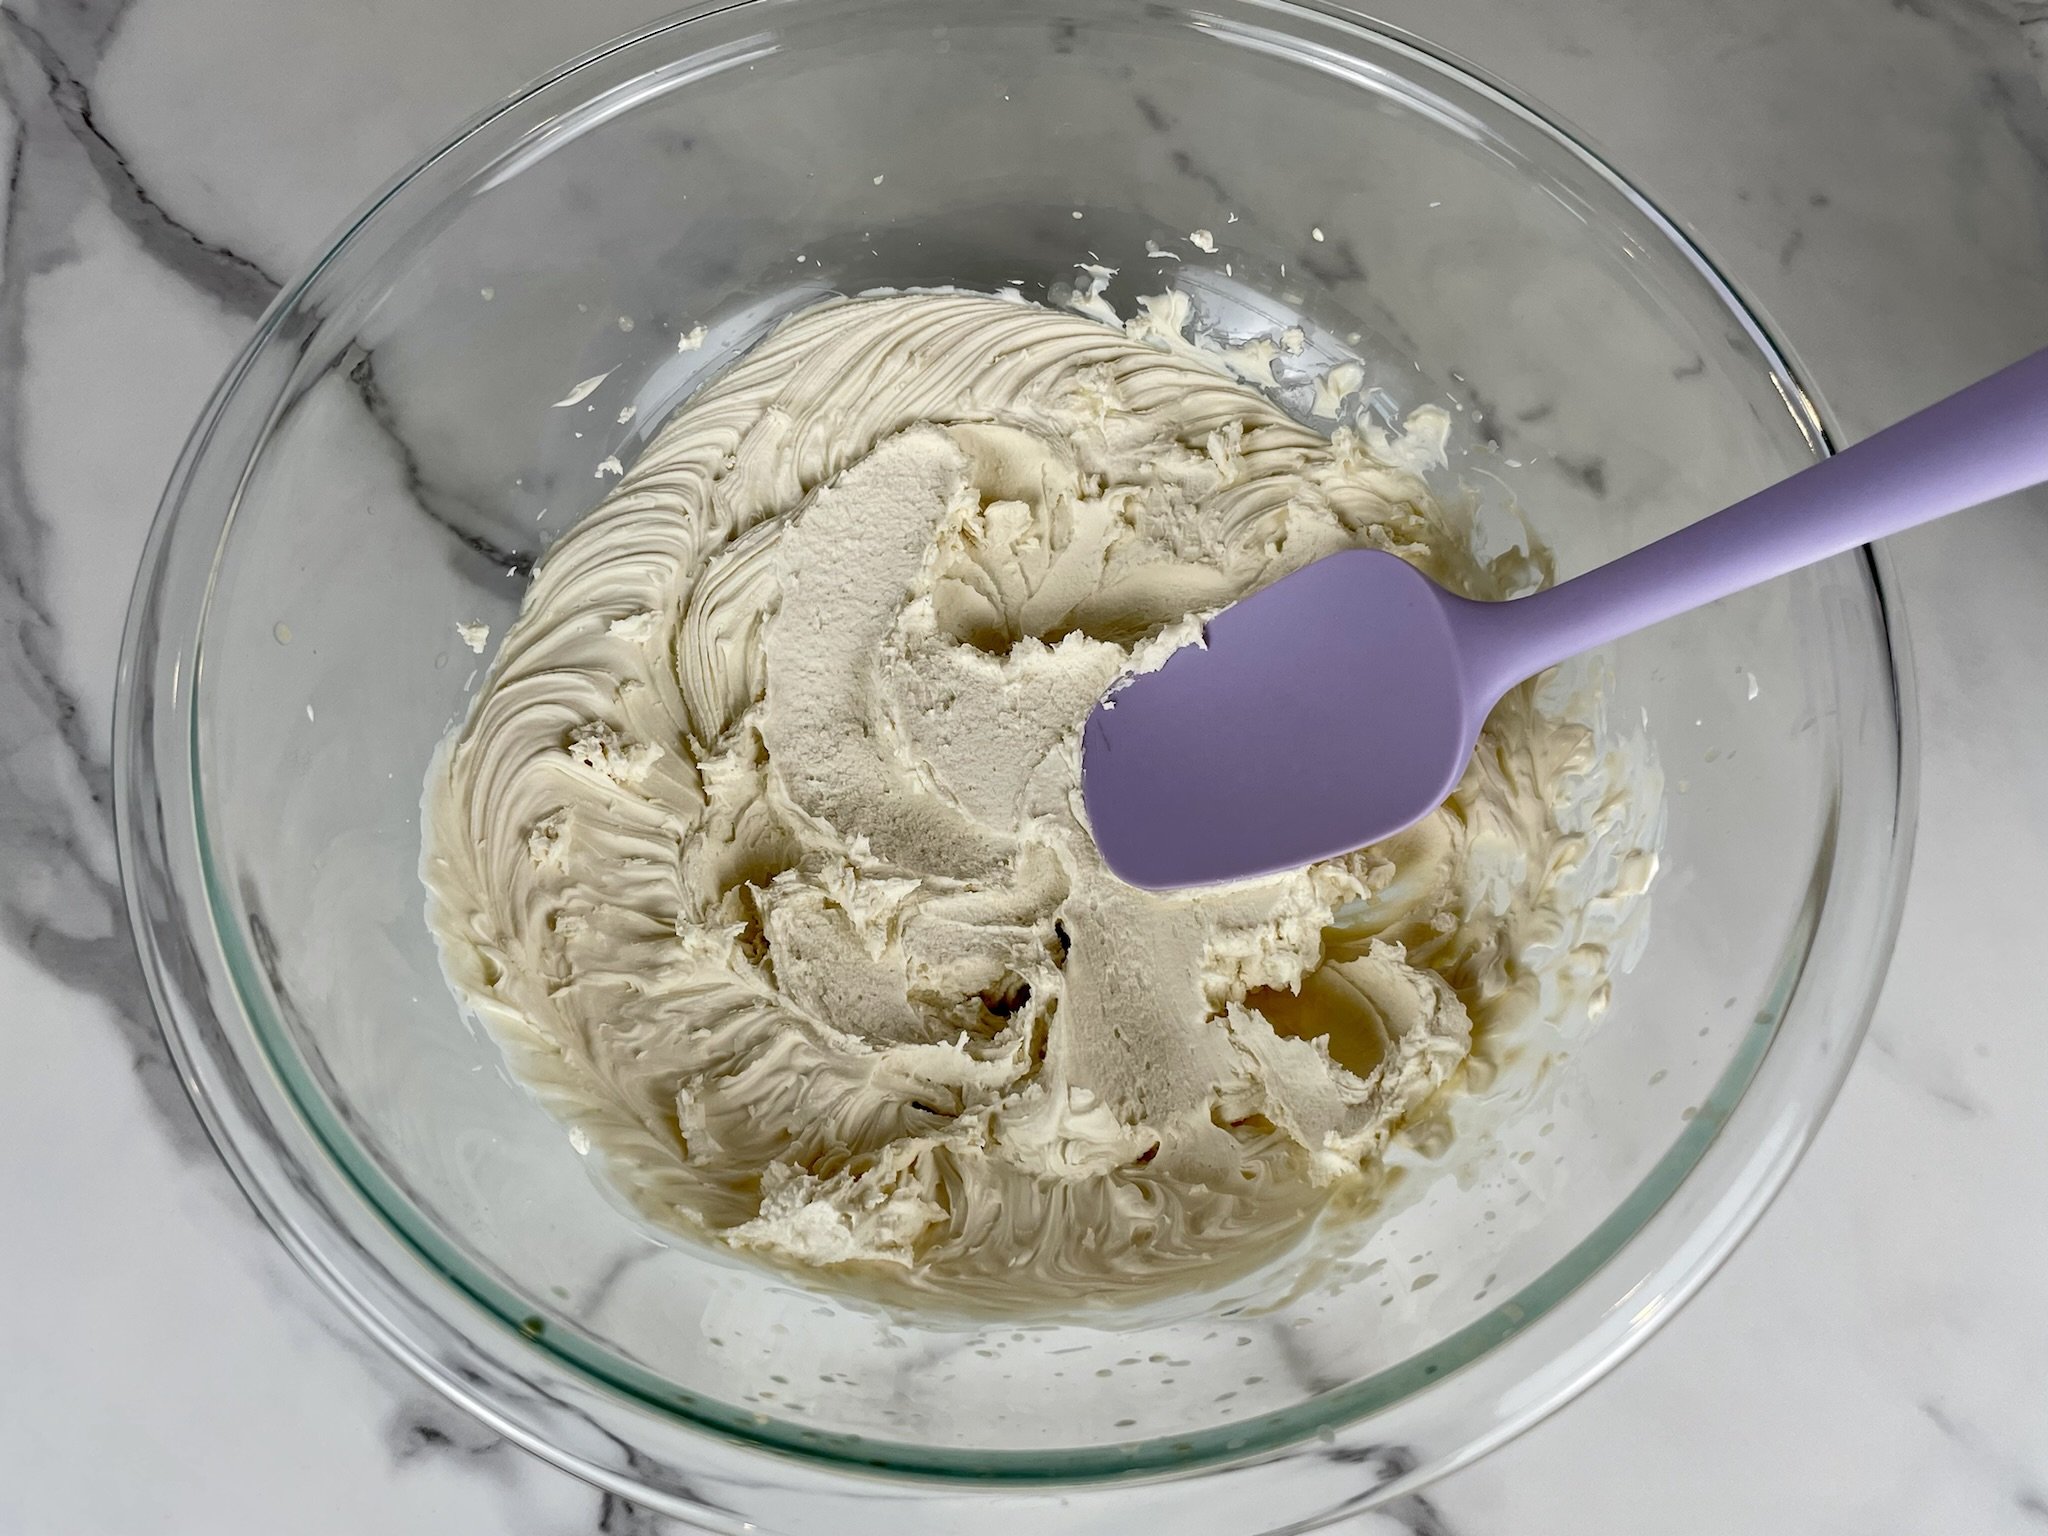
To a separate large mixing bowl, add 16 ounces softened mascarpone (two 8 ounce containers - see Note below), and ¼ cup Marsala wine, and beat on low with an electric hand mixer until just combined.
Note: Remove mascarpone containers from the refrigerator about 15 minutes prior to whipping. Do not leave containers out at room temperature for more than 20 minutes. Otherwise, it will spoil and curdle your mixture.
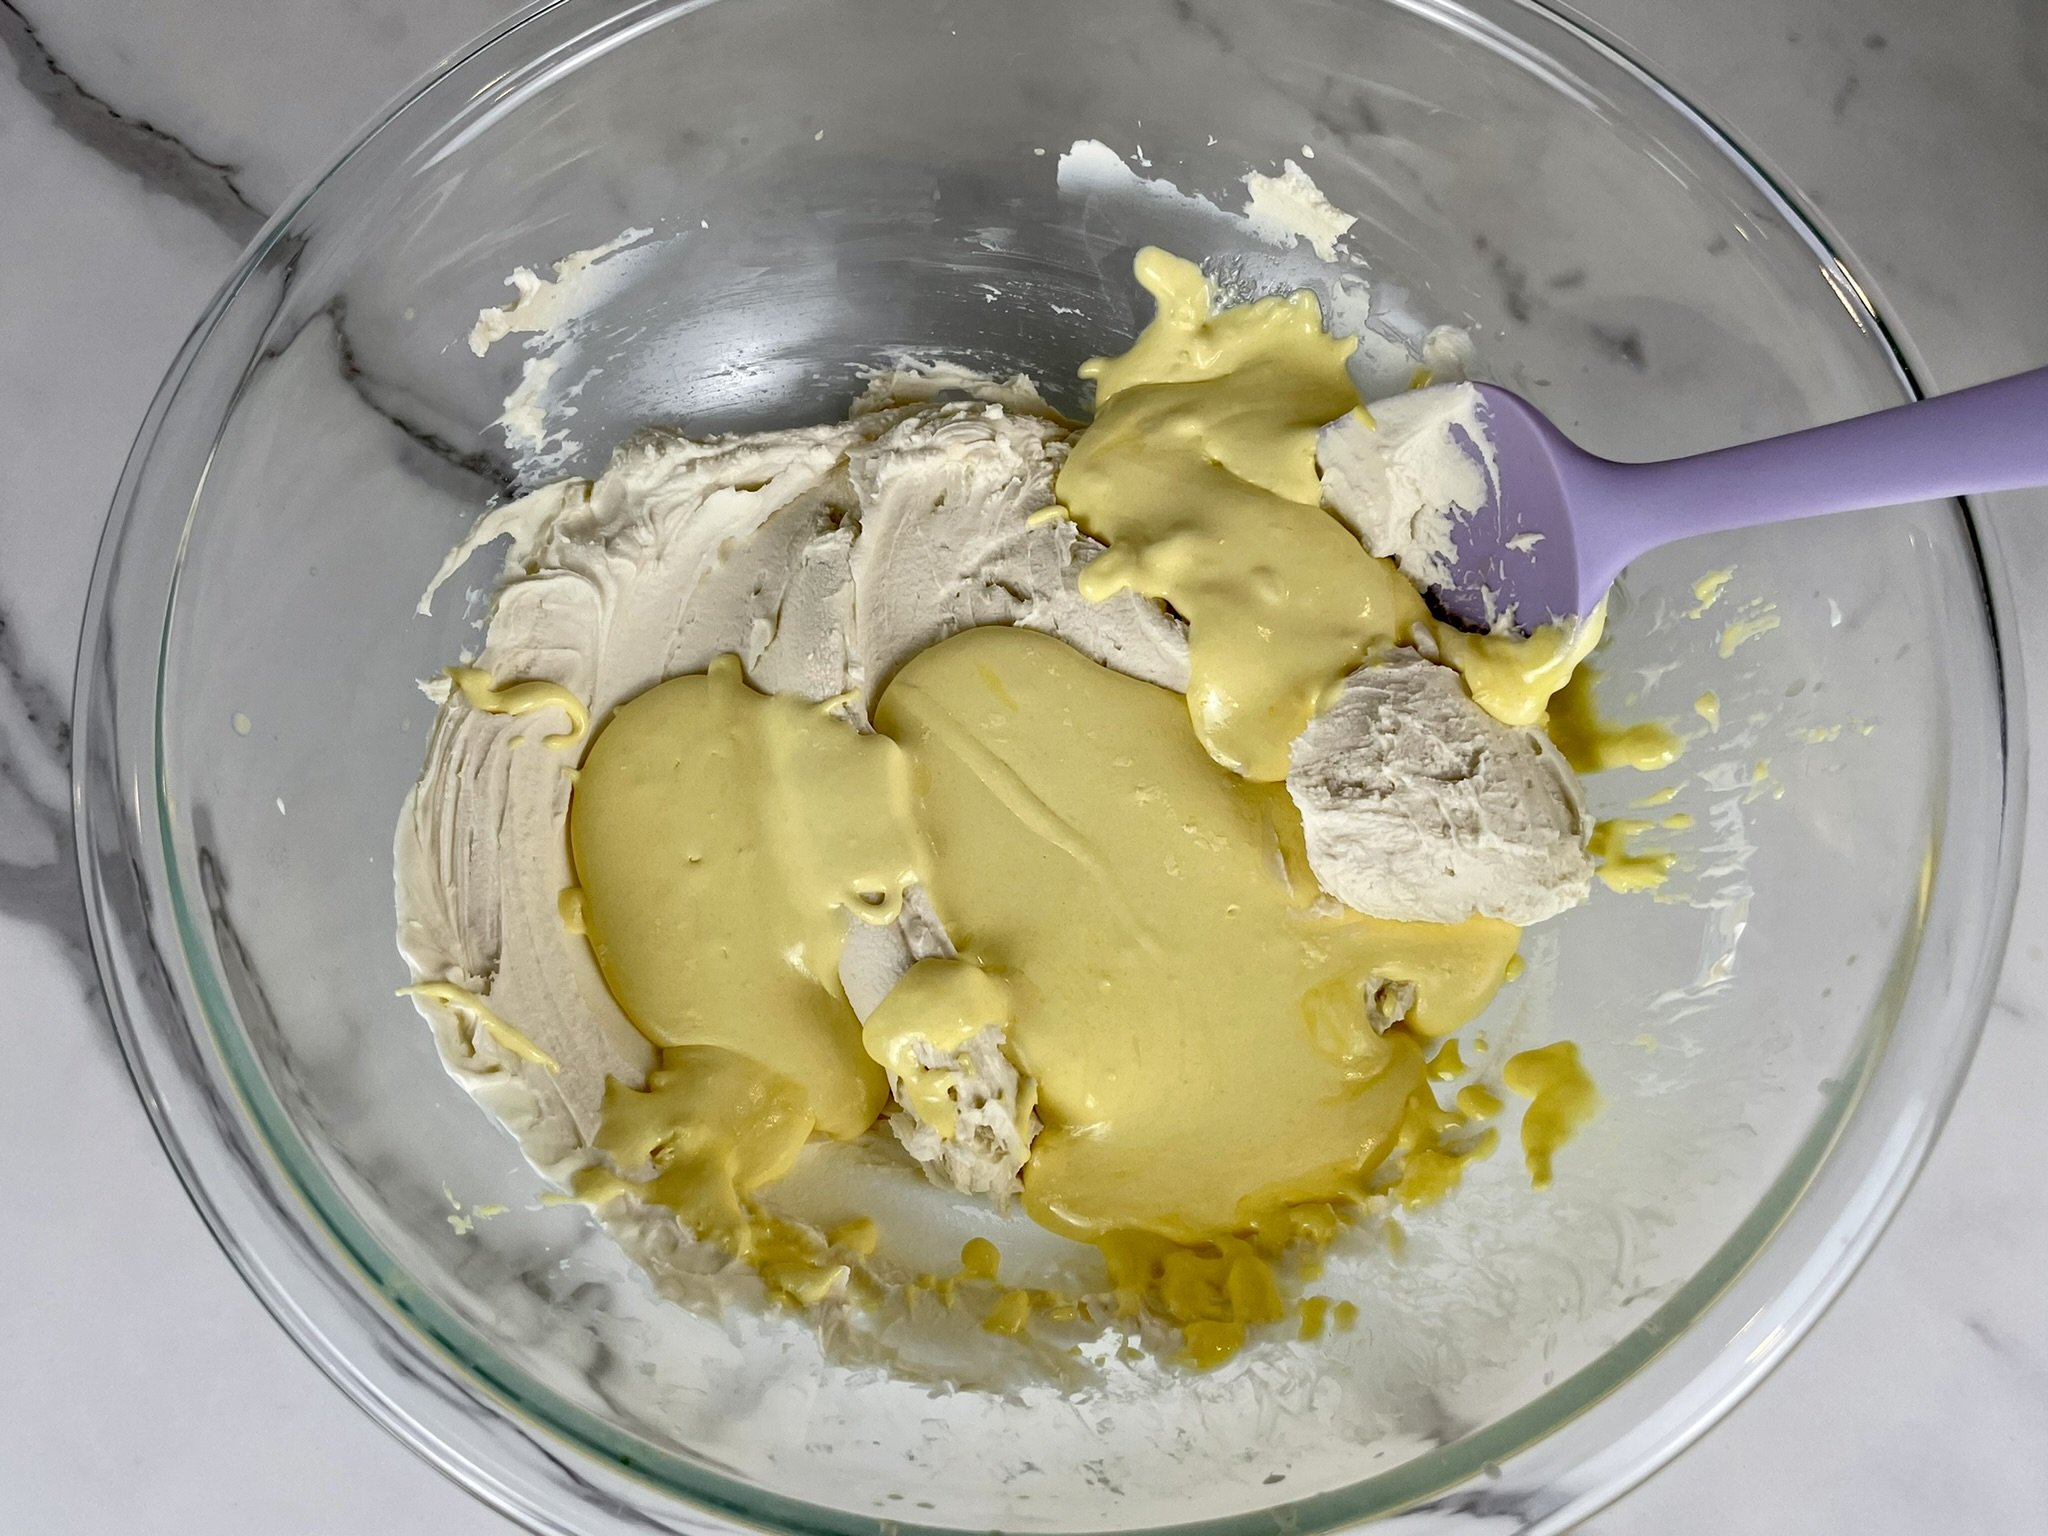
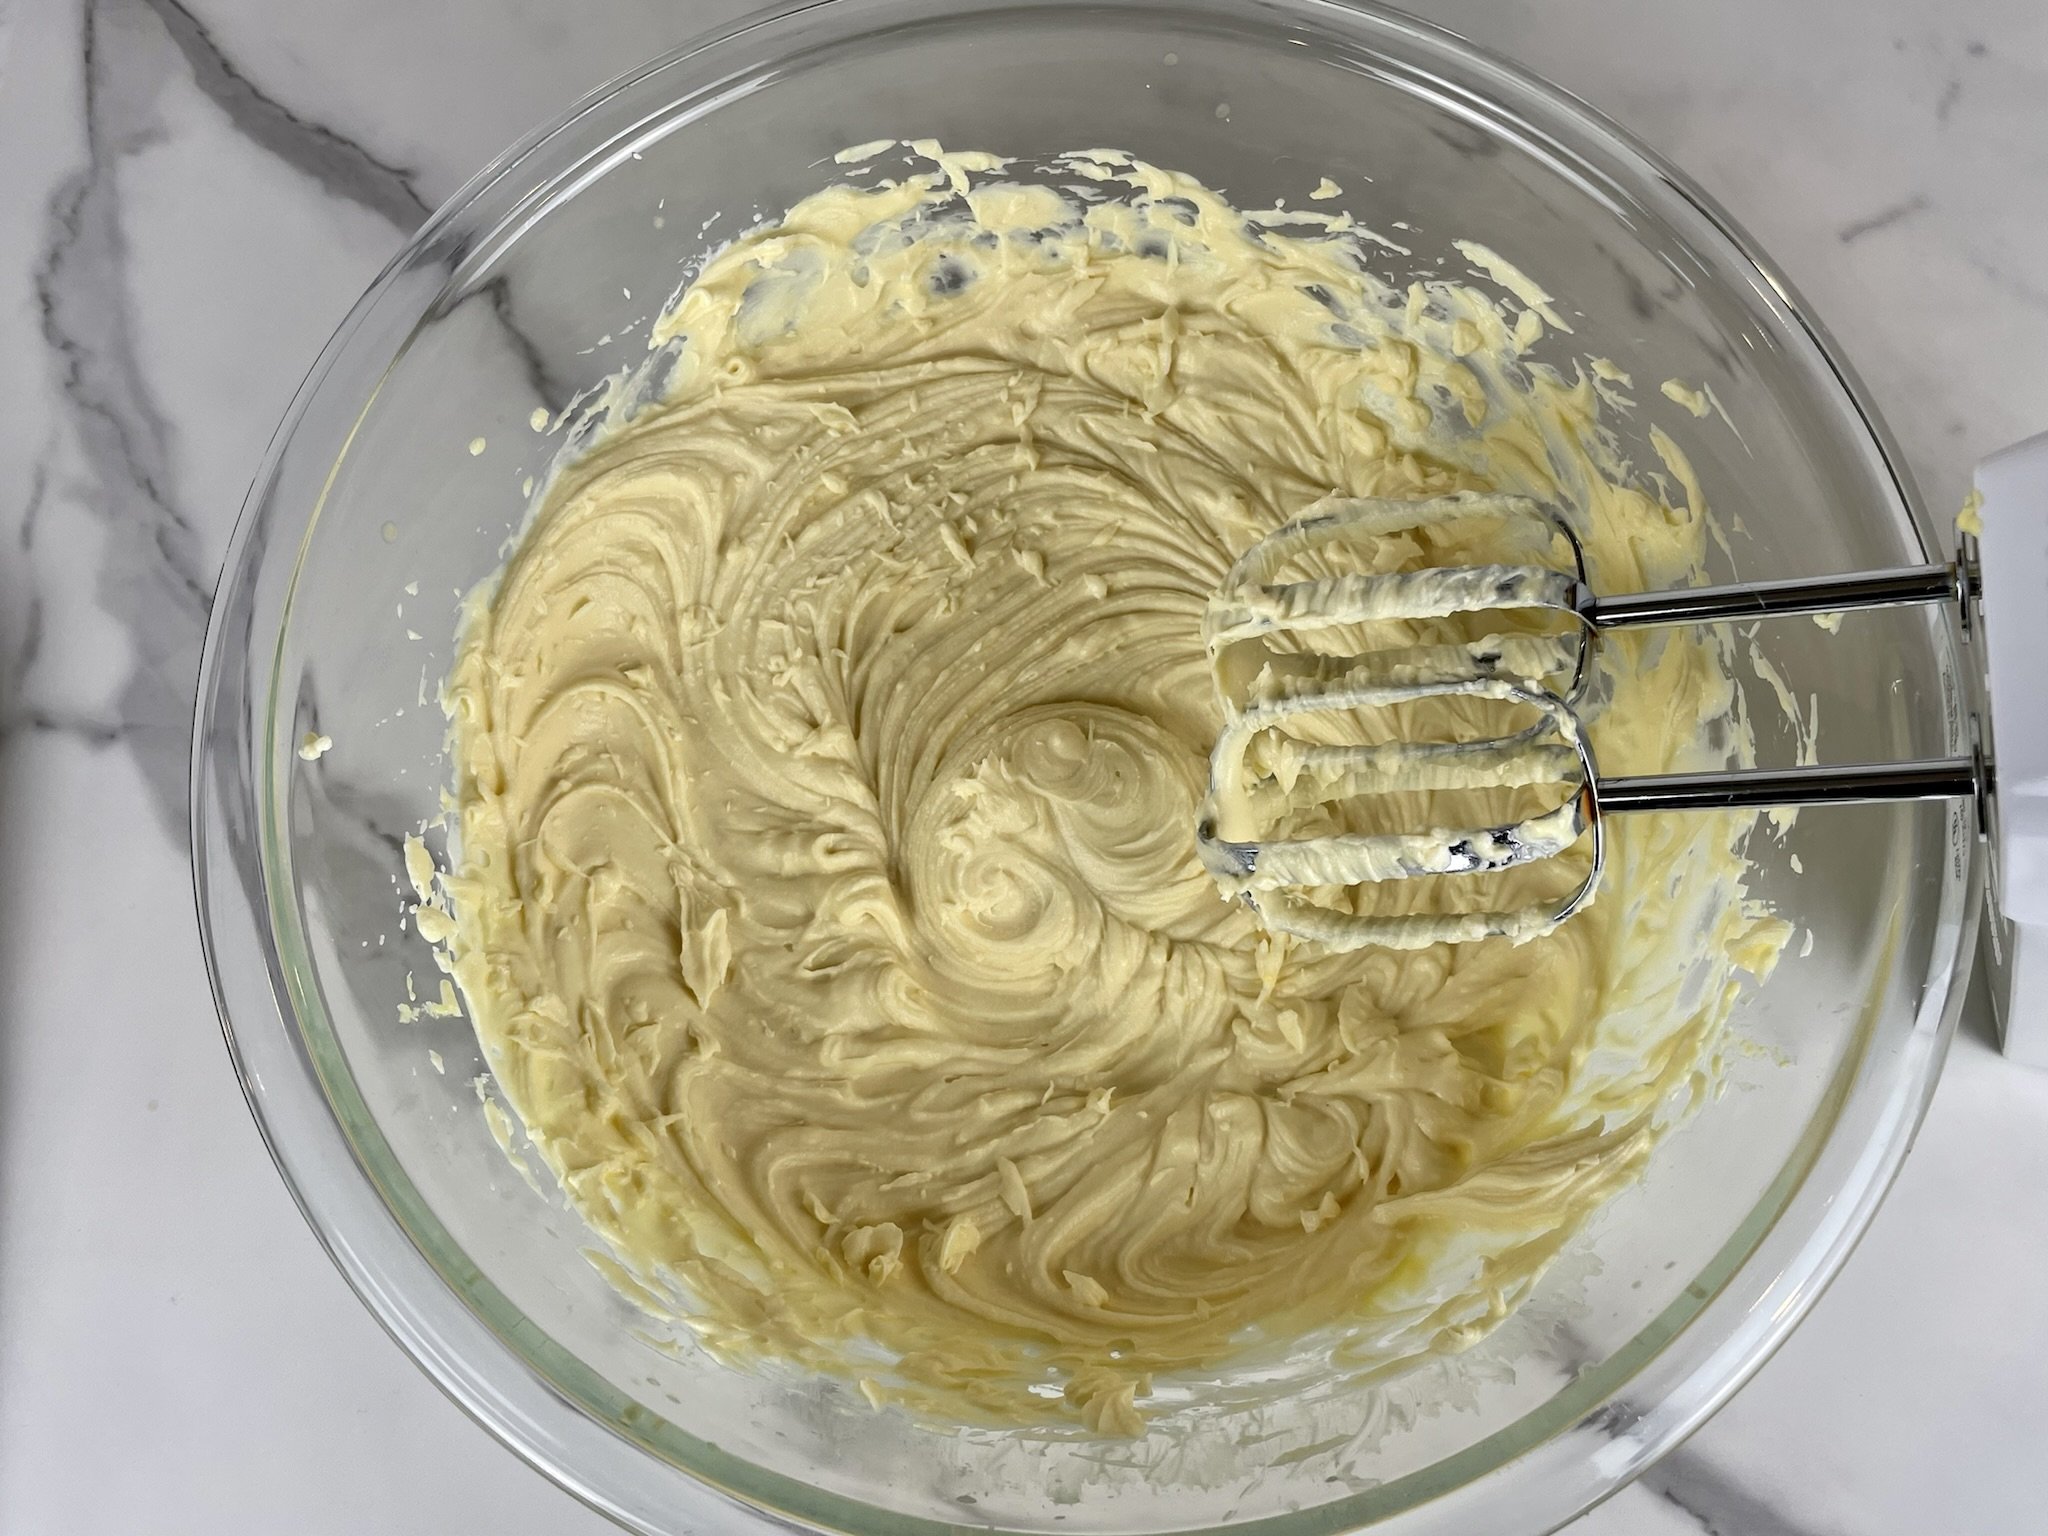
STEP 3b
Add warm sabayon to the mascarpone mixture, beat until smooth, and set aside.
STEP 4a
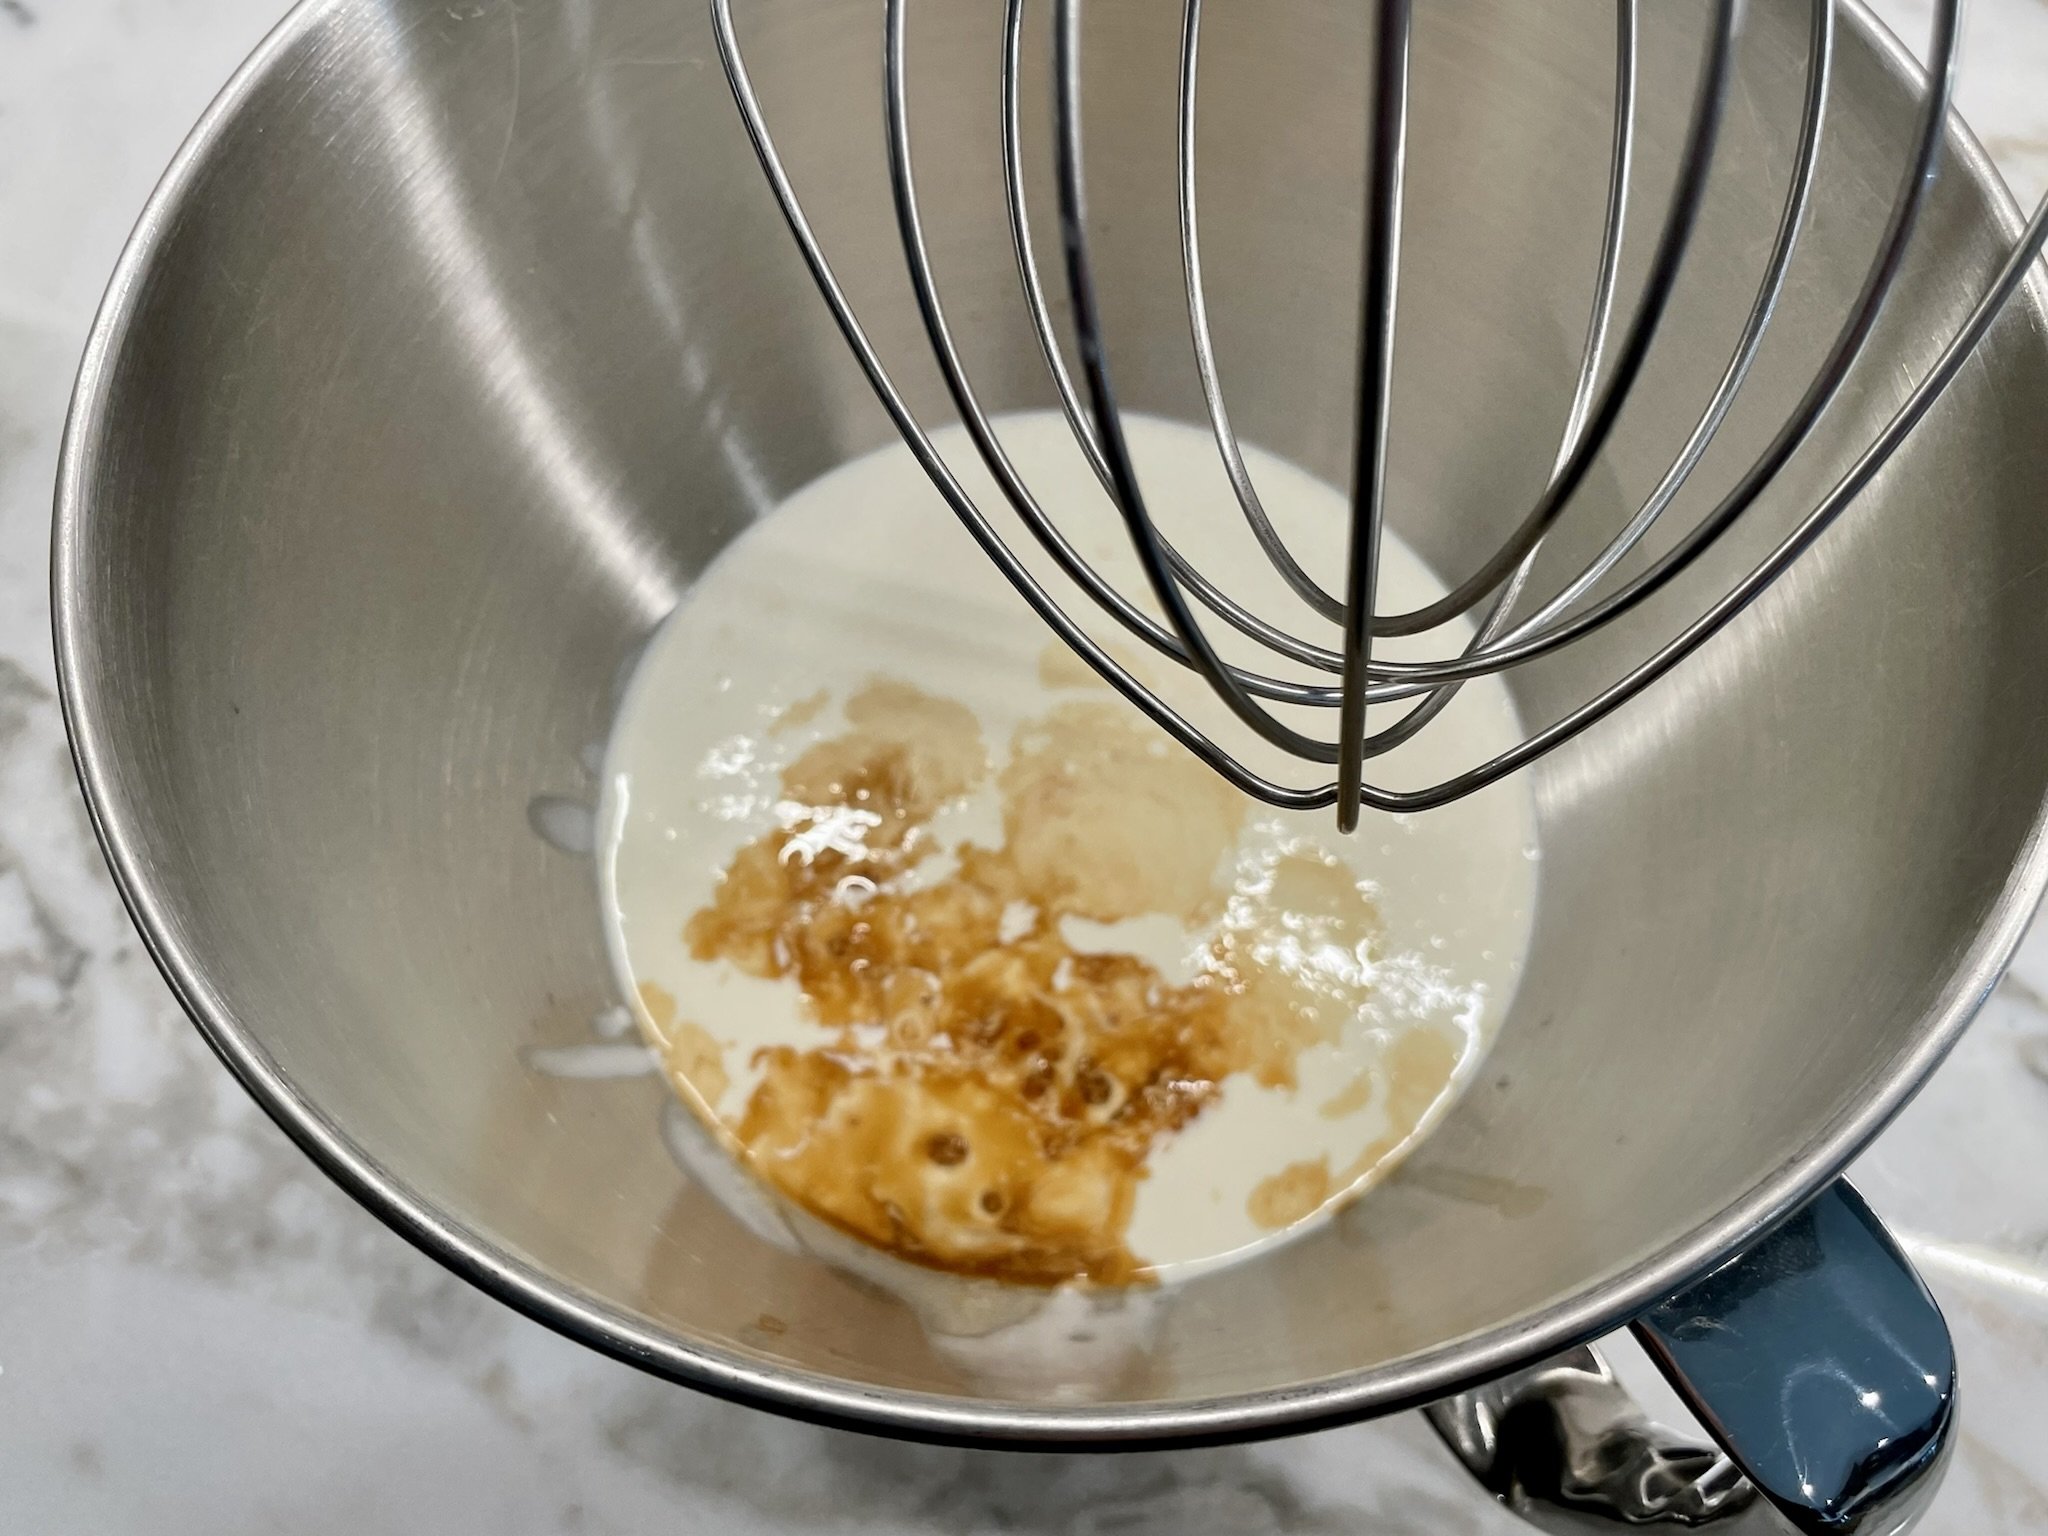
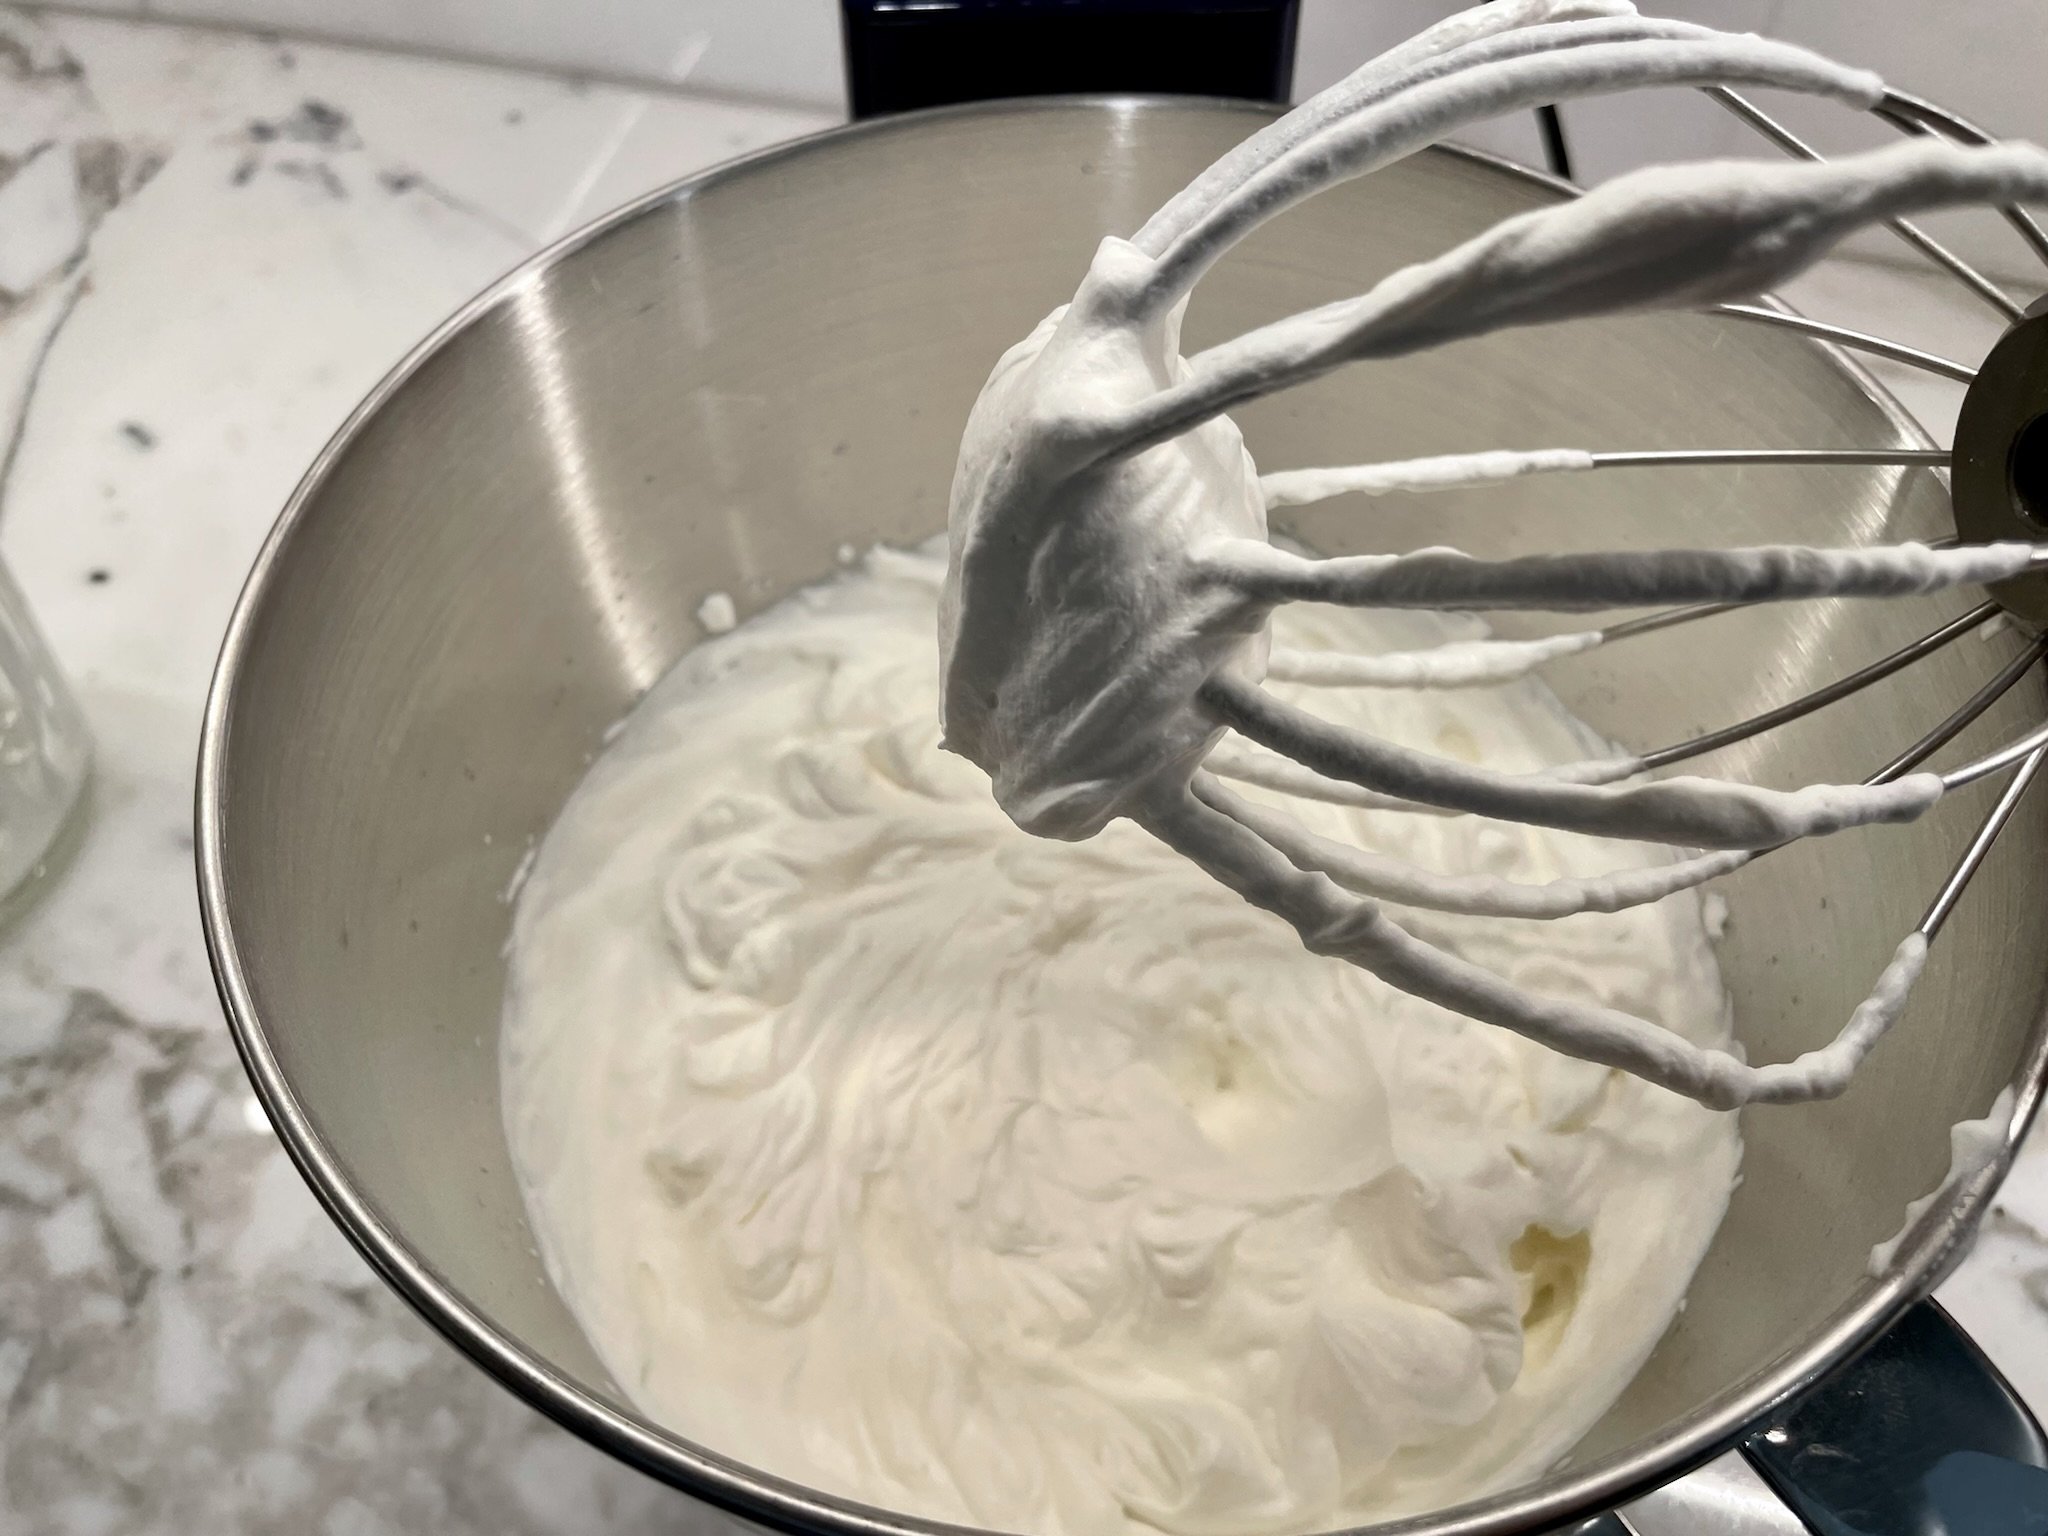
In the chilled bowl of a stand mixer, add 2 cups cold heavy whipping cream, and ½ teaspoon pure vanilla extract. Start the mixer on low speed for at least 2 minutes (see Note below) and very slowly increase speed to medium until the whipped cream forms medium peaks (not stiff).
Note: Stay by the mixer. Although this process may take a few minutes (depending on how cold your whisk, bowl, and cream are), it can quickly turn into stiff peaks, which would make the texture of your tiramisu too dense.
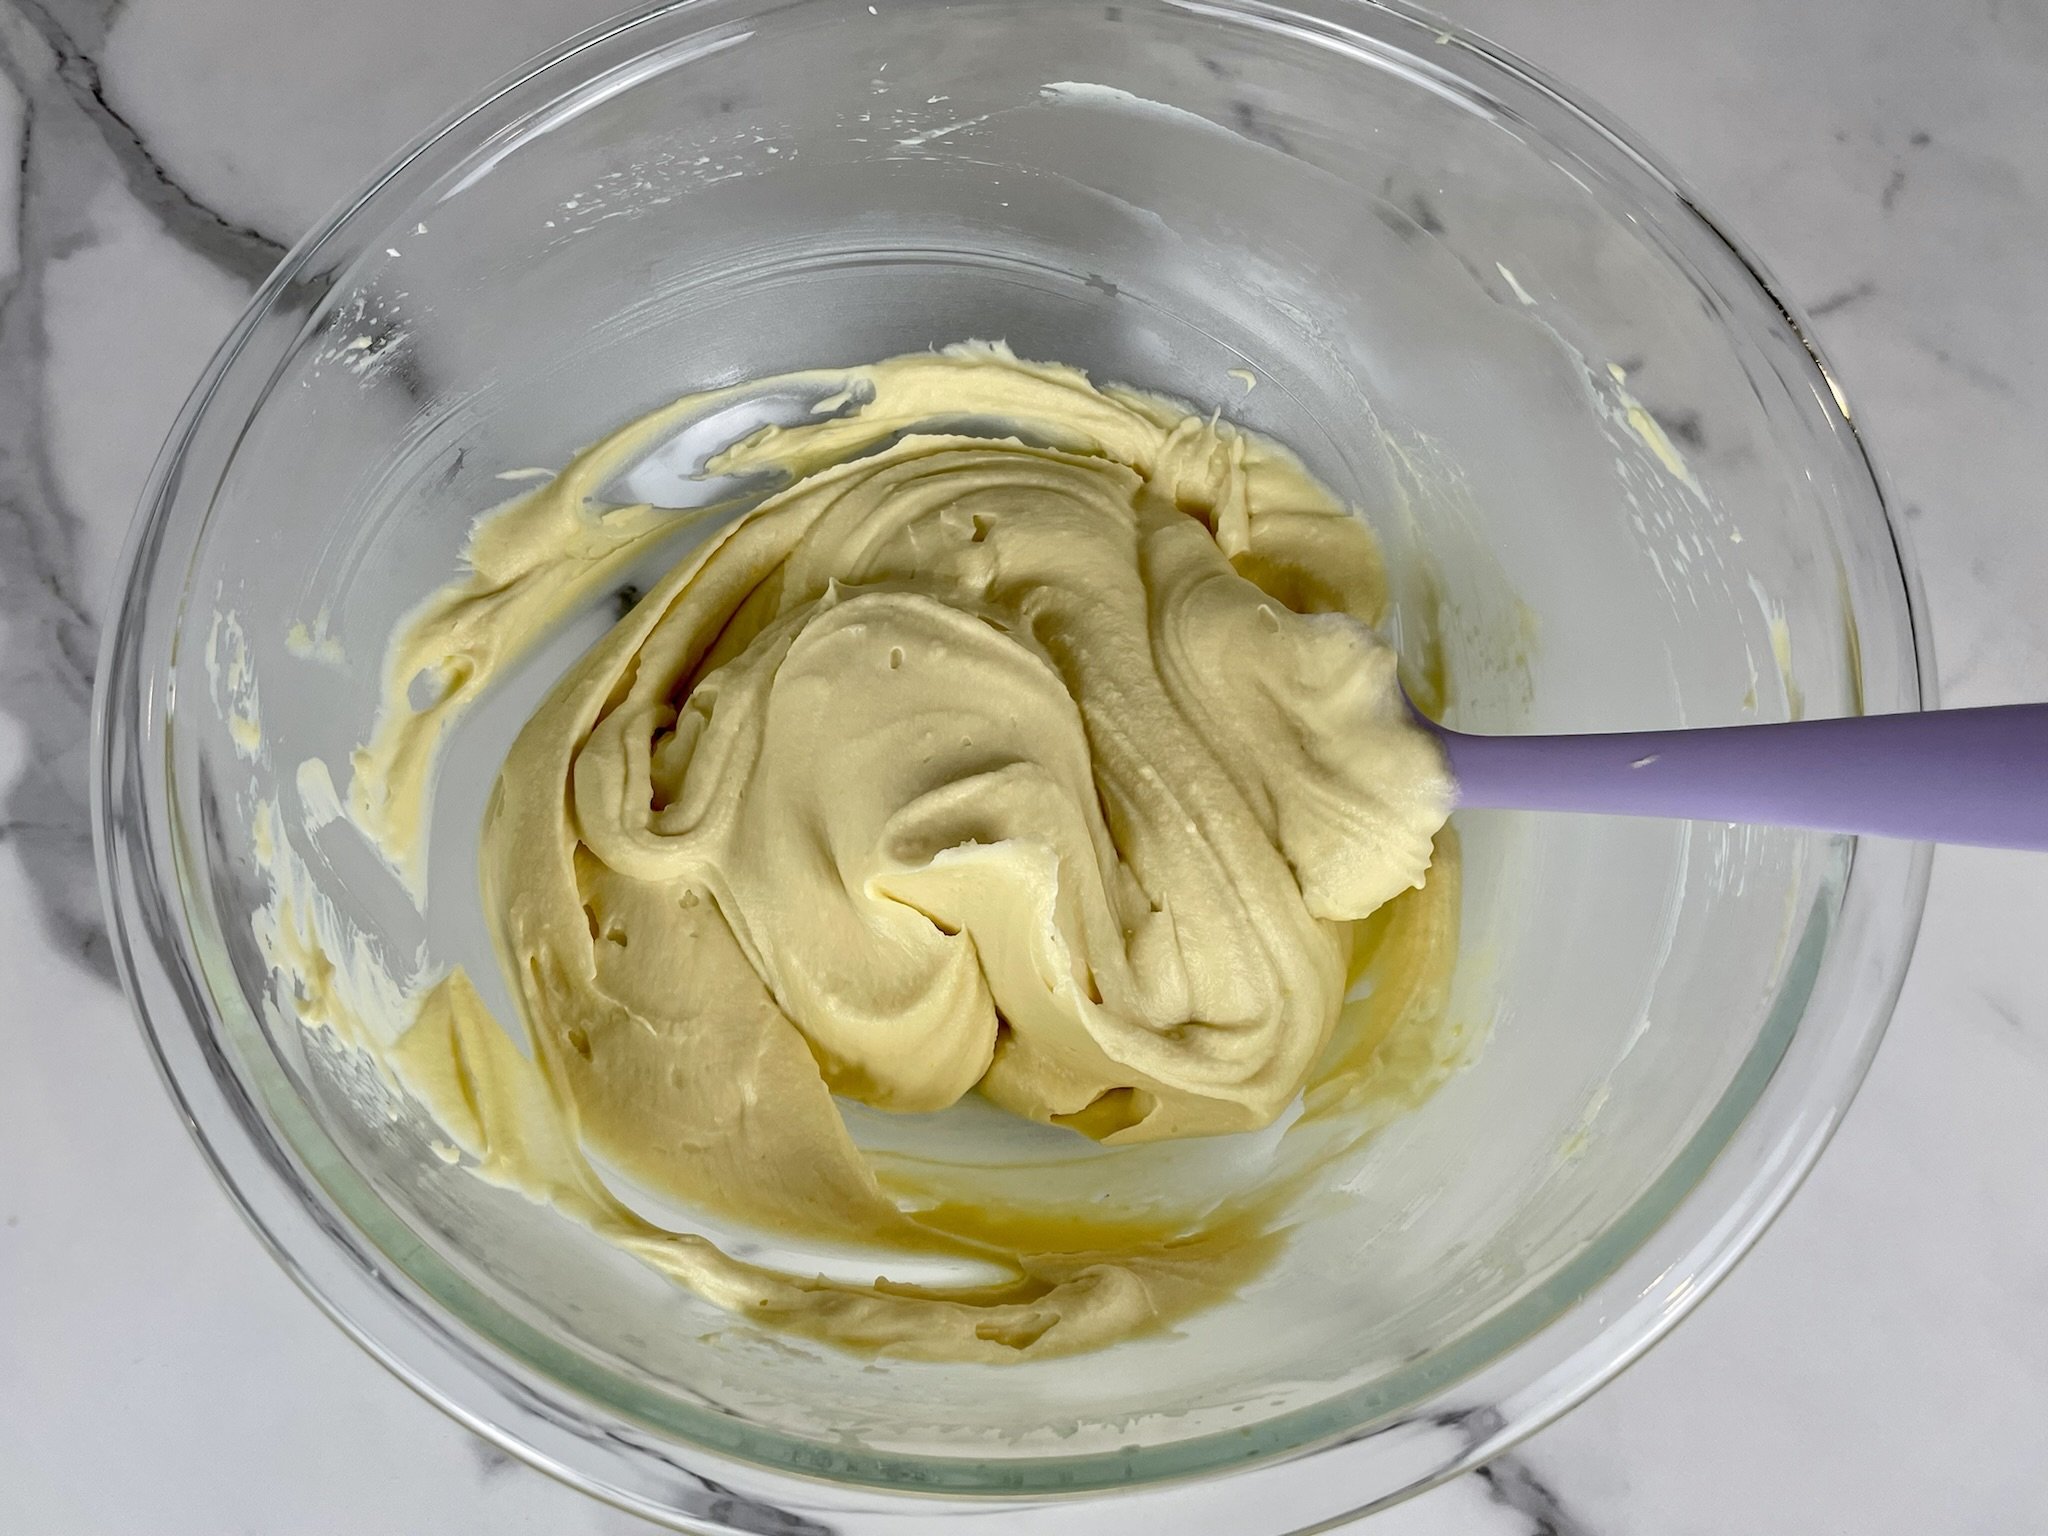
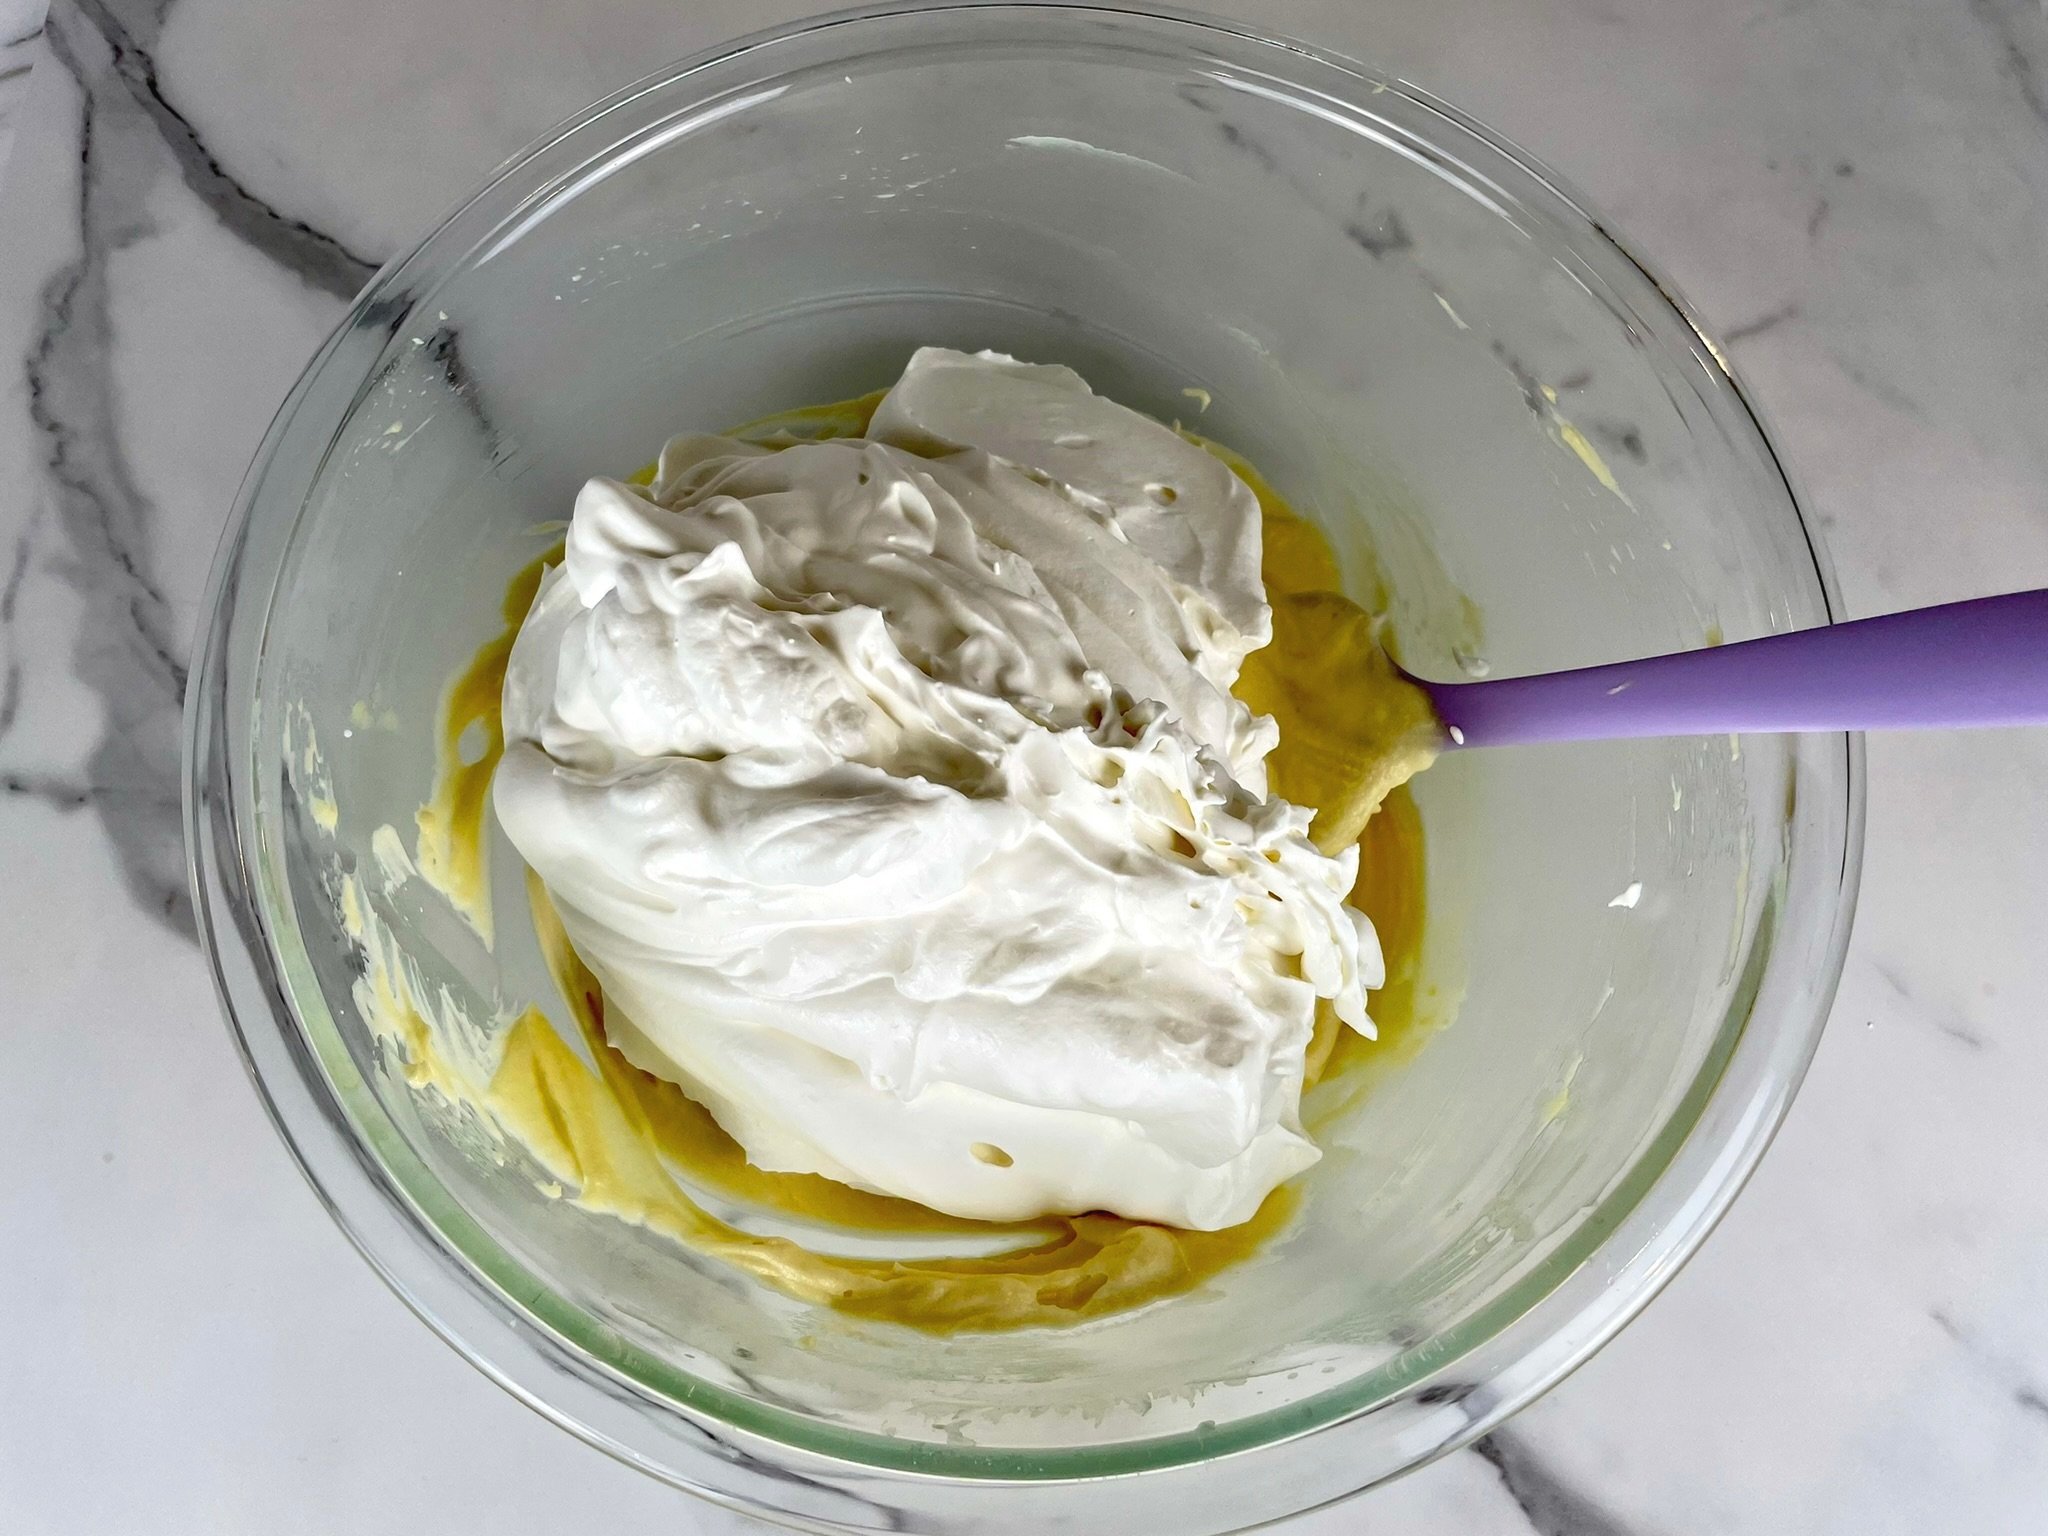
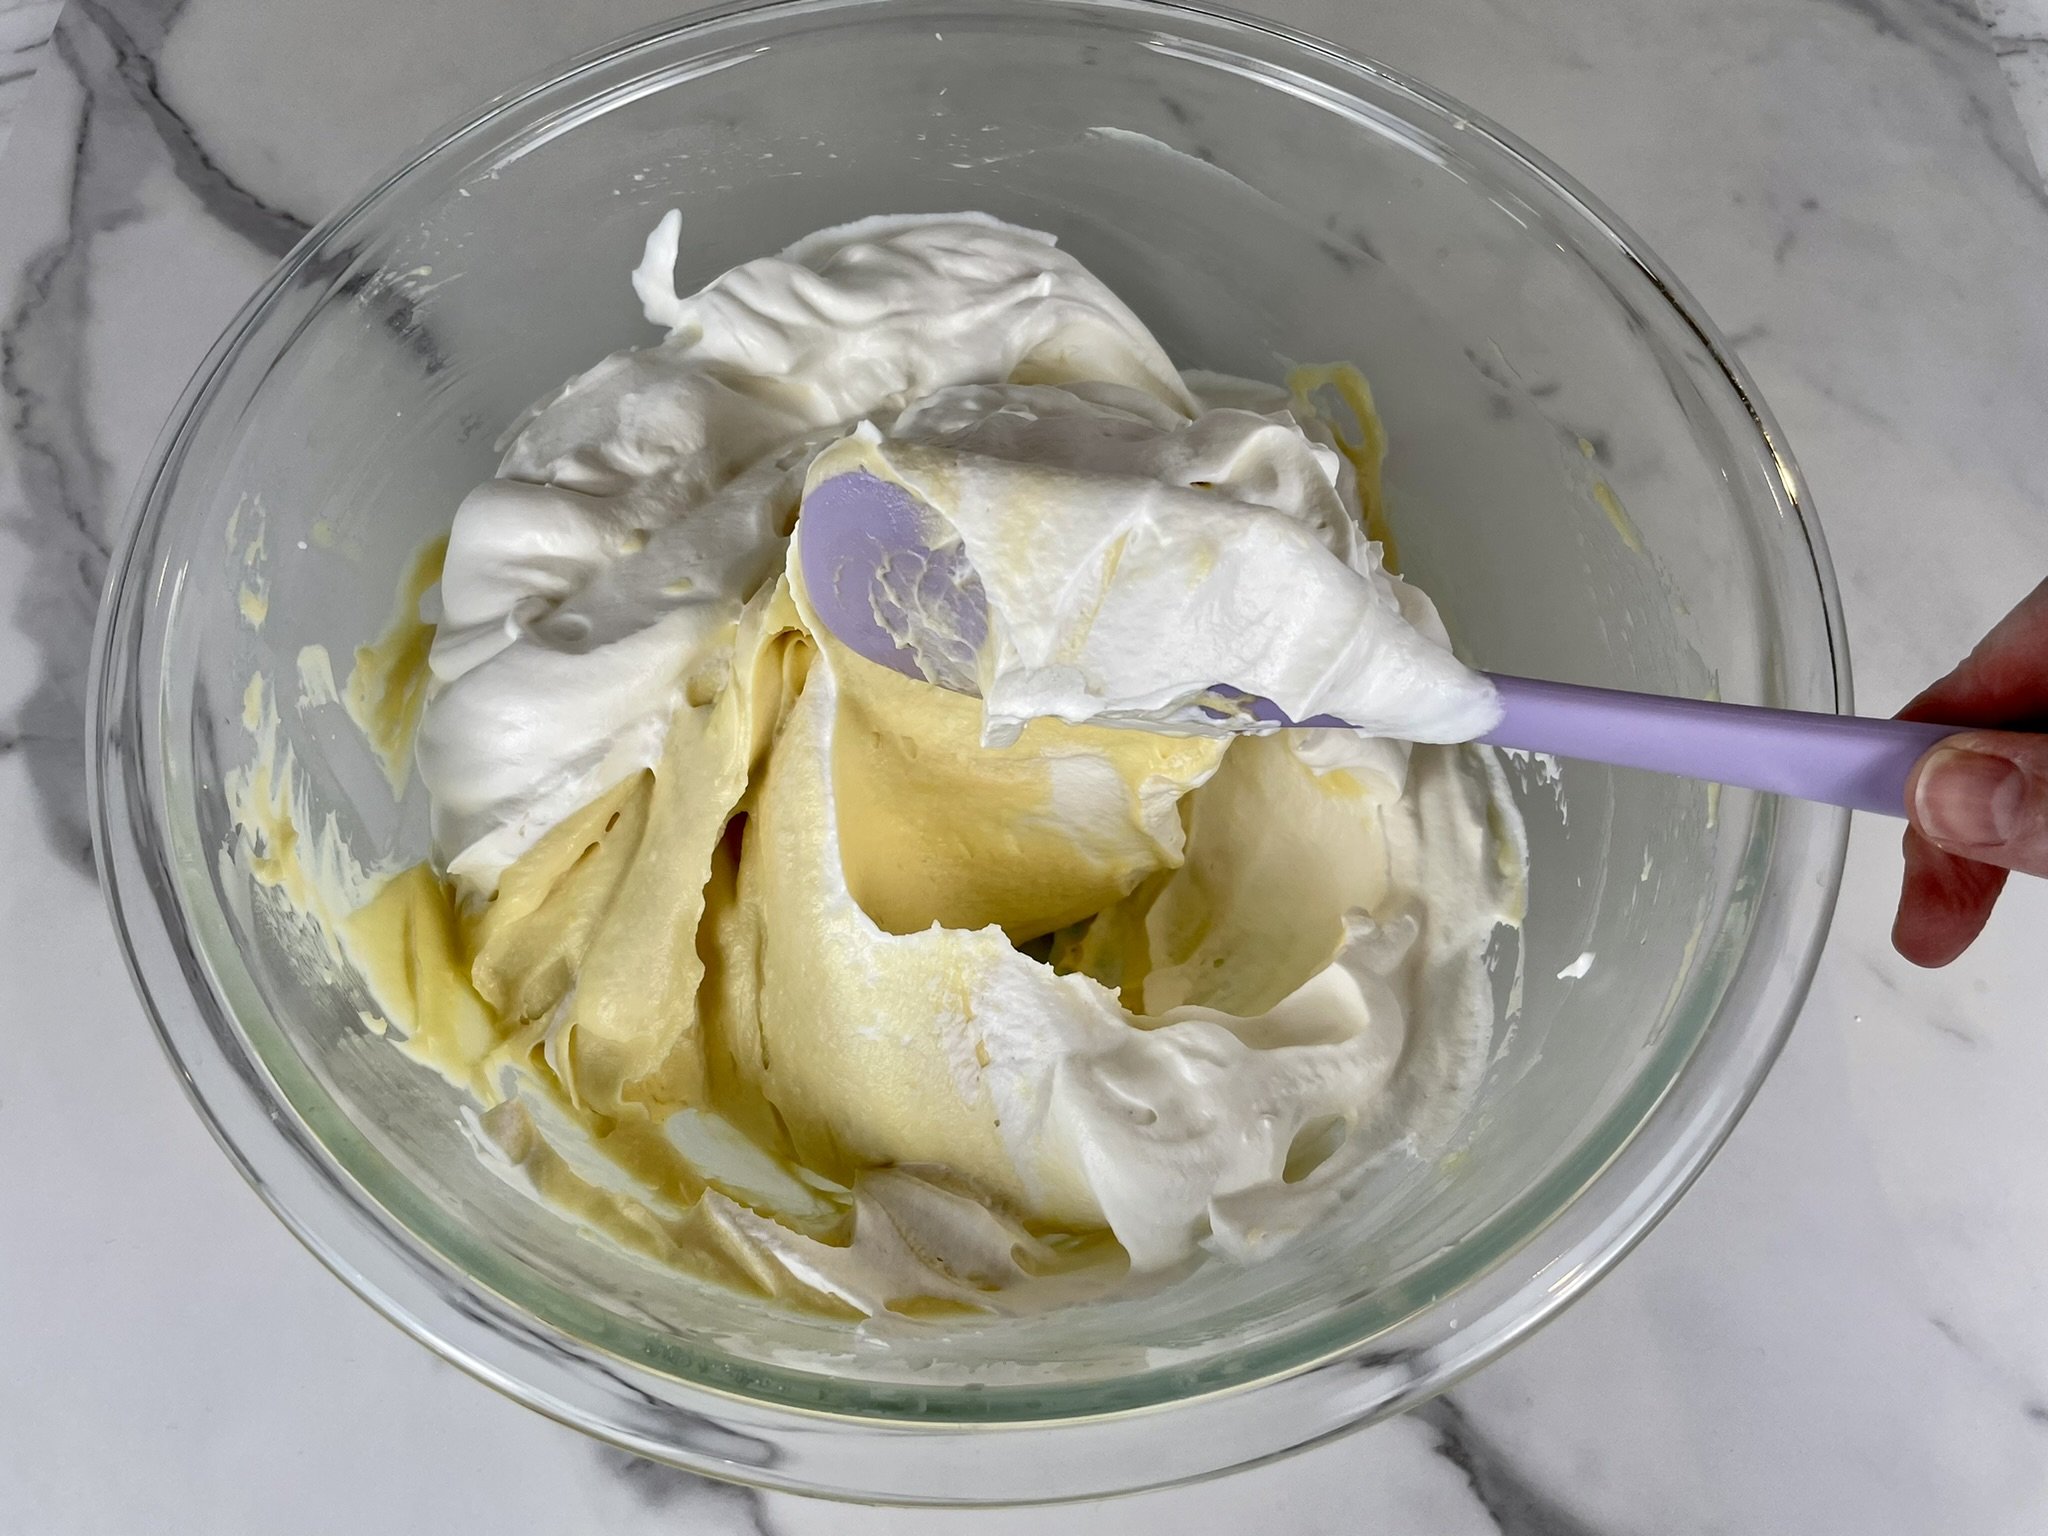
STEP 4b
Add whipped cream to sabayon/mascarpone mixture, very gently fold mixture until combined, and set aside.

STEP 5
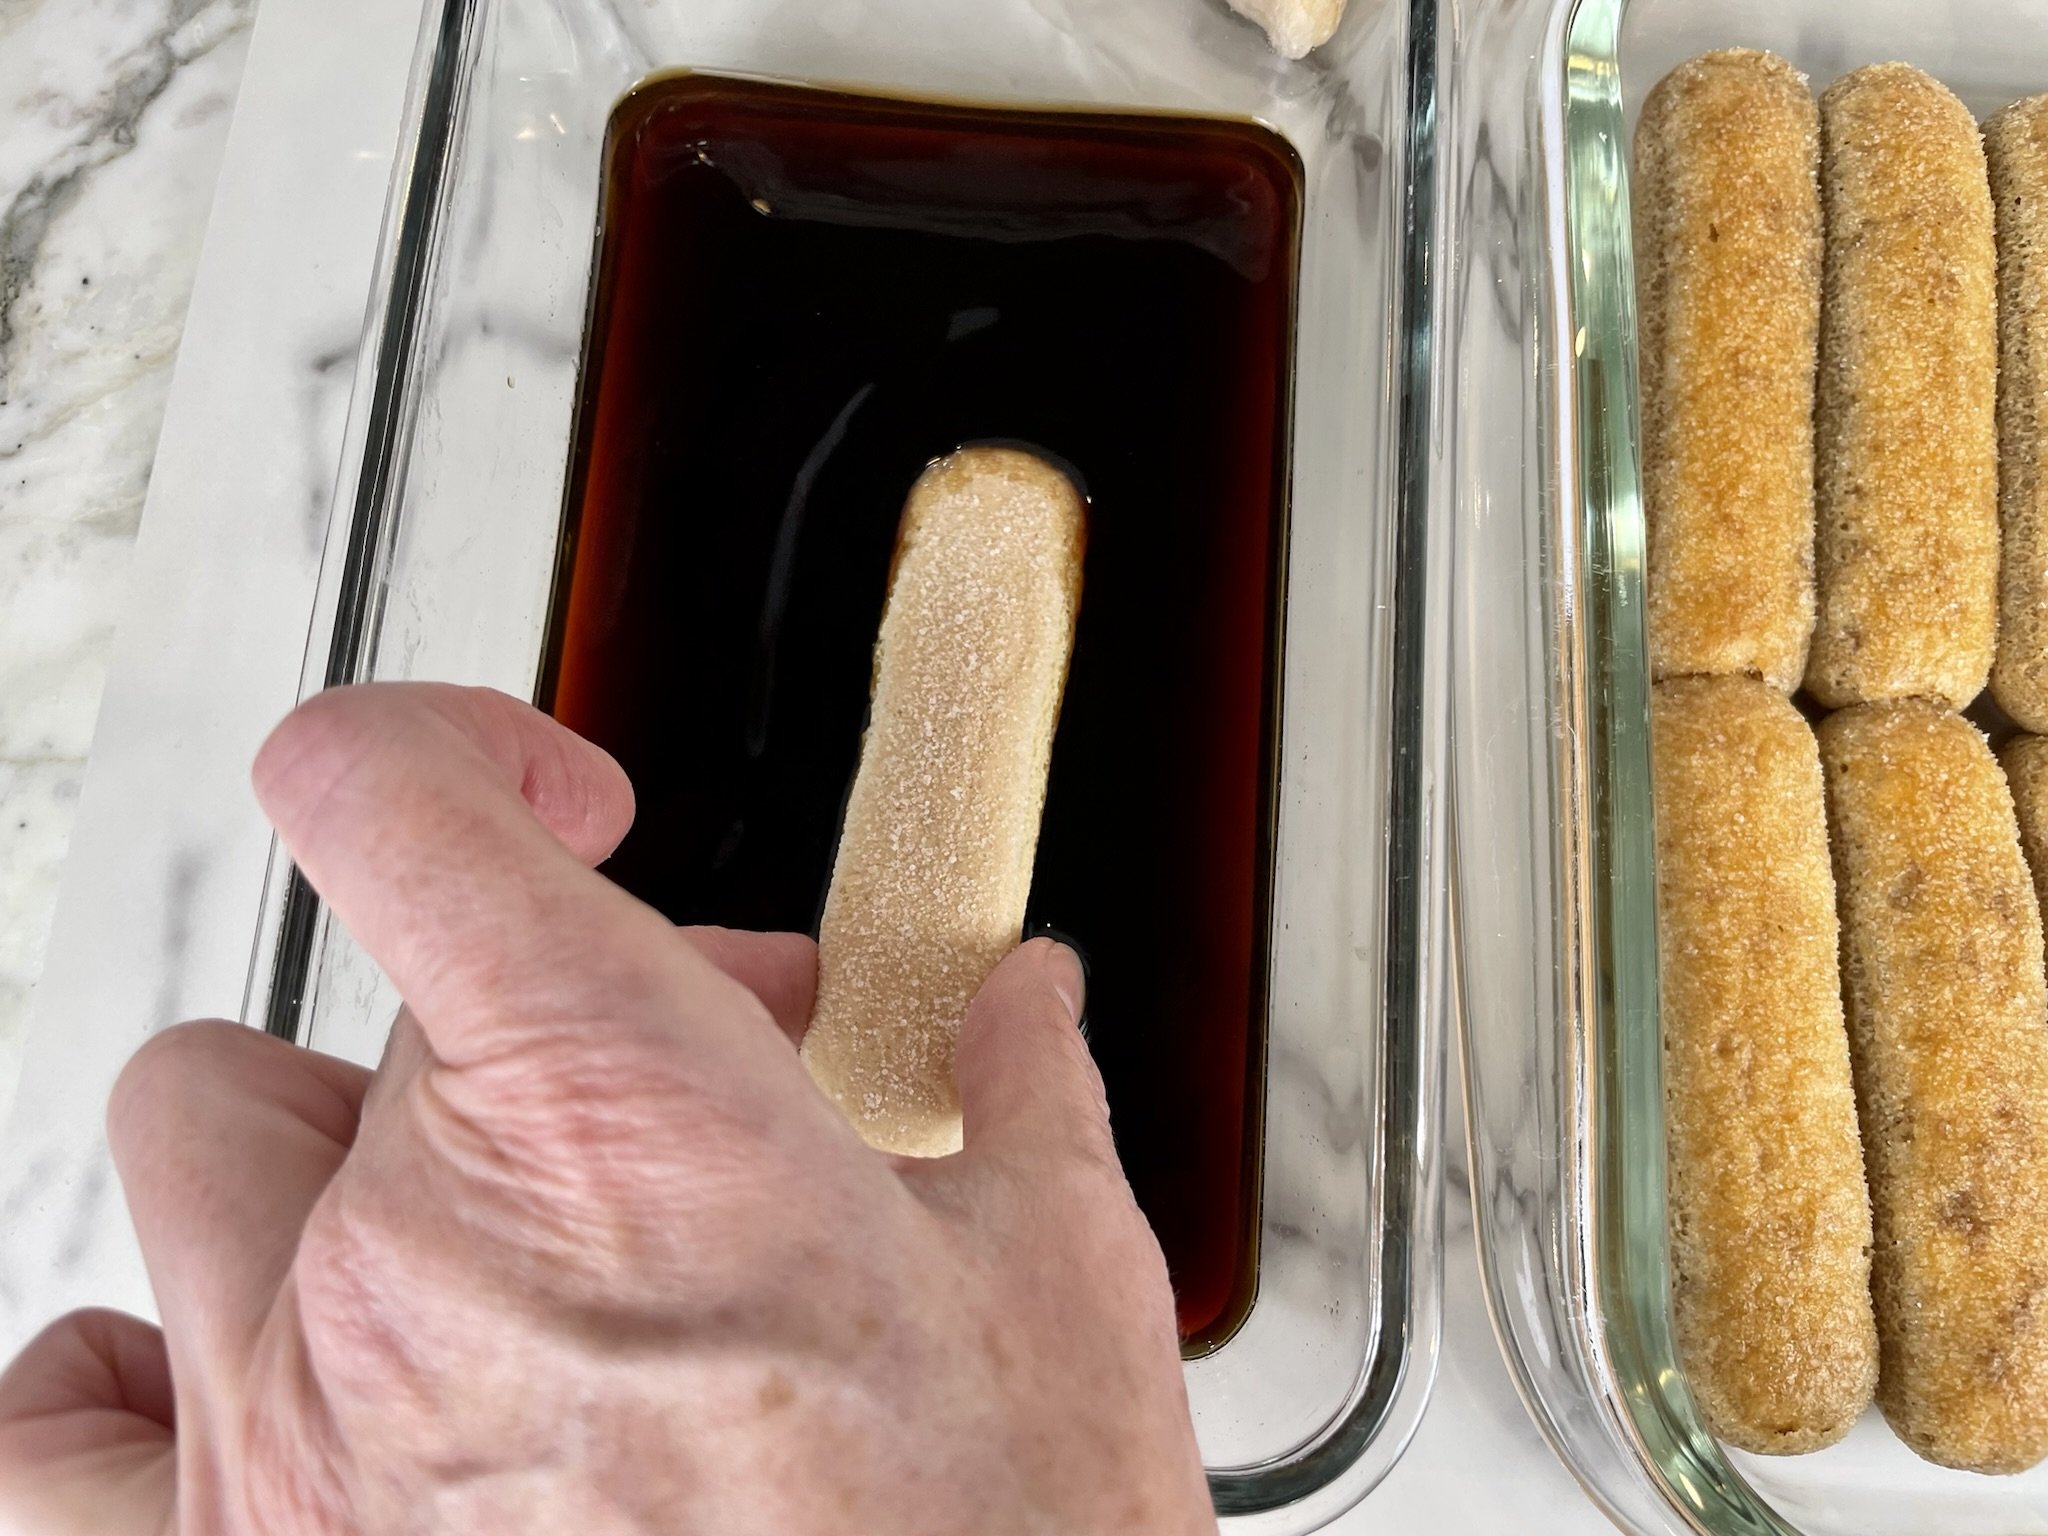
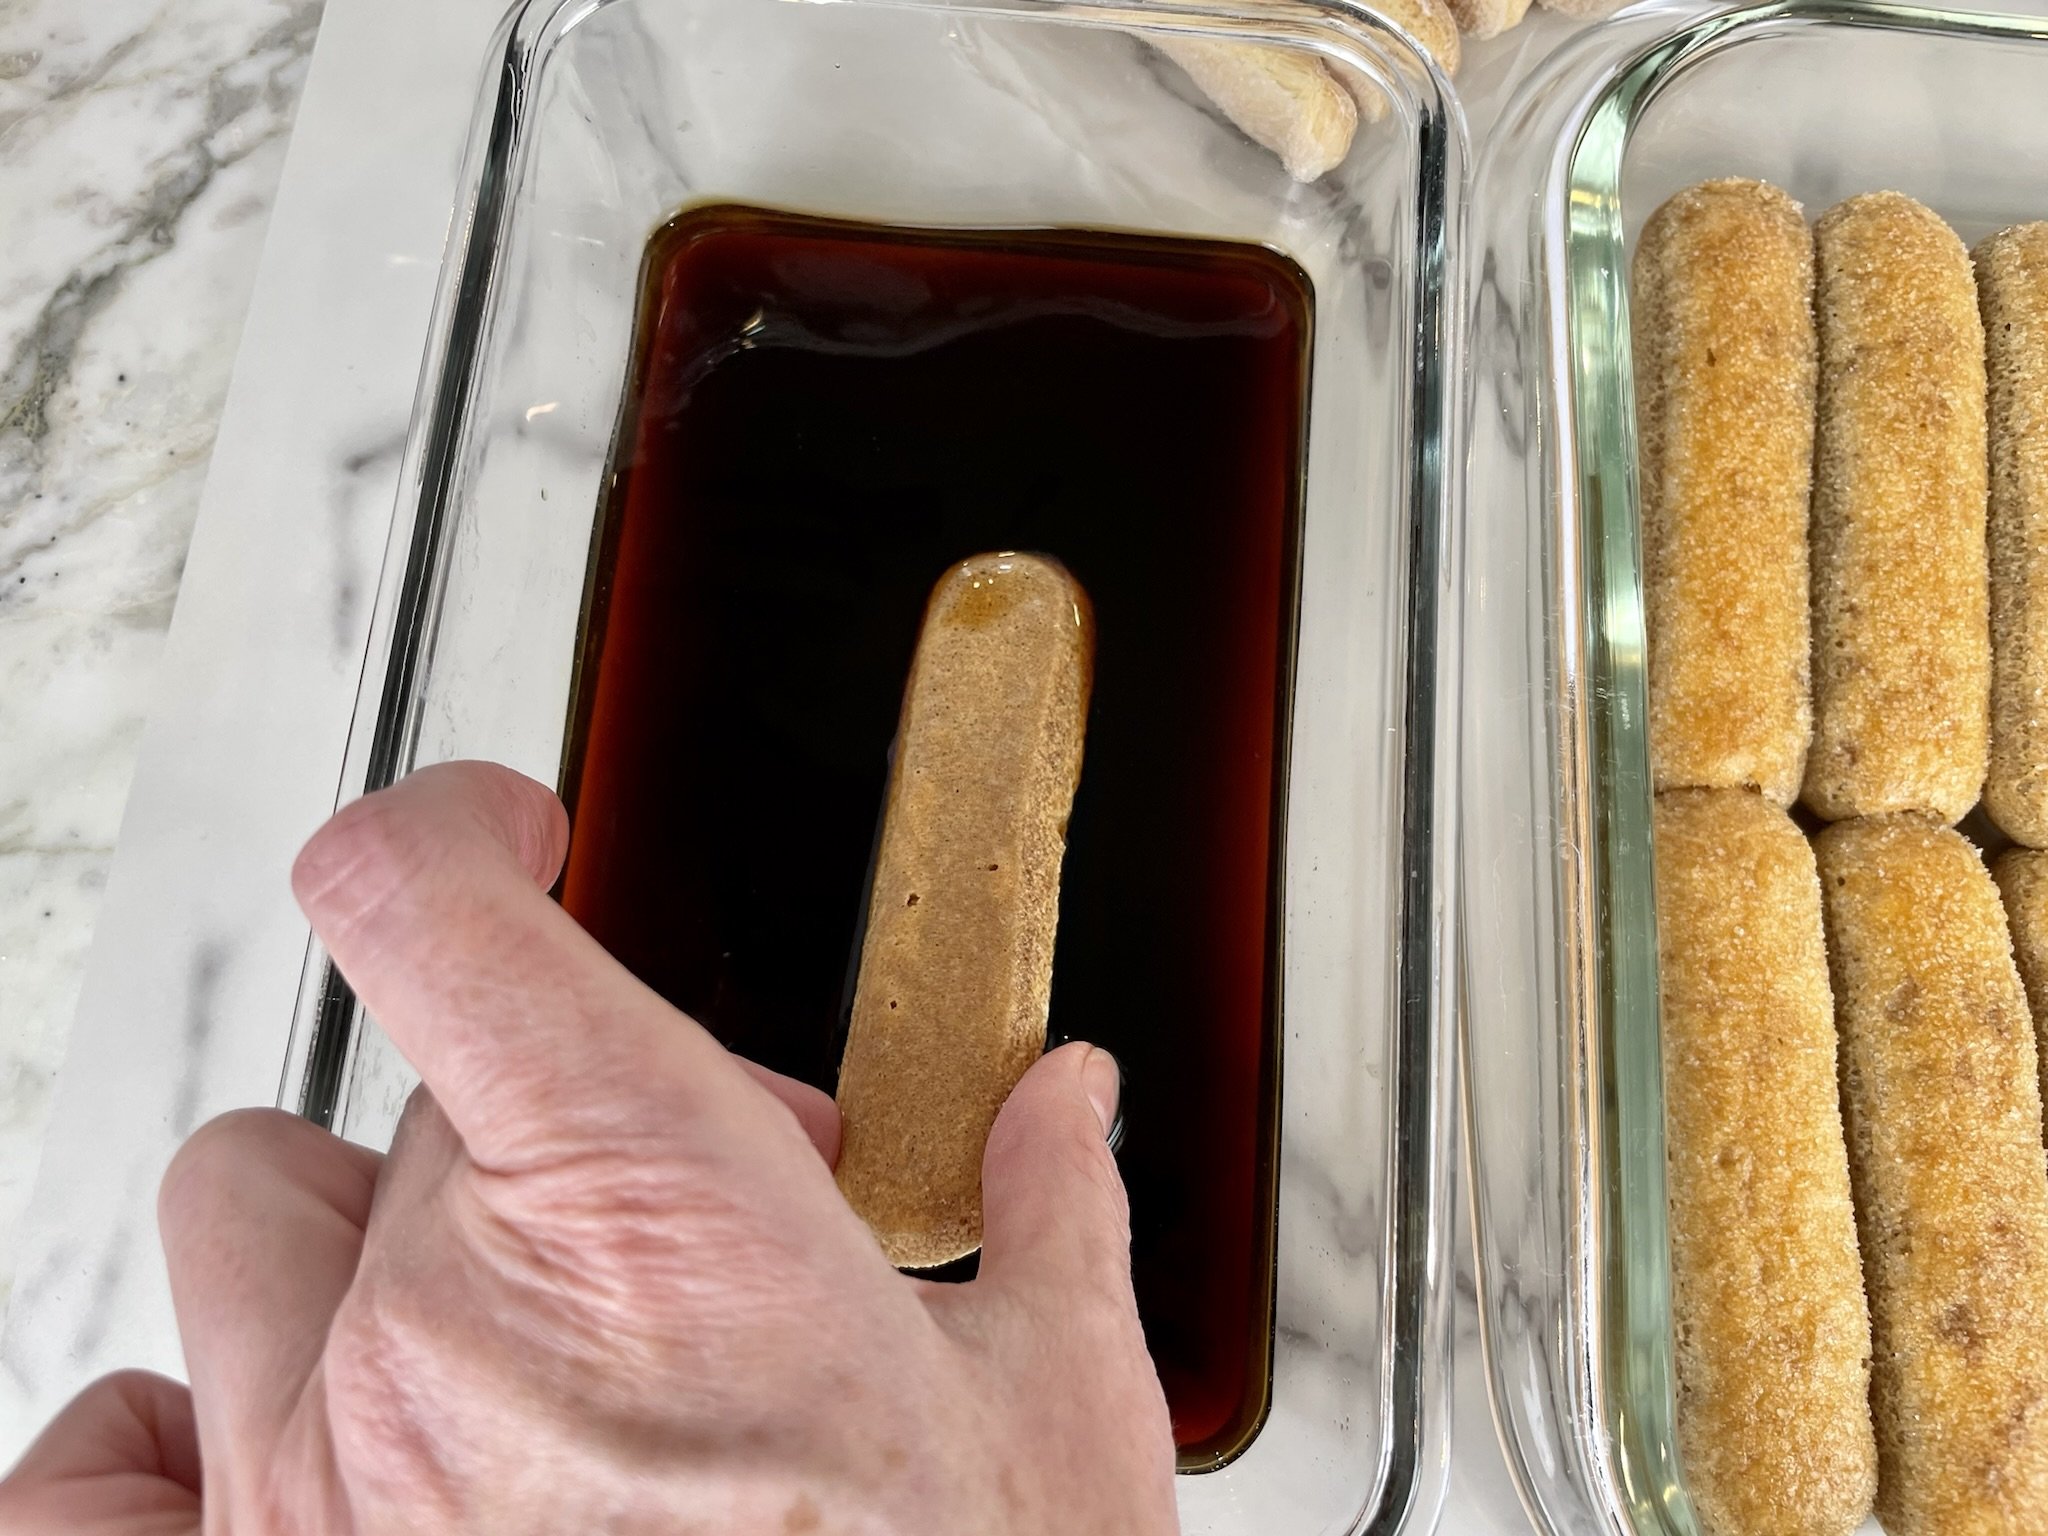
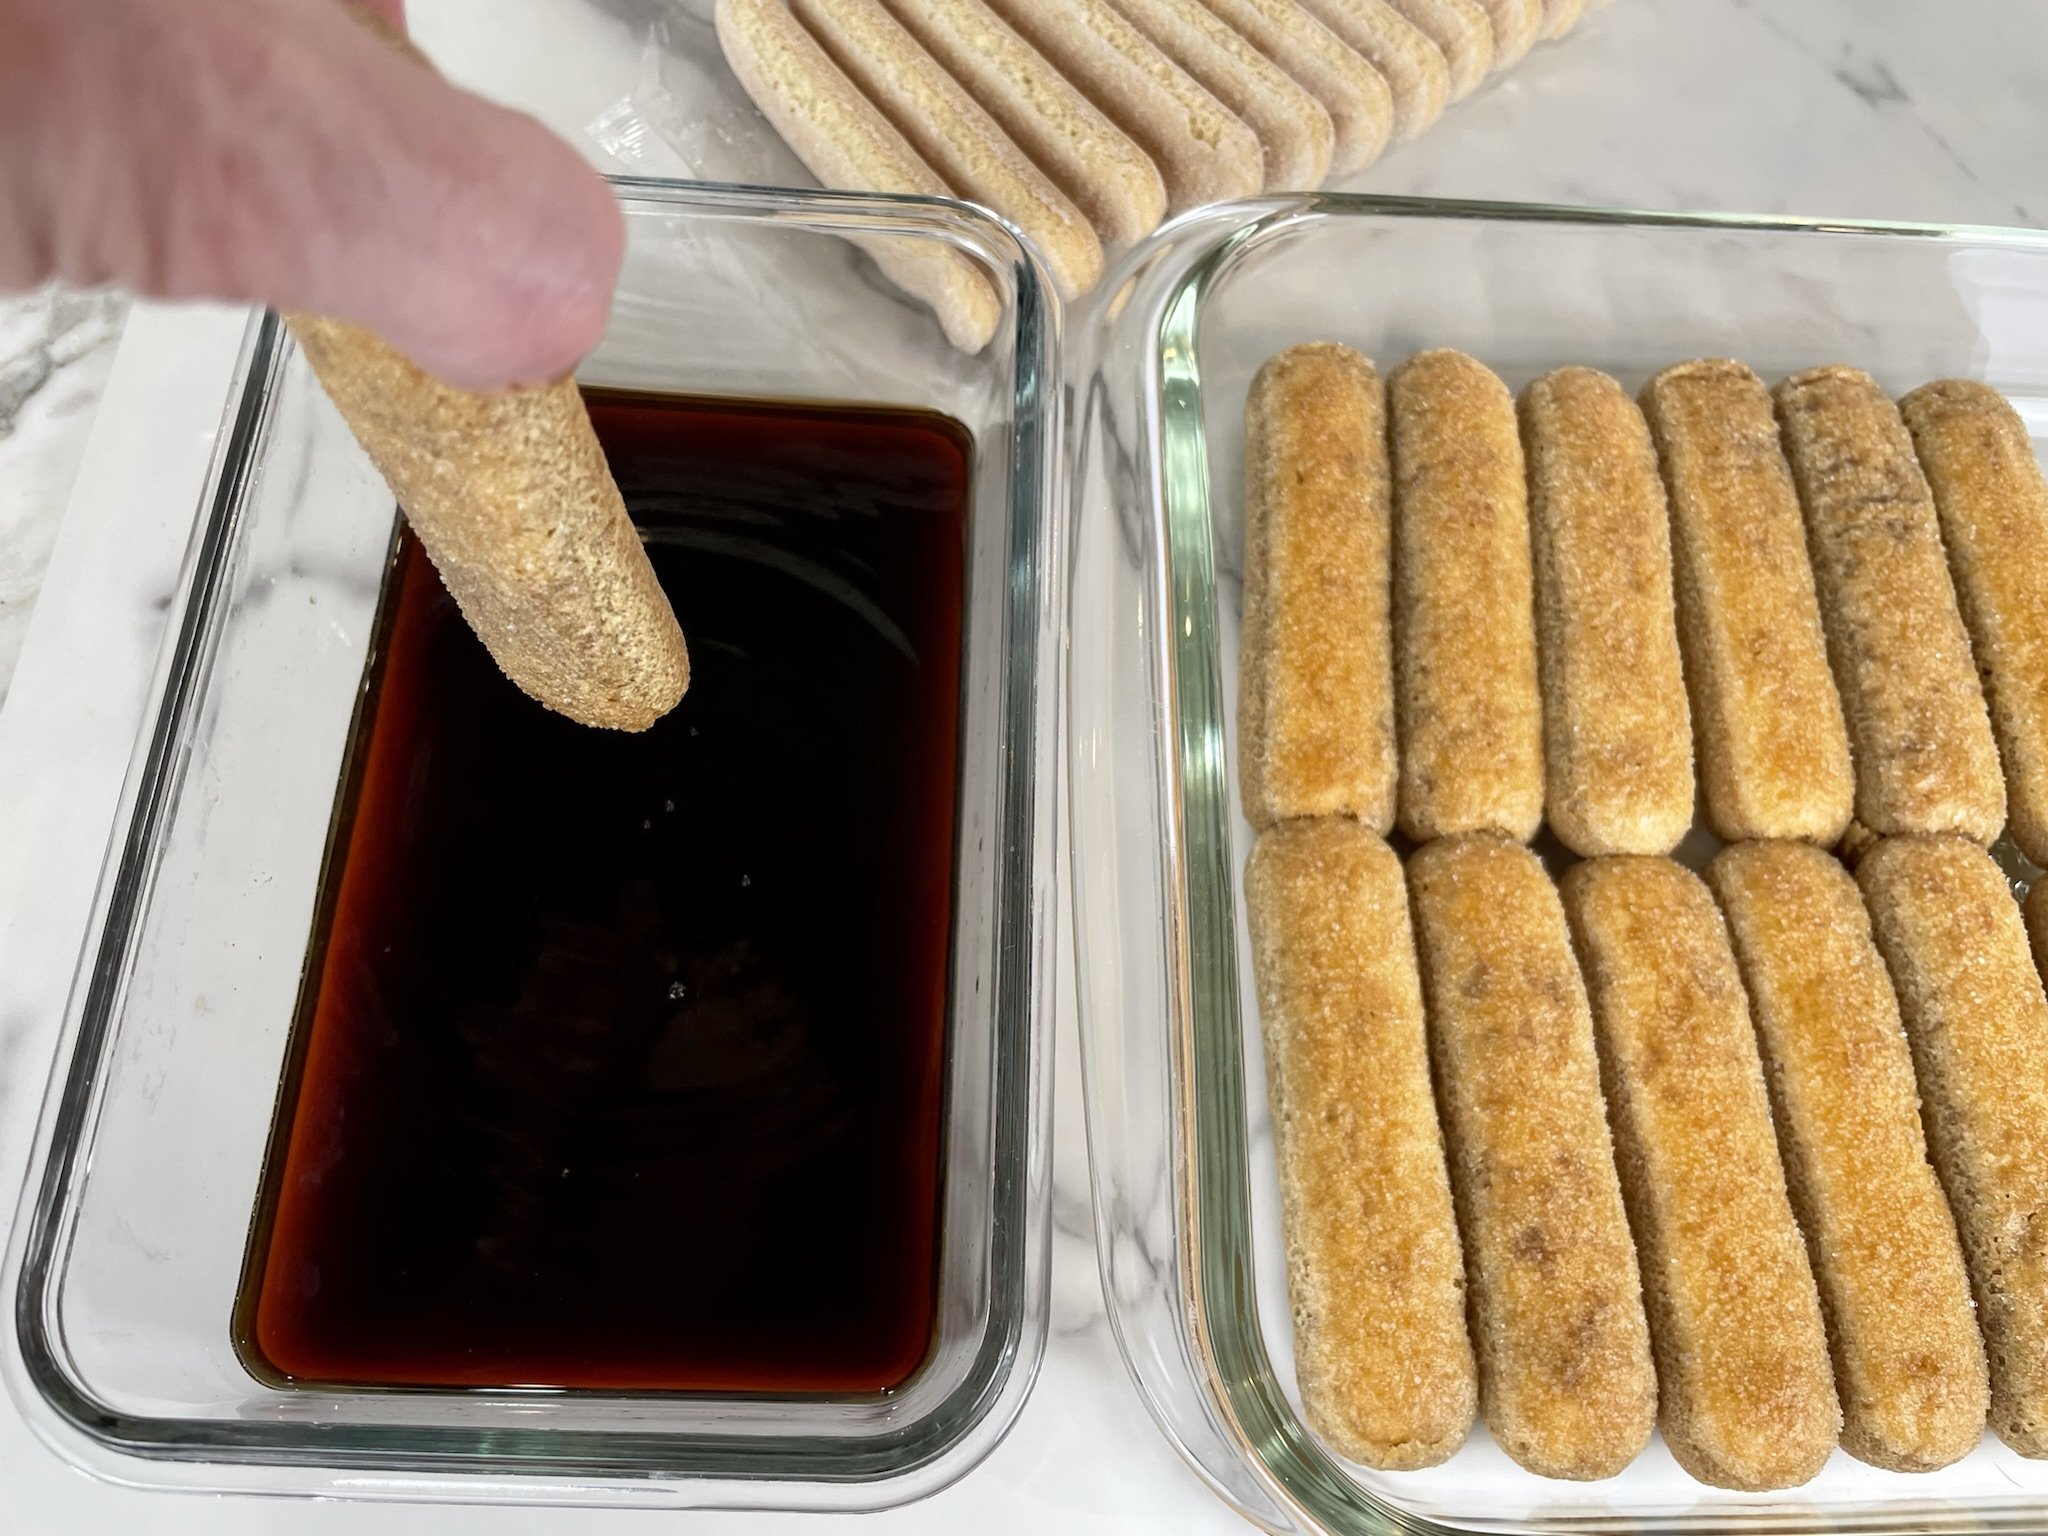
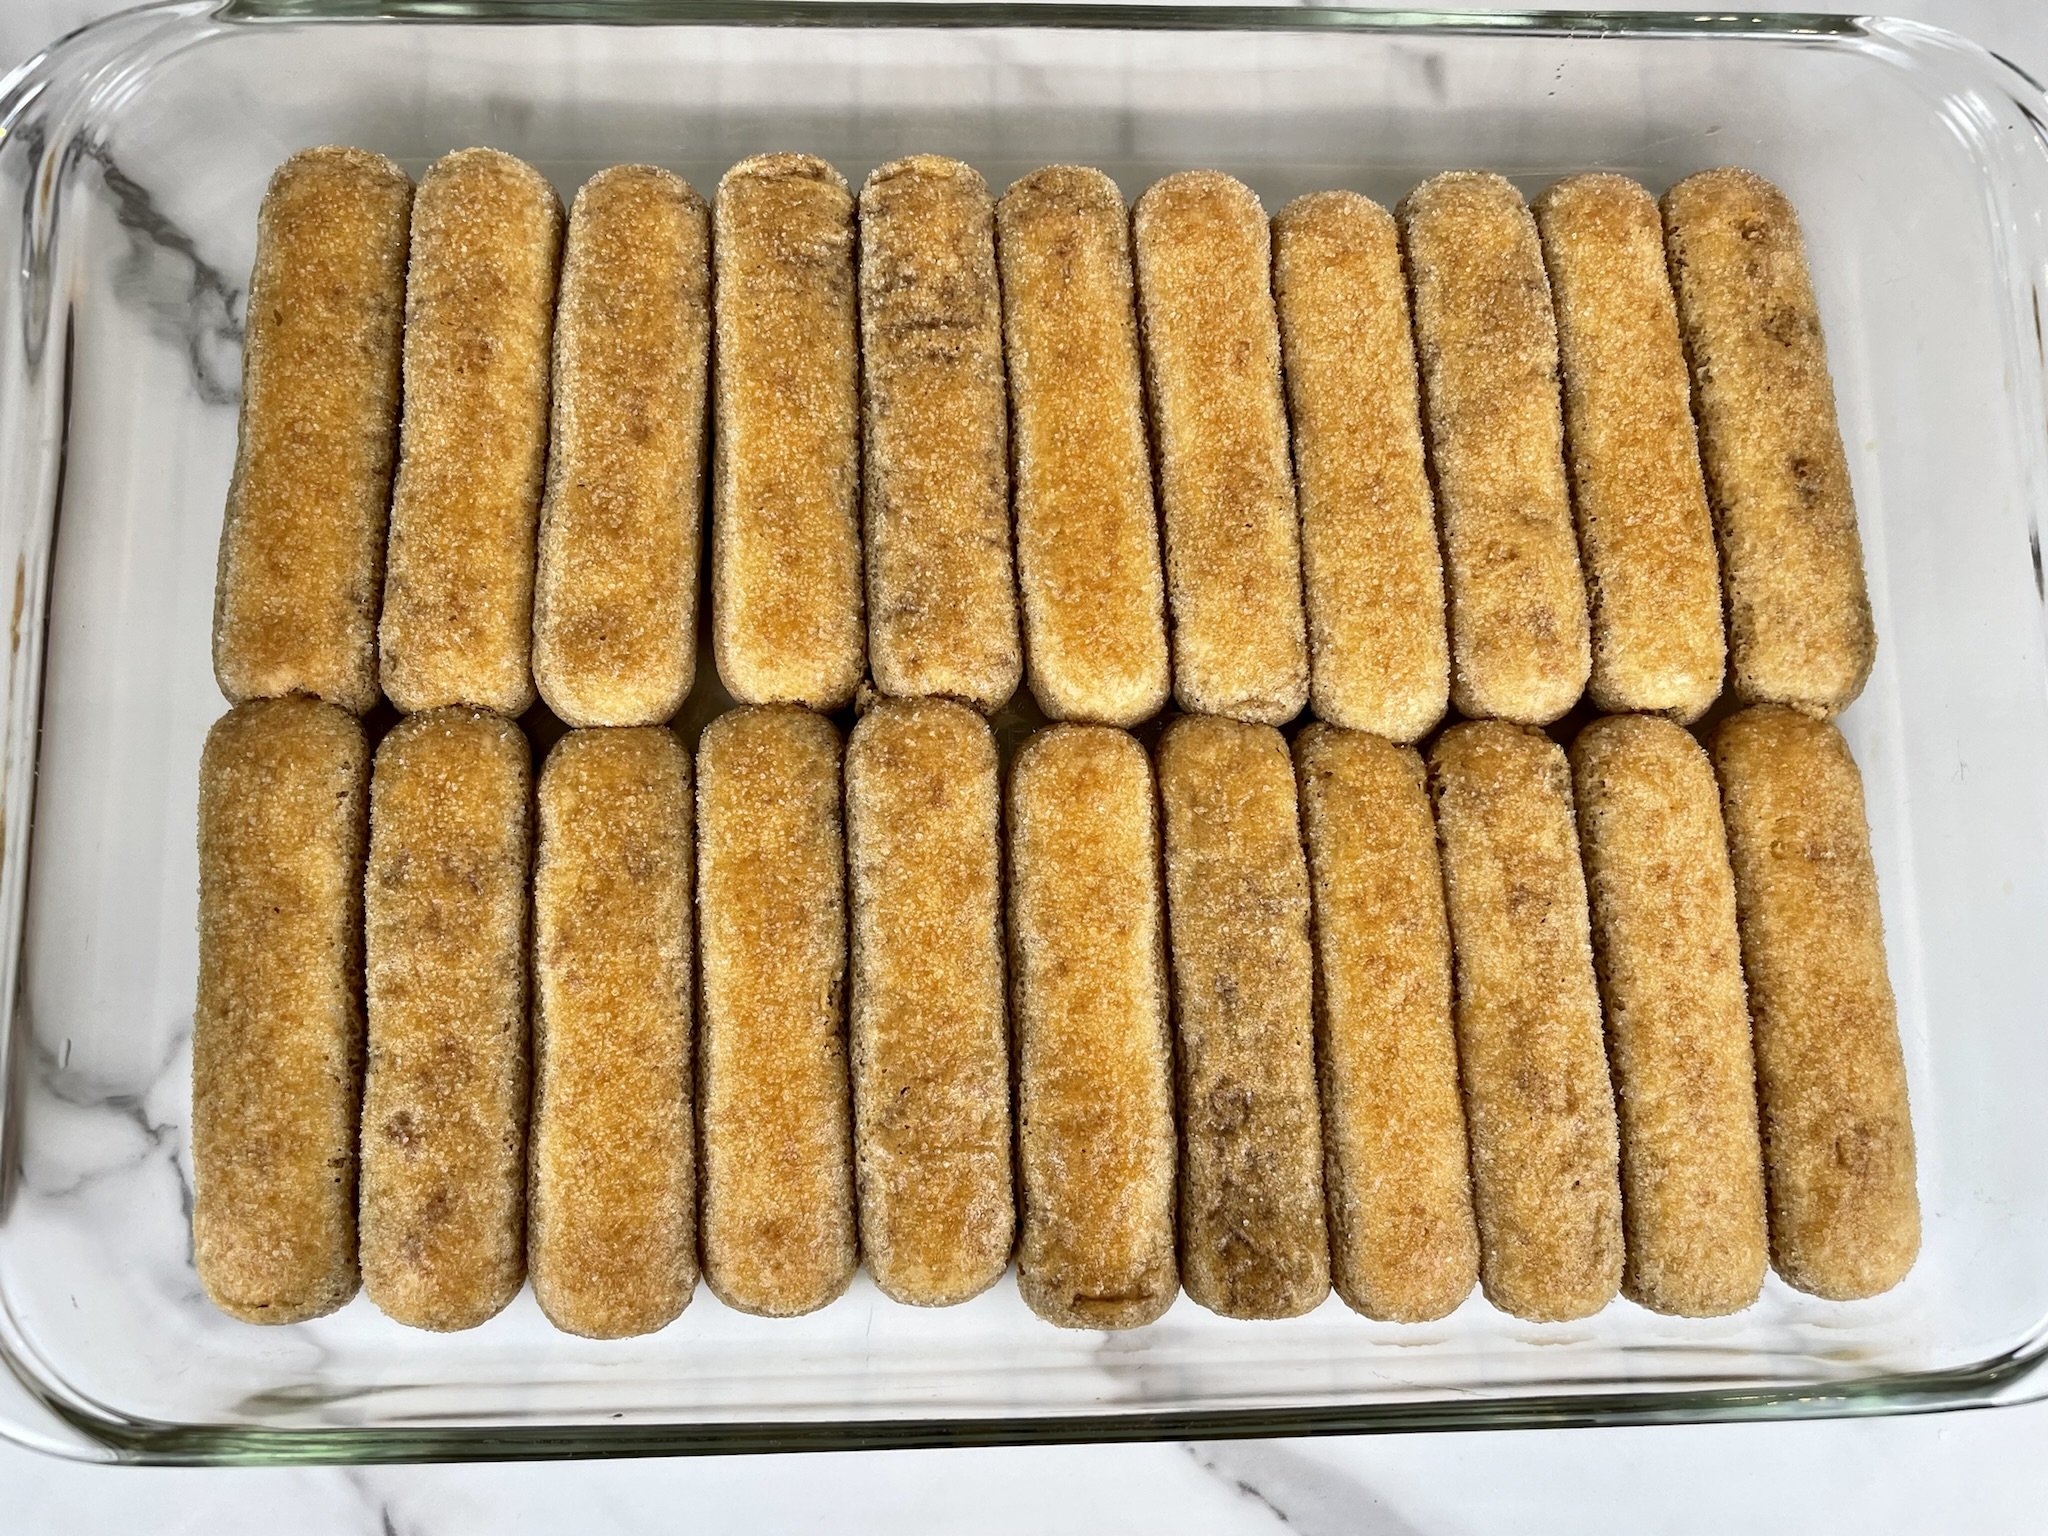
To assemble this dessert, you will need 42 ladyfingers cookies (about two 7 ounce packages). In a shallow baking dish, add ½ cup Kahlua coffee liqueur, and chilled strong coffee, and stir to combine. Very quickly dip the top of each ladyfinger into the coffee mixture for only 1 second. Flip over and dip the other side into the mixture for only 1 second. Gently shake off excess liquid (or let drip), and quickly place in the bottom of a 9 x 13 inch baking dish. Repeat process until the bottom of the pan is lined with one layer of dipped ladyfingers (about 20-22 ladyfingers - see Note below).
Note: Move quickly when working with ladyfingers. These delicate cookies are like sponges and can easily fall apart if they are soaked too long. Dunk each side into the coffee mixture for only 1 second, otherwise, they may become mushy and fall apart. Also, the coffee mixture is just enough to soak 42 ladyfingers for 1 second each side. If you soak them for longer, you won’t have enough liquid for all 42 cookies.
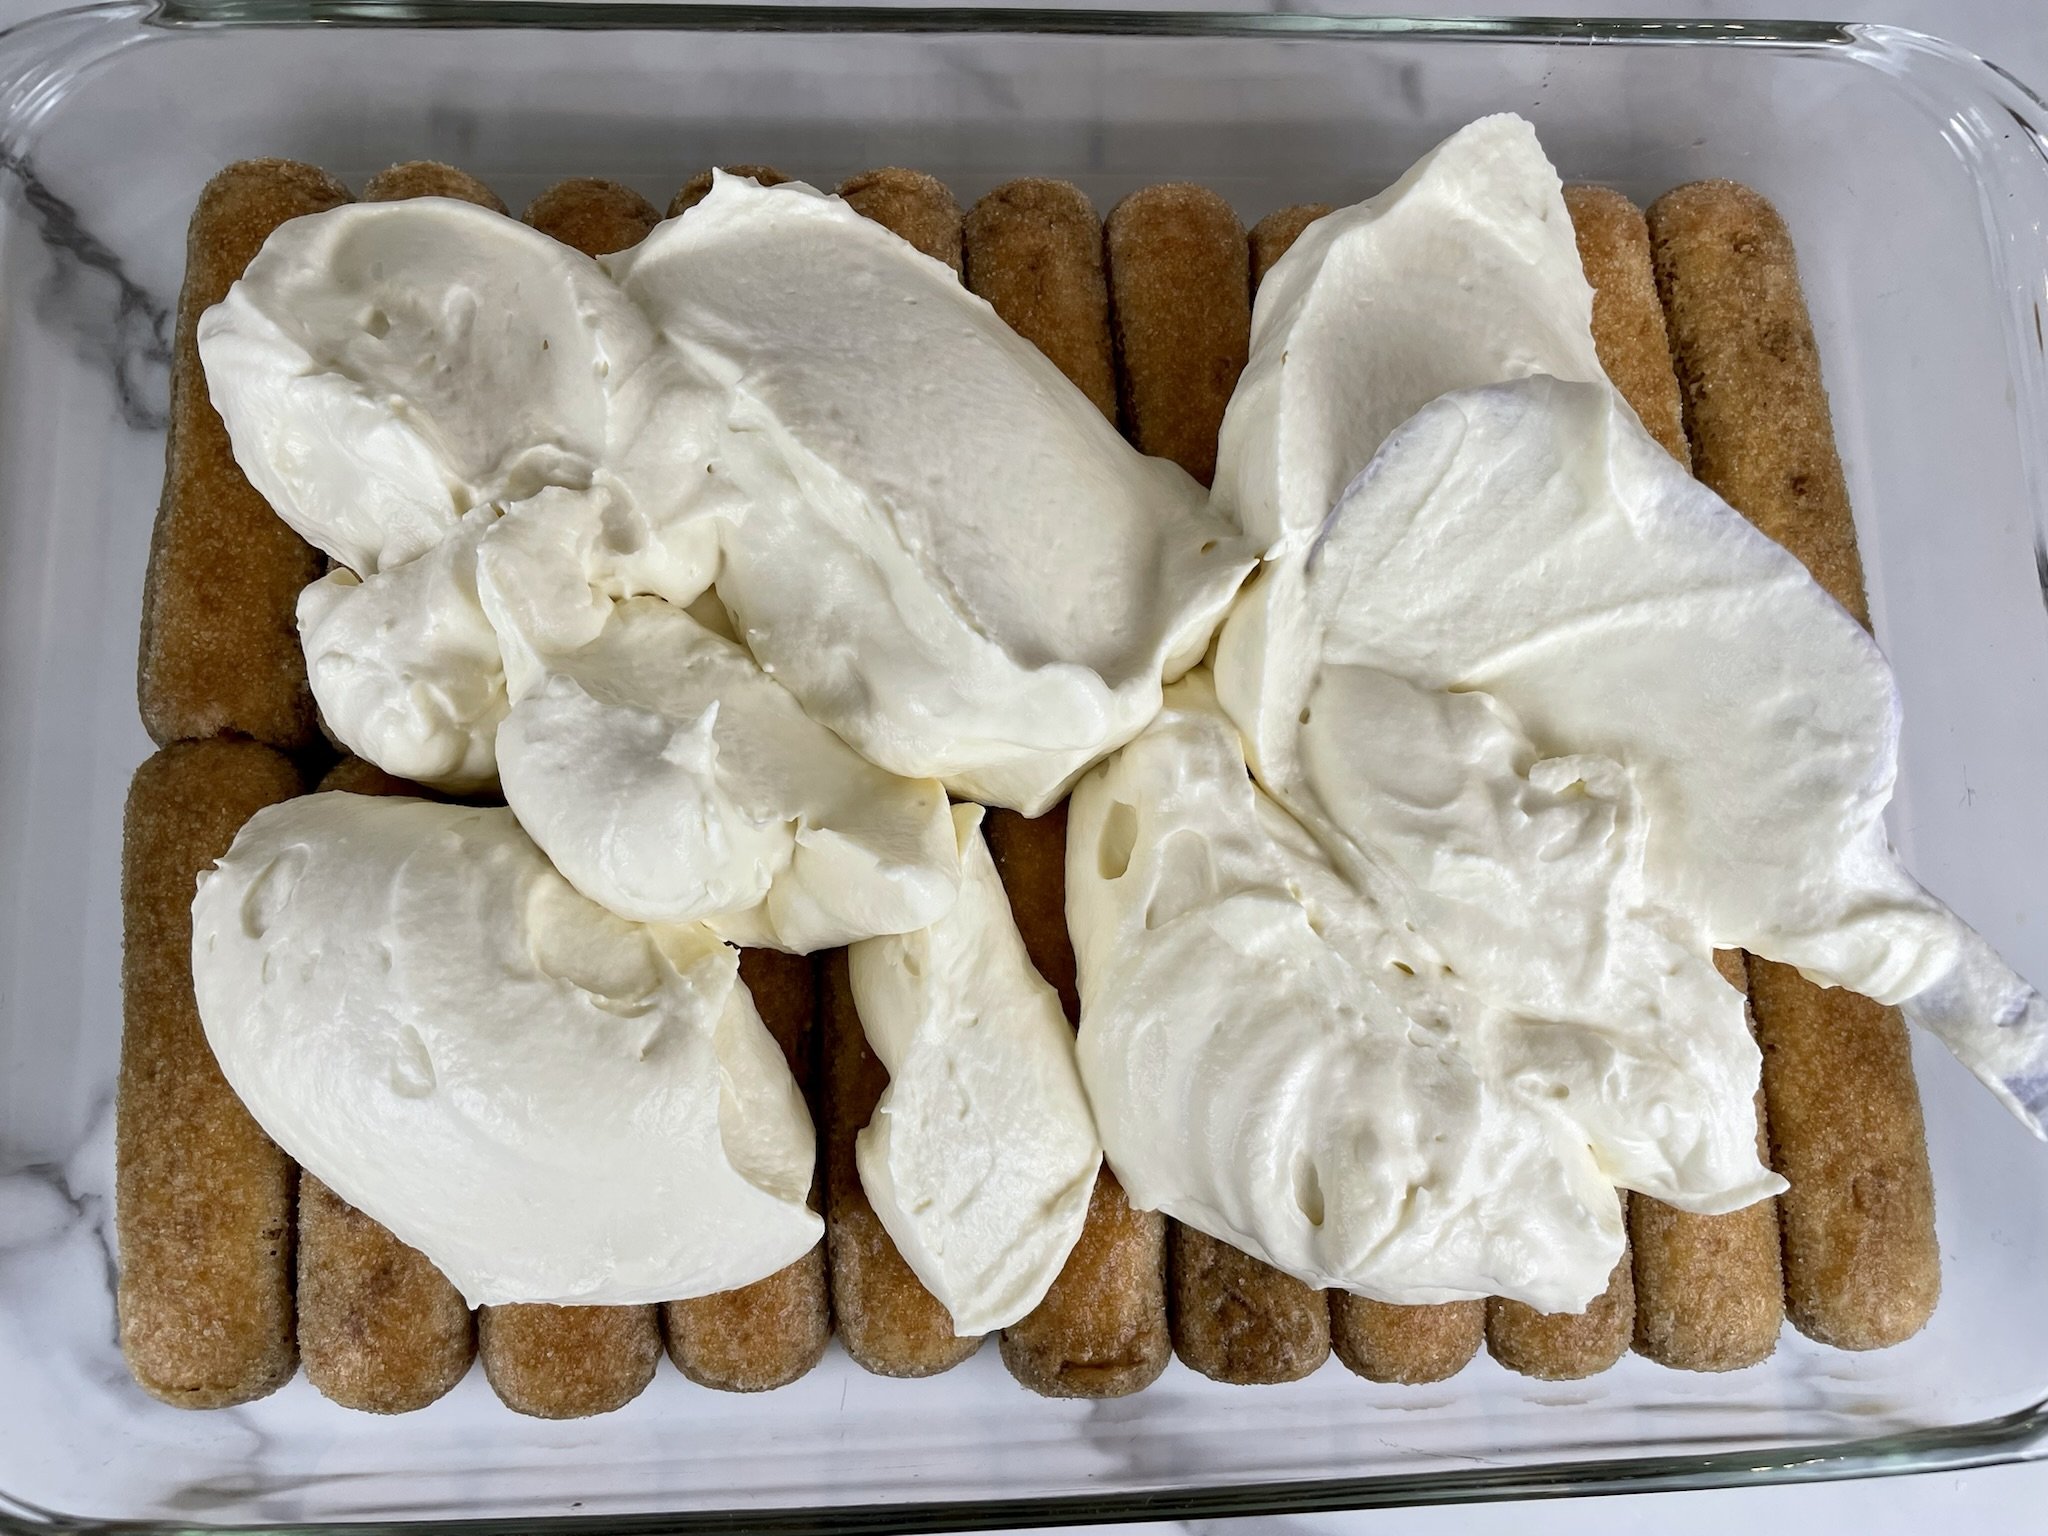
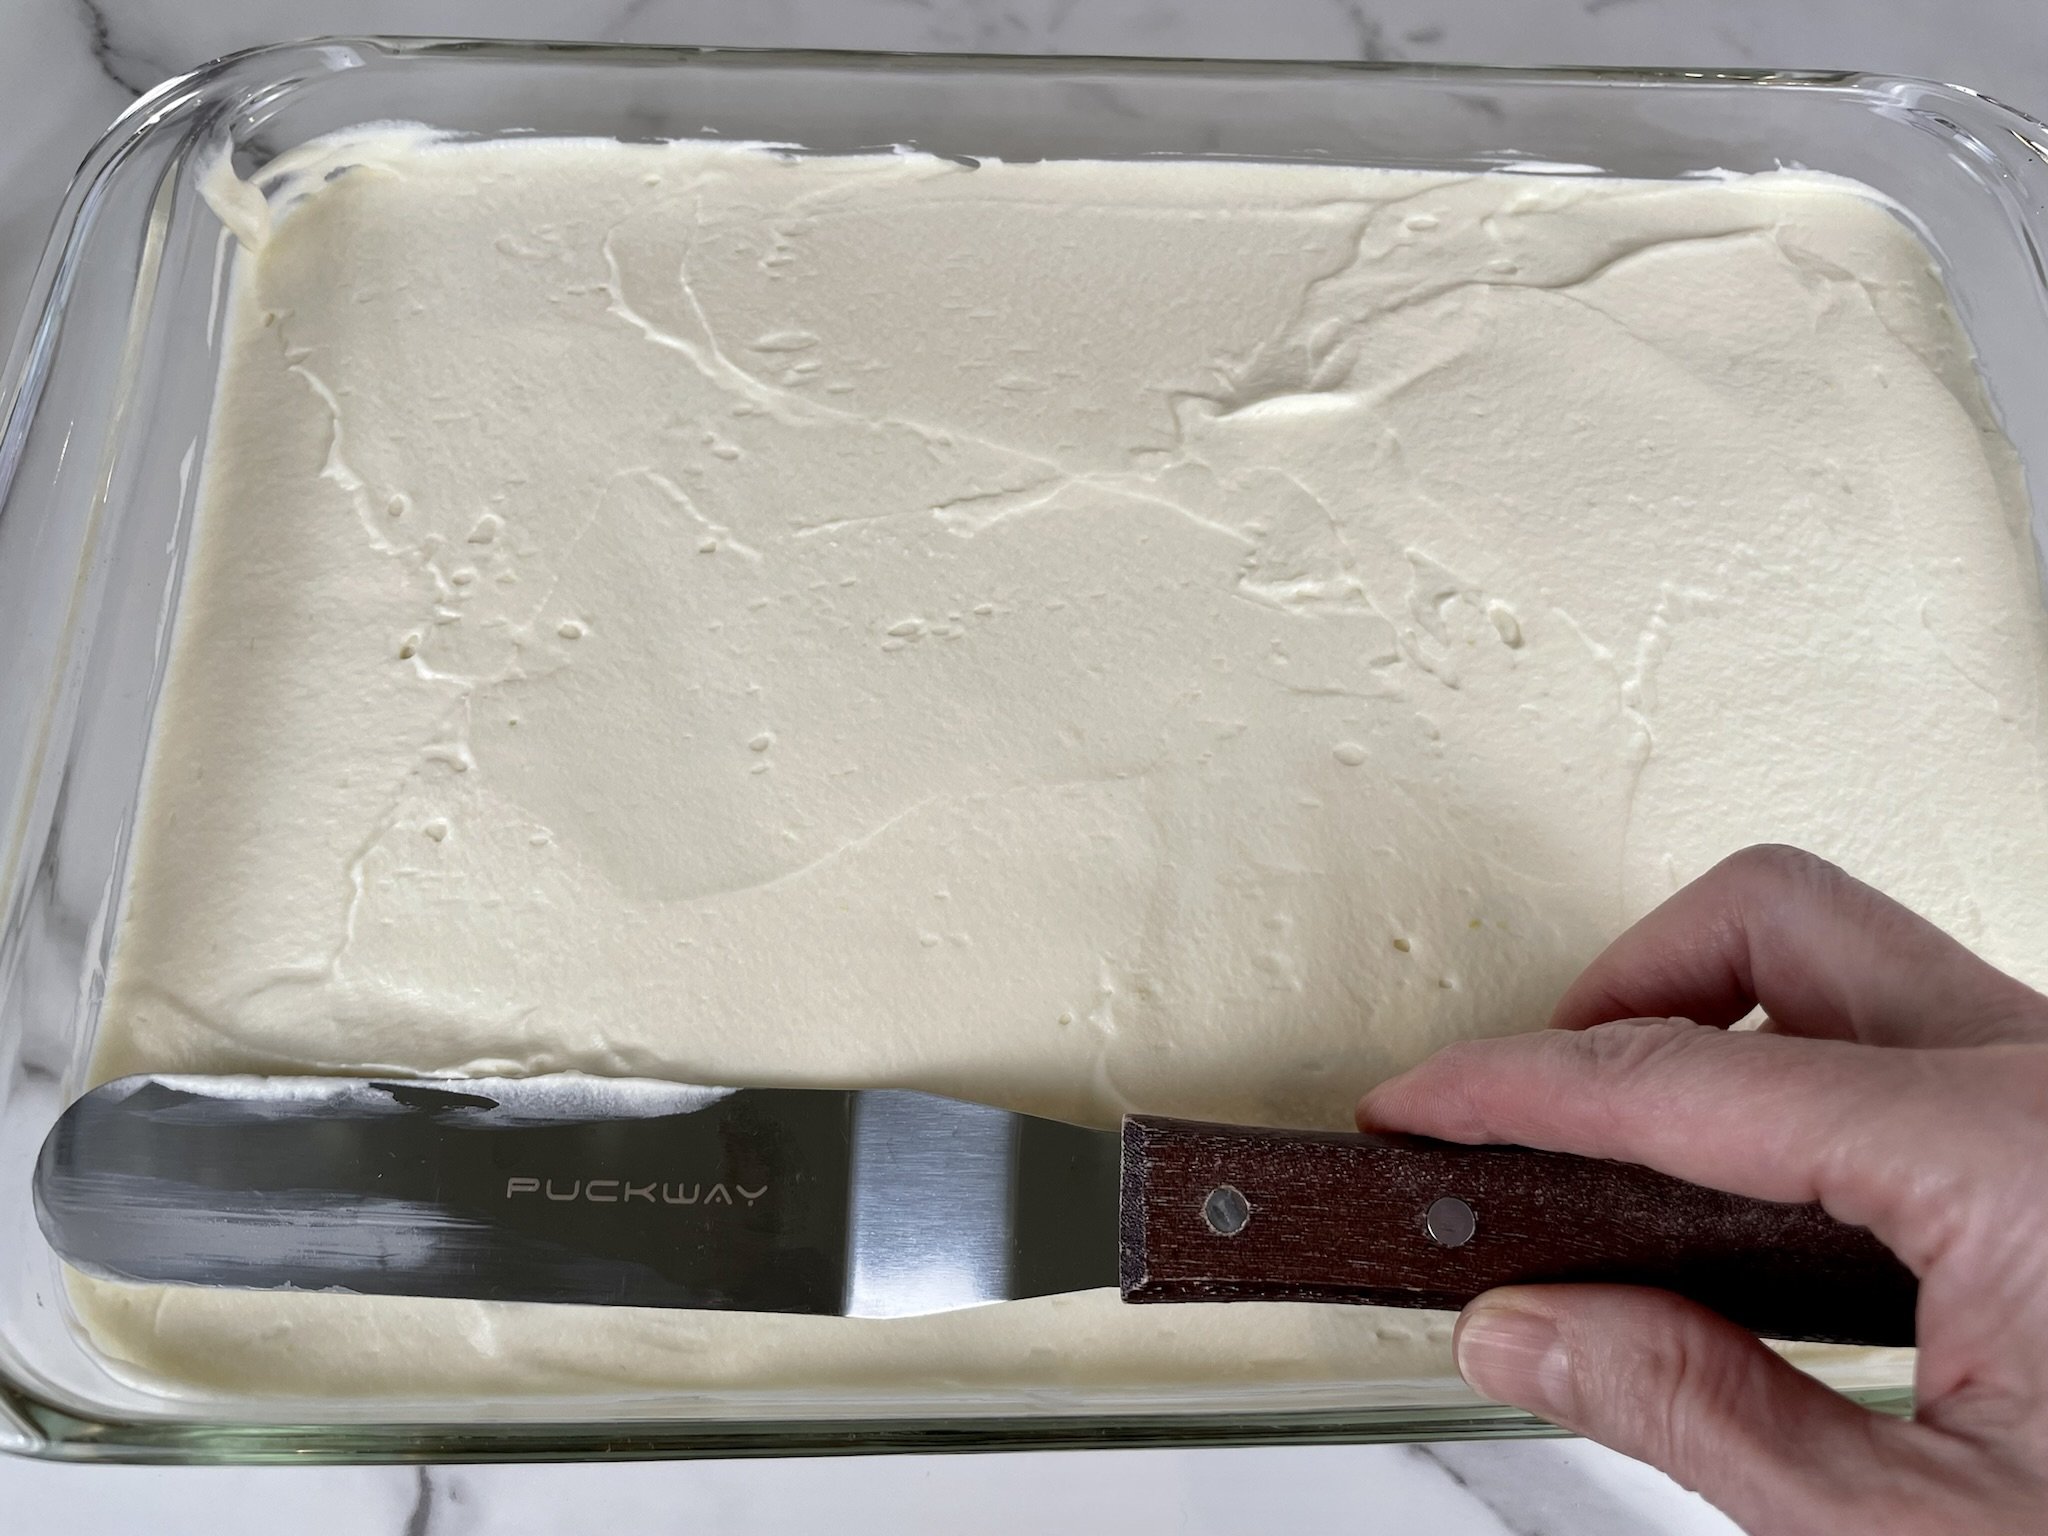
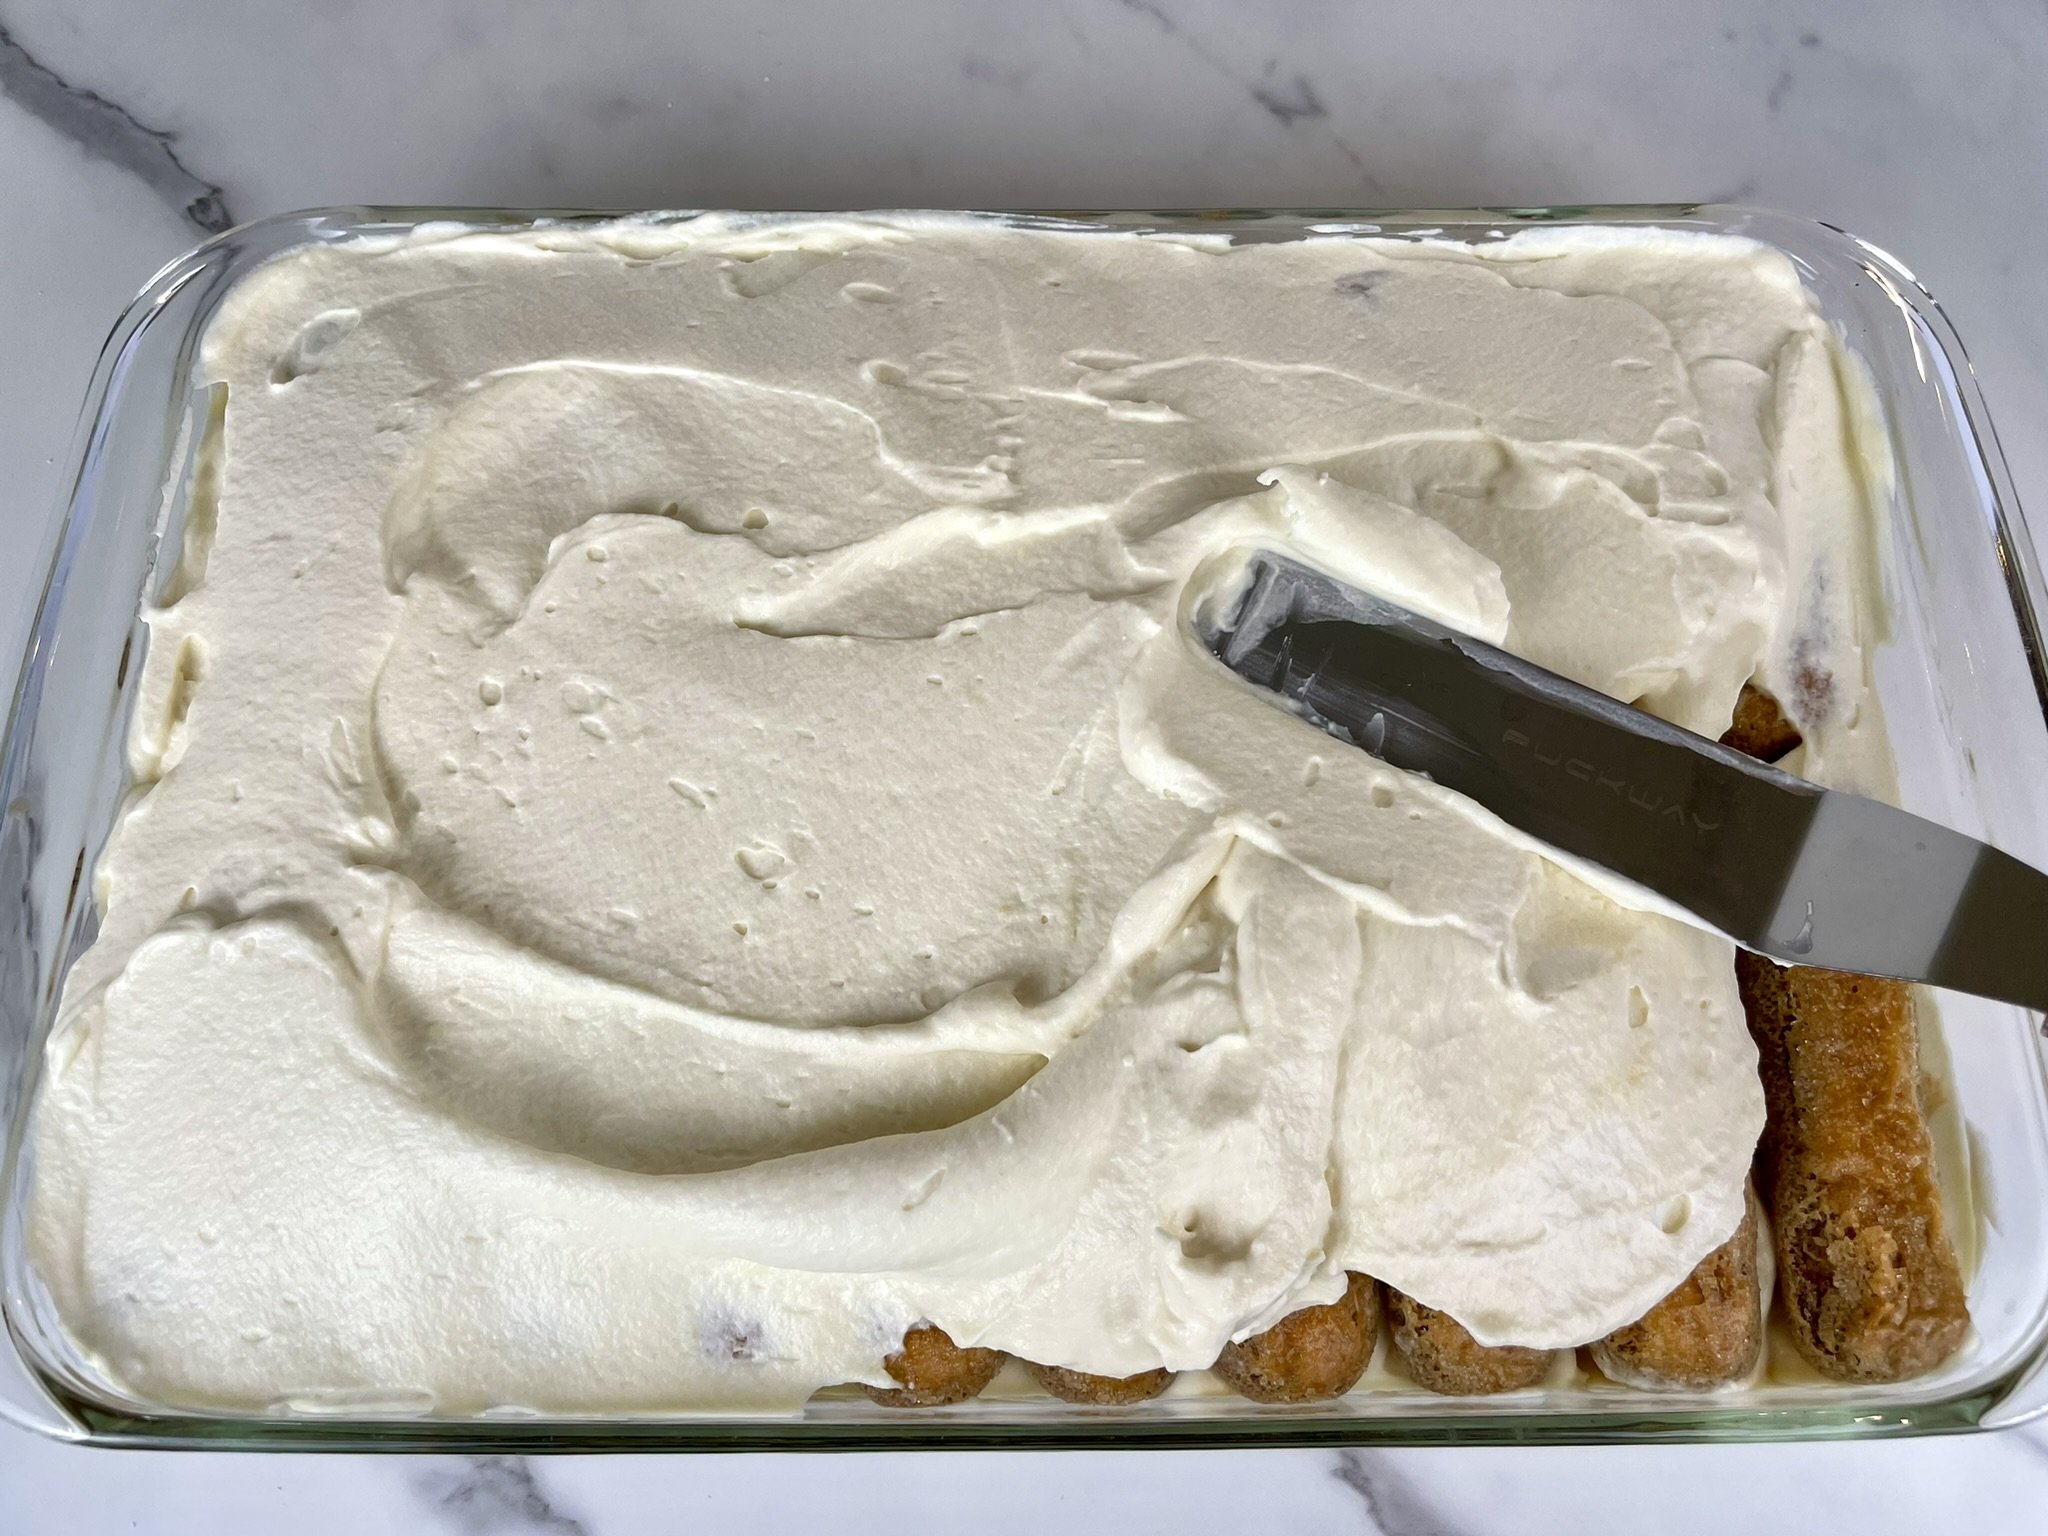
STEP 6a
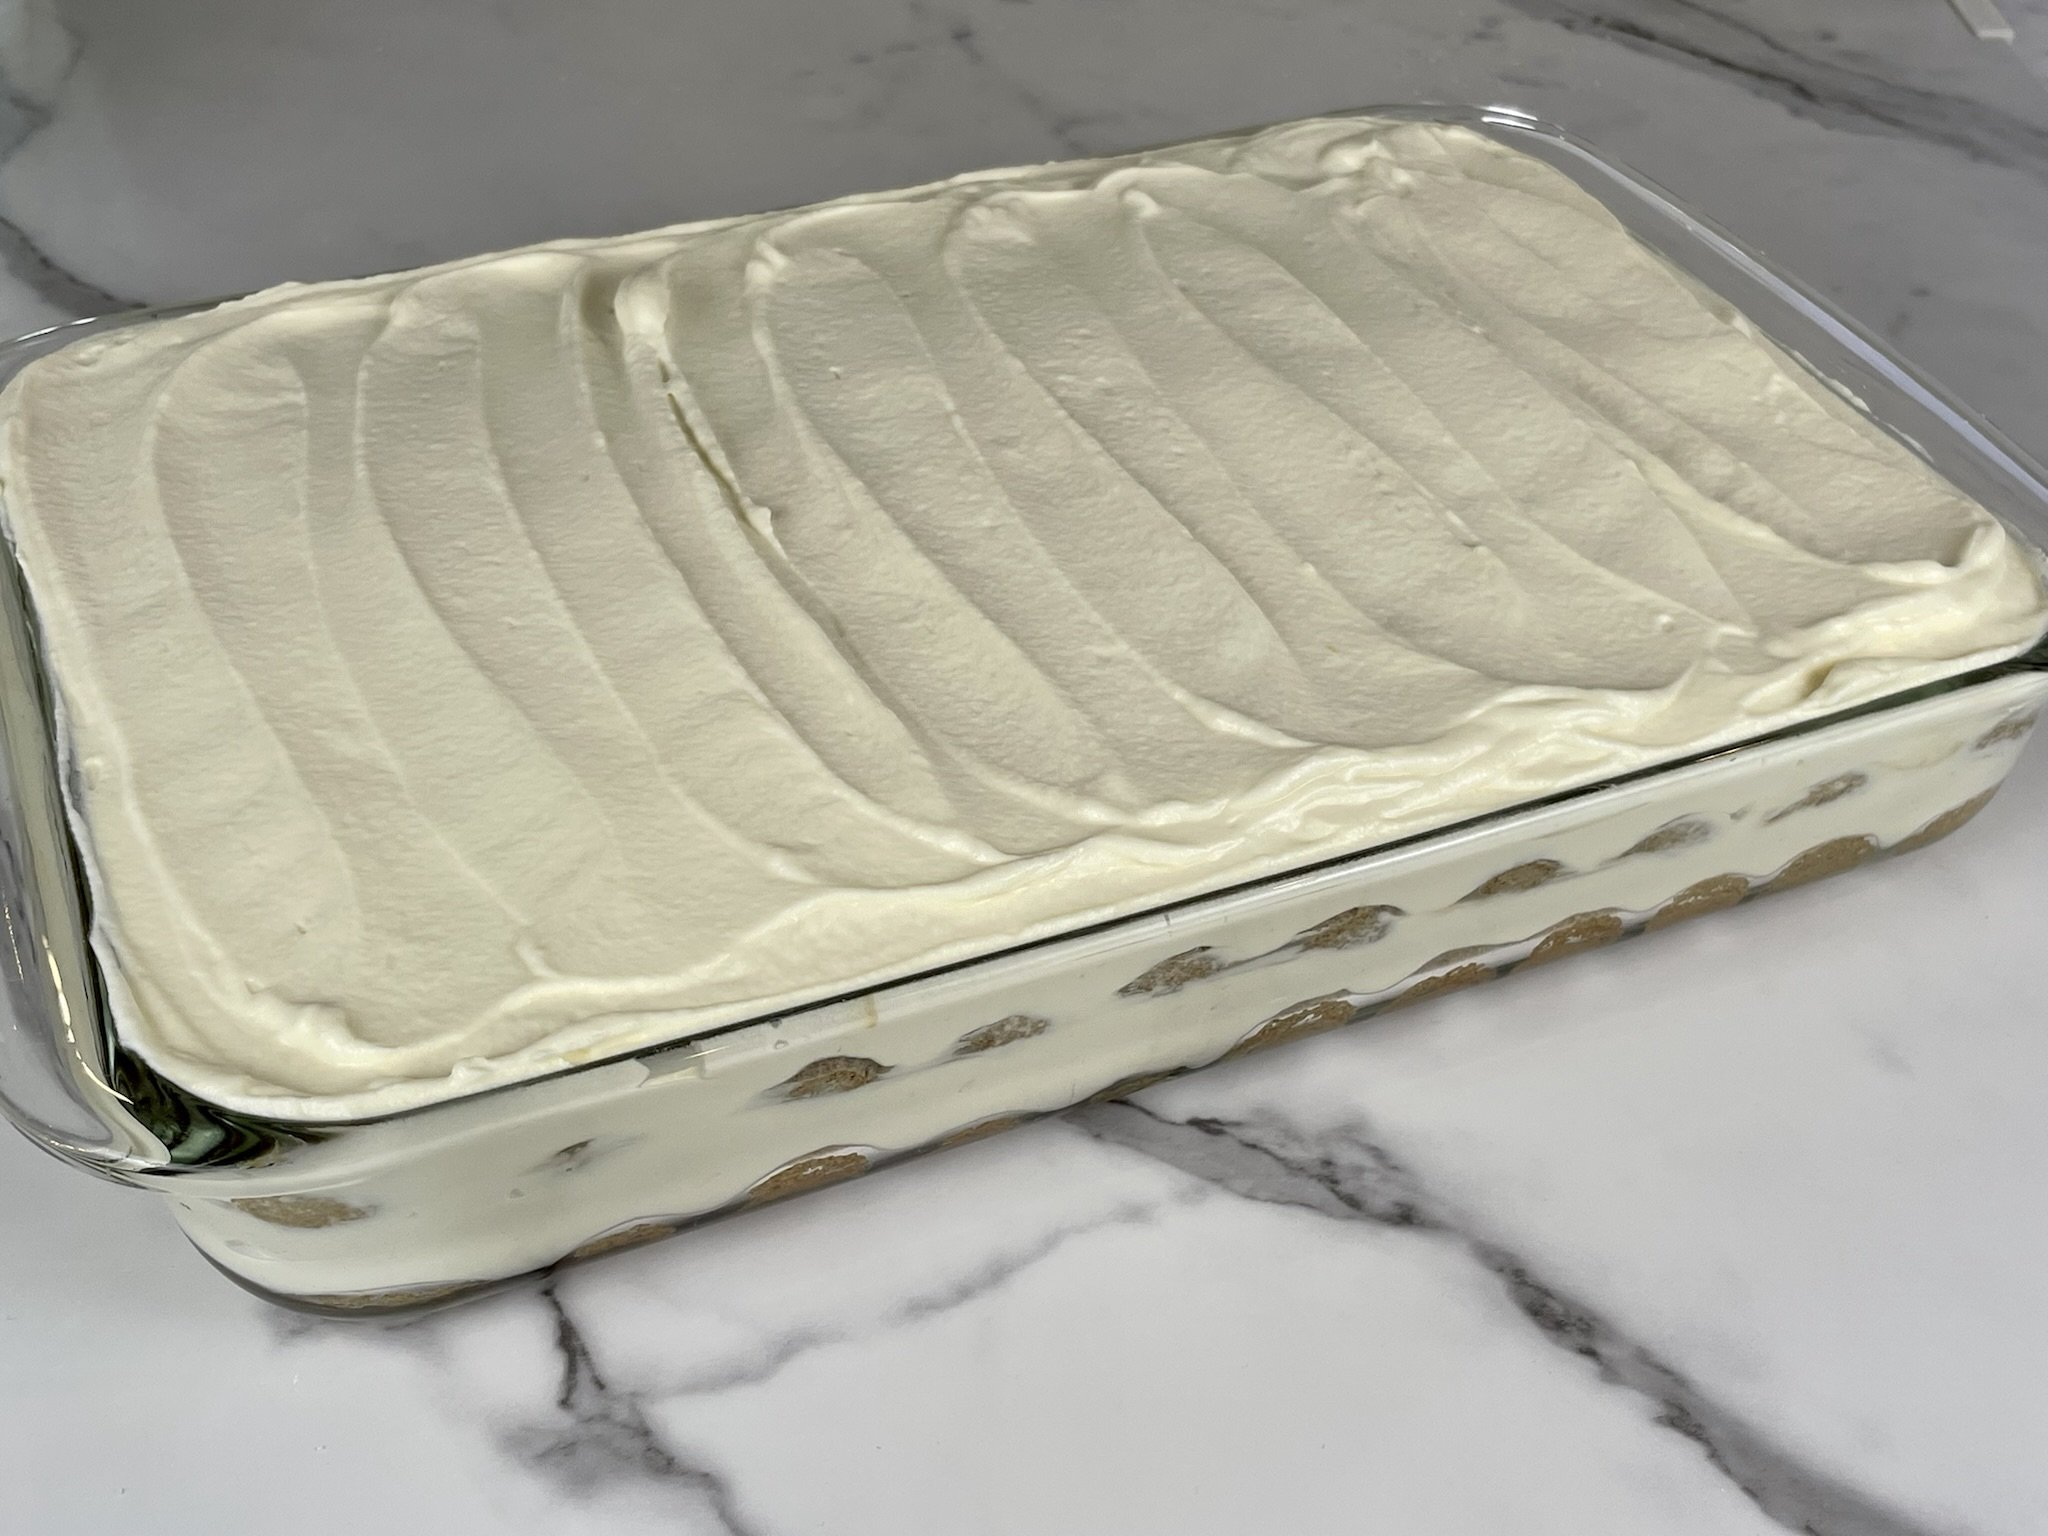
Add half of the cream mixture, and using an offset spatula, spread cream evenly over the first layer of ladyfingers. Add the remaining dipped ladyfingers on top of the cream layer, then evenly spread the remaining cream mixture, and swirl the top a little. Cover (see Note below) and refrigerate overnight or for a minimum of 8 hours.
Note: To cover, do not use plastic wrap, as it will stick to the top of your tiramisu. Try this baking dish with raised lid, or just tent the baking pan with aluminum foil, and seal the edges tightly being careful not to touch the cream layer of the tiramisu. This will preserve the look of your dessert.

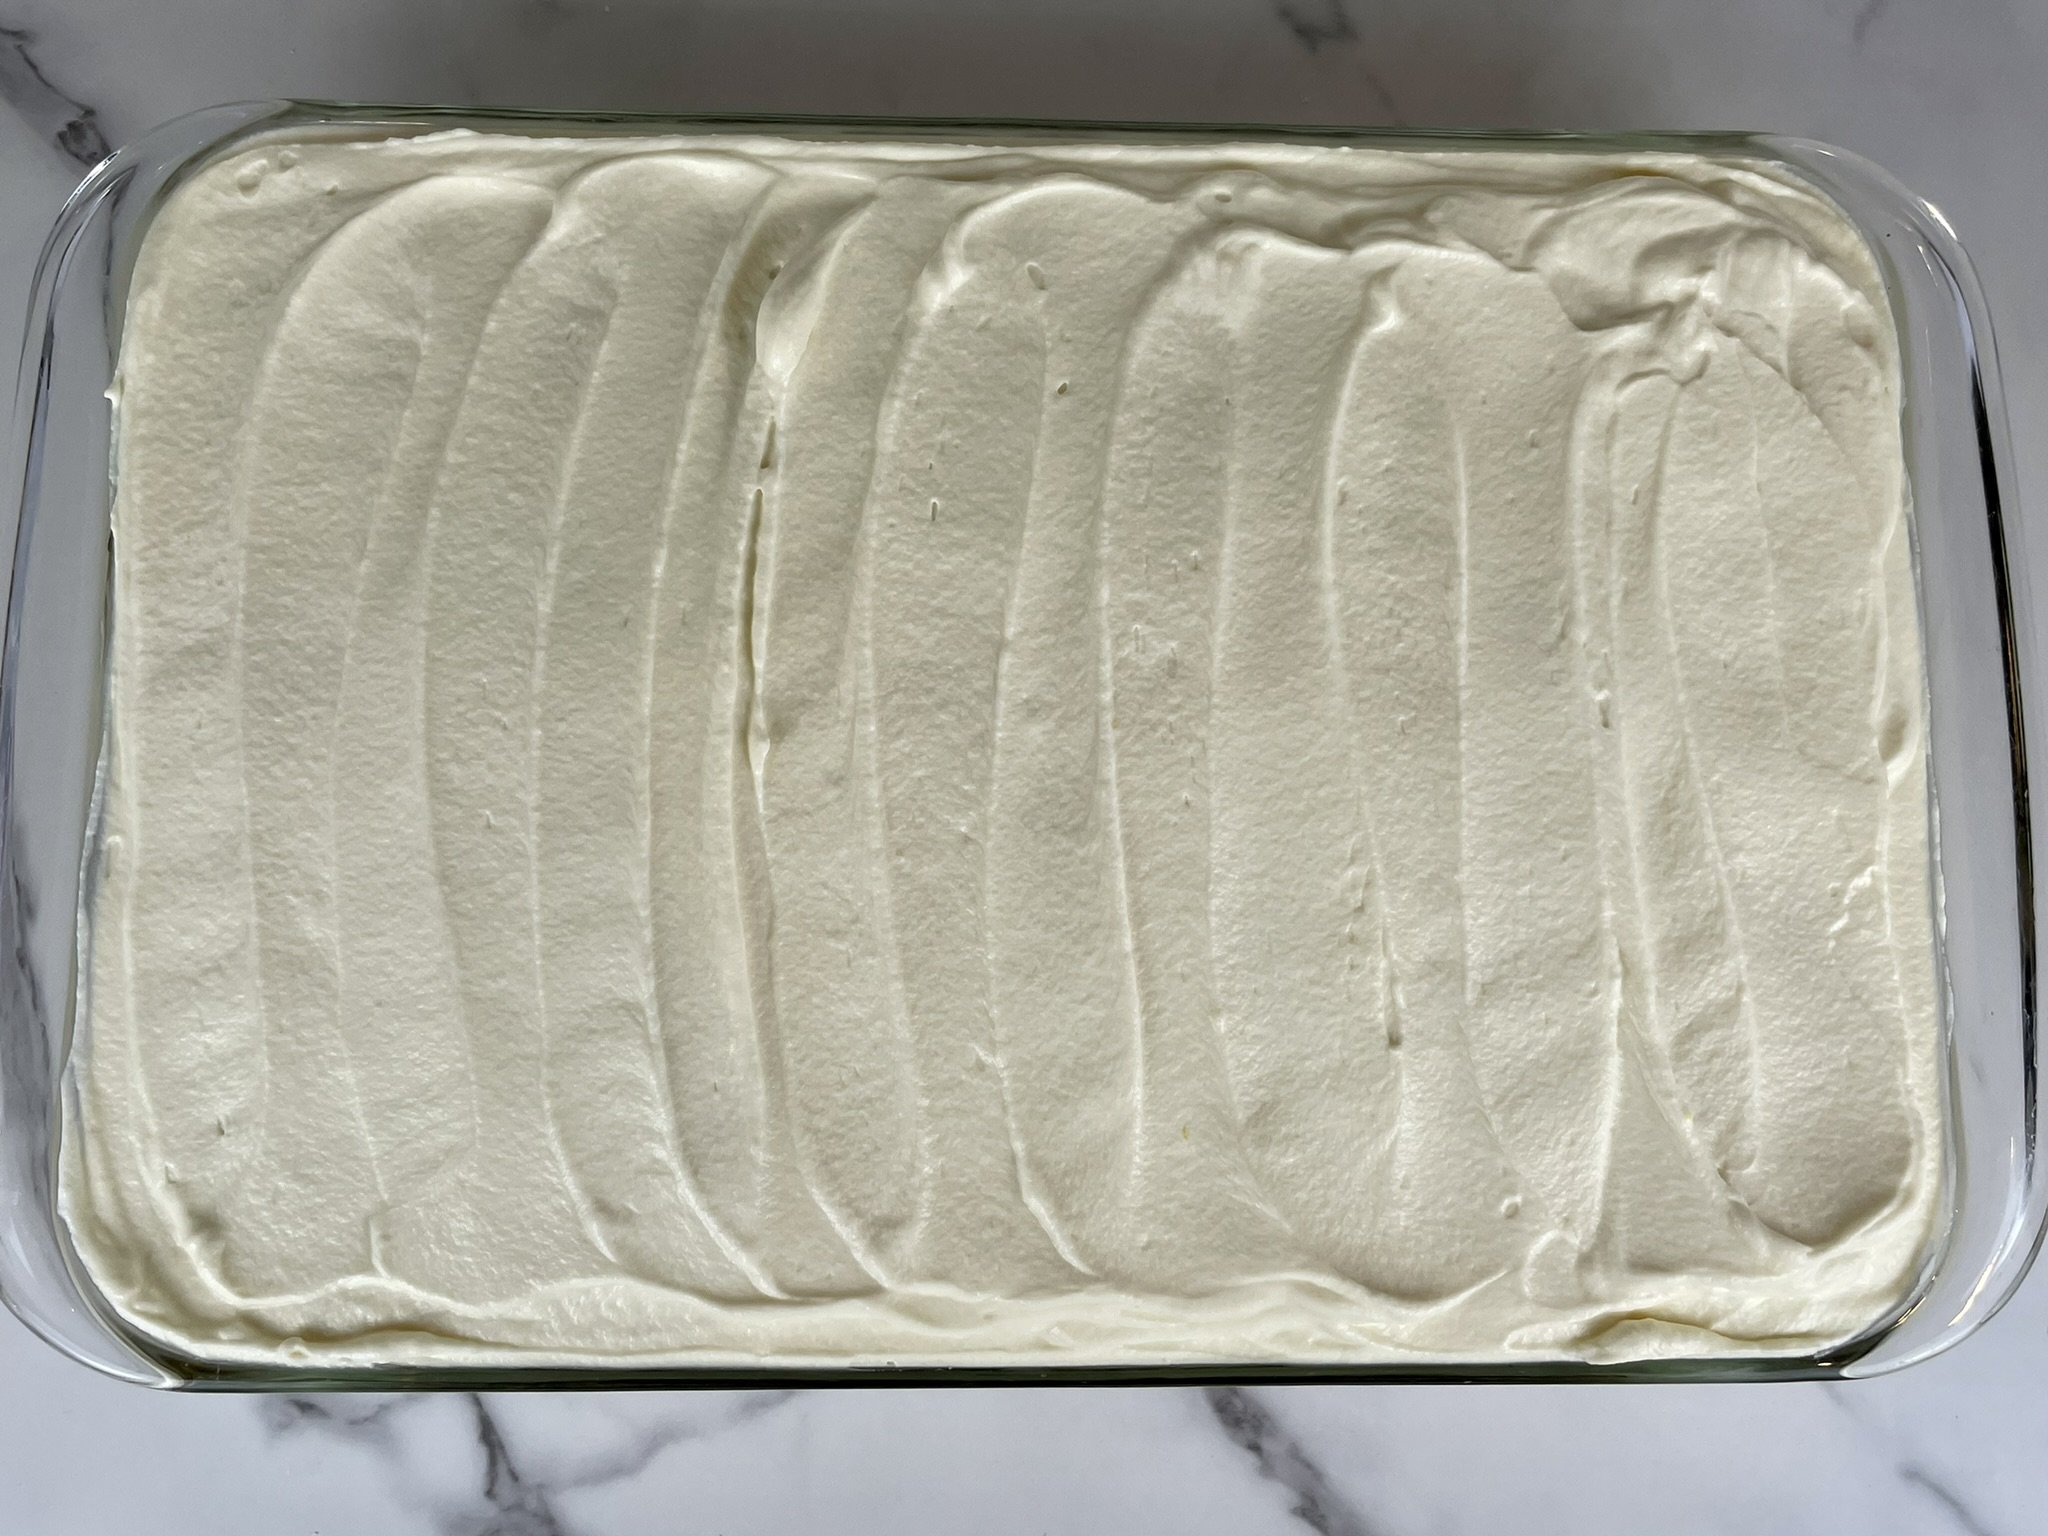
STEP 6b
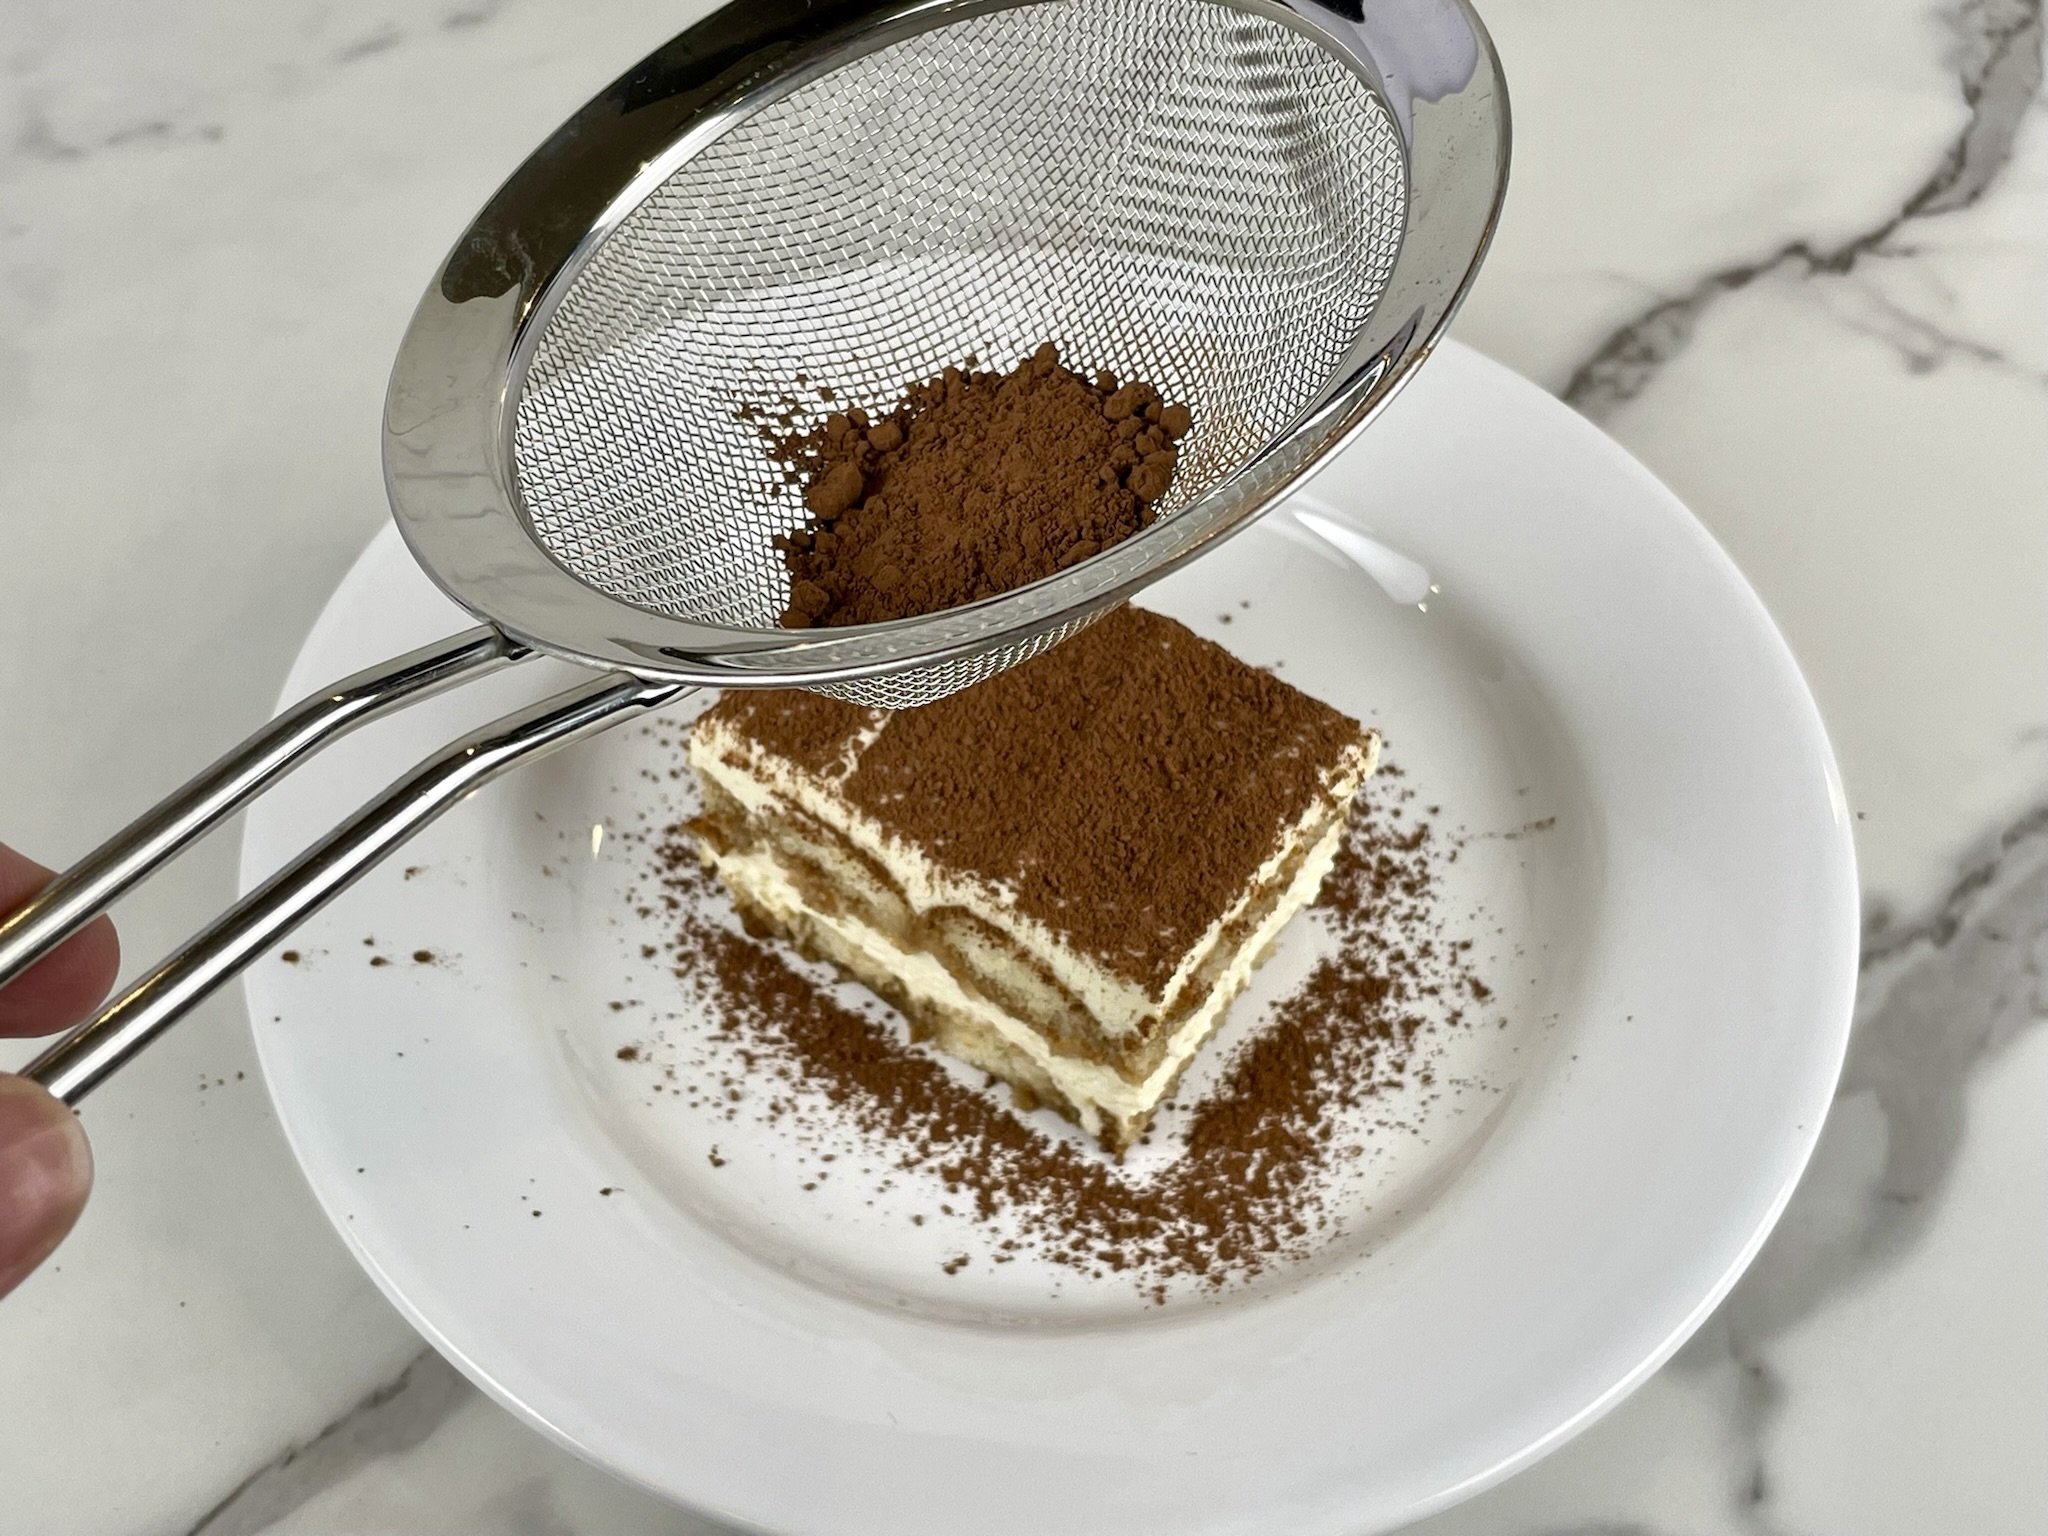
Once chilled, add 2 tablespoons unsweetened cocoa powder (Dutch processed) to a fine mesh sieve, and dust the top of the tiramisu with cocoa. Or for clean cut servings, slice and serve each piece, and dust individually with cocoa powder (see Notes Section for serving tips).
SERVING
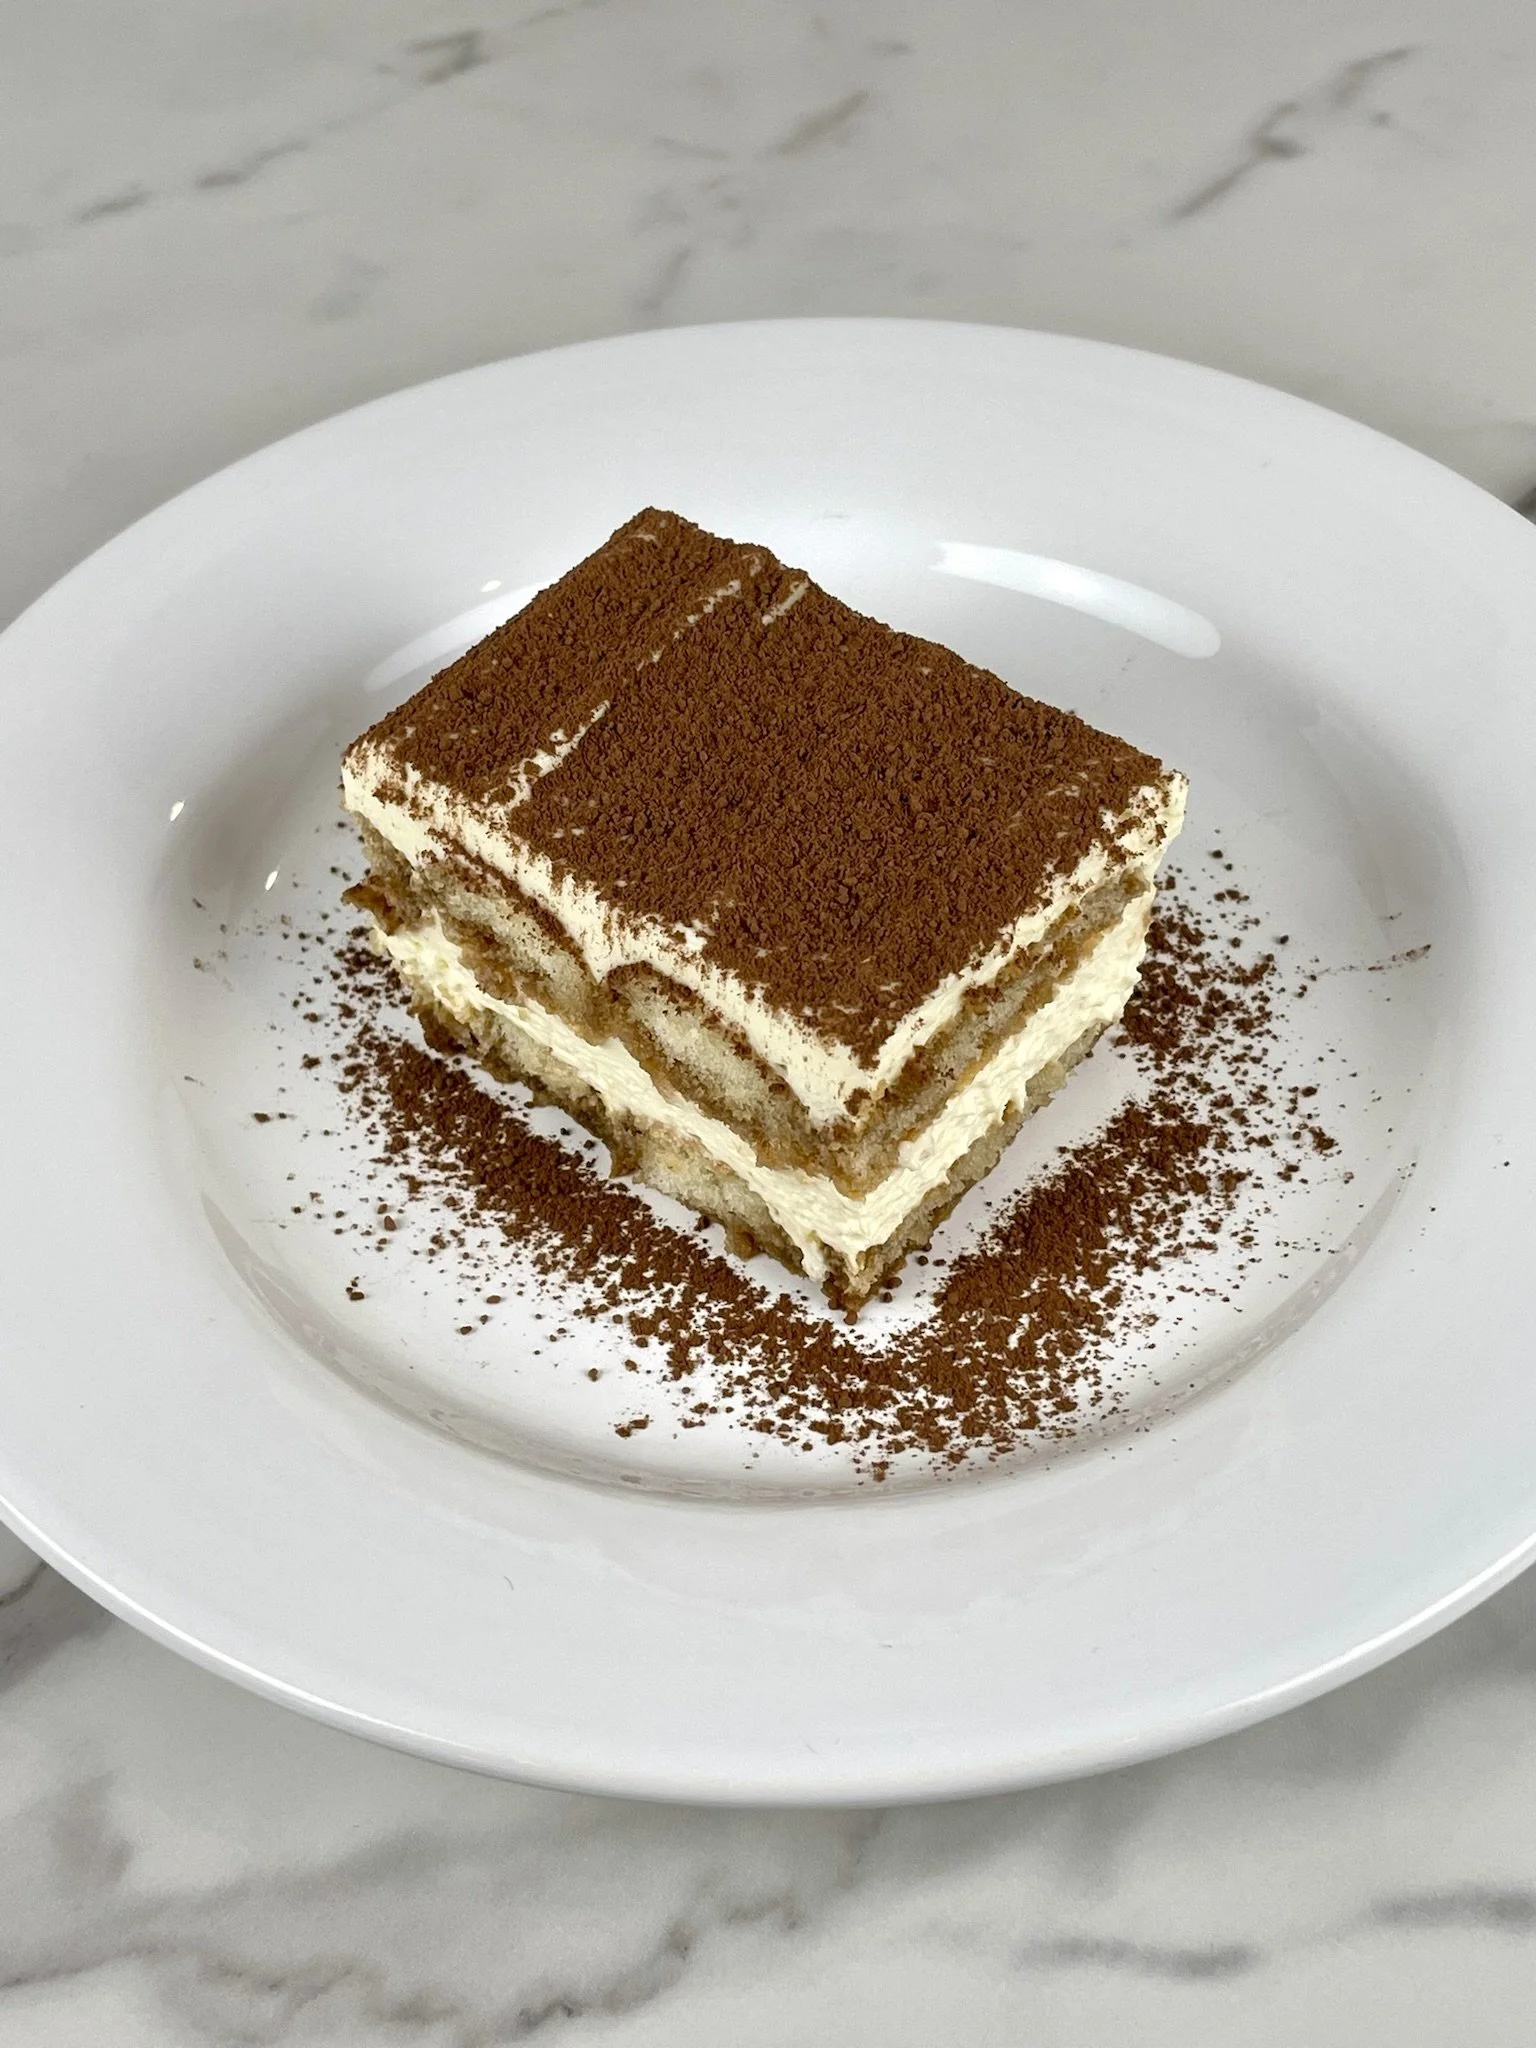
Serve chilled. Makes 12 to 16 servings.
Notes:
Serving Tip: Run a knife under hot water and wipe clean before each slice.
Should be kept refrigerated. Enjoy within 3 days of making the recipe.
Recipe can be made ahead! This dessert is actually better made 24 to 48 hours in advance.
VIDEO
How to Make this Authentic Recipe for Classic Tiramisu!
Blog Comments & Tips
A Dessert as Light and Fluffy as a Cloud!
Tiramisu is a classic Italian dessert that seems to be served in every Italian restaurant throughout the globe. And, why not, it’s delicious! The origin of tiramisu goes back to the 19th century. According to the Accademia del Tiramisu, the tale is that a madam in Treviso, Italy created tiramisu as an aphrodisiac for her clients. My guess is that this coffee infused dessert provided a “pick me up” to her clients; hence the literal translation for tiramisu.
This may be an odd leap from madams to fairy tales, but I compare Tiramisu recipes to the story of Goldilocks and the Three Bears. I know, you are probably thinking...What?...Why? Well stick with me. My theory is that tiramisu recipes greatly differ. Some are stodgy and dense. Others are too light and lacking in flavor. Some are soggy with no texture...you get the picture. Like Goldilocks with porridge, chairs, and beds, I have tried many variations of tiramisu over the years, and “this one is just right!” Now do you get the analogy?!
Our Classic Tiramisu is light, airy, and full of perfectly balanced flavors. Its mousse-like texture gives it a lighter feel than those recipes that use straight sabayon. We don’t use raw eggs in our recipe. We make a proper sabayon (aka: zabaglione) to gently cook the eggs with the sugar. Then we incorporate the Marsala and mascarpone cheese mixture, and fold in the whipped cream to end up with a lovely delicate mousse-like mixture that provides a light and airy texture to this classic Italian dessert.
The foundation for this dessert is soaked ladyfingers cookies. Now keep in mind that this next tip can make or break the outcome of your tiramisu. The ladyfingers should be briefly soaked for only 1 second per side in a bath of espresso, extra strong coffee, and Kahlua Liqueur. The PMR Test Kitchens discovered that 1 second per side is just the right amount of time to soak up the liquid into each ladyfinger. Trust us, just one second longer will yield a soggy texture and your dessert will be mushy and likely fall apart.
We mixed traditional ingredients with some old school techniques, and tweaked the recipe to create a festive dessert fit for any special occasion. This is a wonderful make ahead dessert, as the flavors develop over time and are better after resting in the refrigerator for 24 hours (up to 48 hours). We encourage you to try this make ahead recipe for your next dinner party or holiday celebration.
Now you have the recipe, ingredients, and equipment, but how do you ensure the best results from our recipe?
Our 5 tips to making a great Classic Tiramisu:
High quality and fresh ingredients. Your eggs and dairy products yield the best results when they are fresh and organic.
It’s important to start with room temperature eggs for your sabayon (i.e., zabaglione). Make sure the simmering water is not touching the bowl while you are making your sabayon. And, whisk constantly! It can seize from one second to the next, so be sure to lift that whisk periodically to keep the temperature from rising too high.
Soften your mascarpone cheese on the counter for only 15 minutes before mixing with your Marsala wine. Otherwise, it will spoil and curdle your mixture. And, don’t overmix, as this will also cause it to curdle.
Your whipped cream should be cold, along with the bowl and whisk attachment of your stand mixer. Put the bowl and whisk attachment into the fridge at least 30 minutes before you are ready to whip your cream. And, start at slow speed and work your way up to medium speed, to help stabilize the cream.
For a clean cut presentation when serving, don’t dust the entire dessert while it’s still in the pan. Be sure to dip your knife in hot water and wipe it clean in between each slice. Then dust the individual slices of tiramisu after they are served on each plate. It’s nice to have a little extra cocoa on the plate to scoop up with each bite of tiramisu.
Have any dietary preferences that won’t quite work with our recipe? It’s time to customize and Pimp Our Recipe.
Pimp Our Recipe:
Make it Family-friendly: If you would prefer a non-alcoholic version of this recipe, we have an easy fix. Increase the amount of very strong coffee (or espresso) to 2 ¼ cups. Omit the Kahlua Liqueur. Use 2 cups of coffee to soak the ladyfingers. Then omit the Marsala wine and replace with ¼ cup of coffee to combine with the mascarpone cheese.
Make it Without Caffeine: You can use a good quality decaffeinated coffee for this recipe. We did! We love this brand (Kicking Horse Coffee, Decaf Dark Roast) because it is delicious and is perfect as a substitute for regular espresso or strong caffeinated coffee. You won’t miss the caffeine.
Enjoy and let us know what you think by commenting below, rating our recipes, subscribing, following, and liking us on Pinterest, Instagram, Facebook, and YouTube! Don’t forget to subscribe to get updates on new recipes and tips & tricks.
Happy Cooking!
Mich
Footnote: Remember to dip your knife in hot water and wipe it clean in between each slice, for an extra clean cut serving.

Every editorial product is independently selected. We may be compensated or receive an affiliate commission if you purchase products via our links. As Amazon Associates, we earn from qualifying purchases.